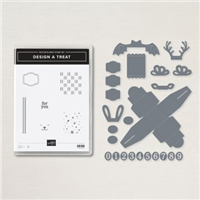
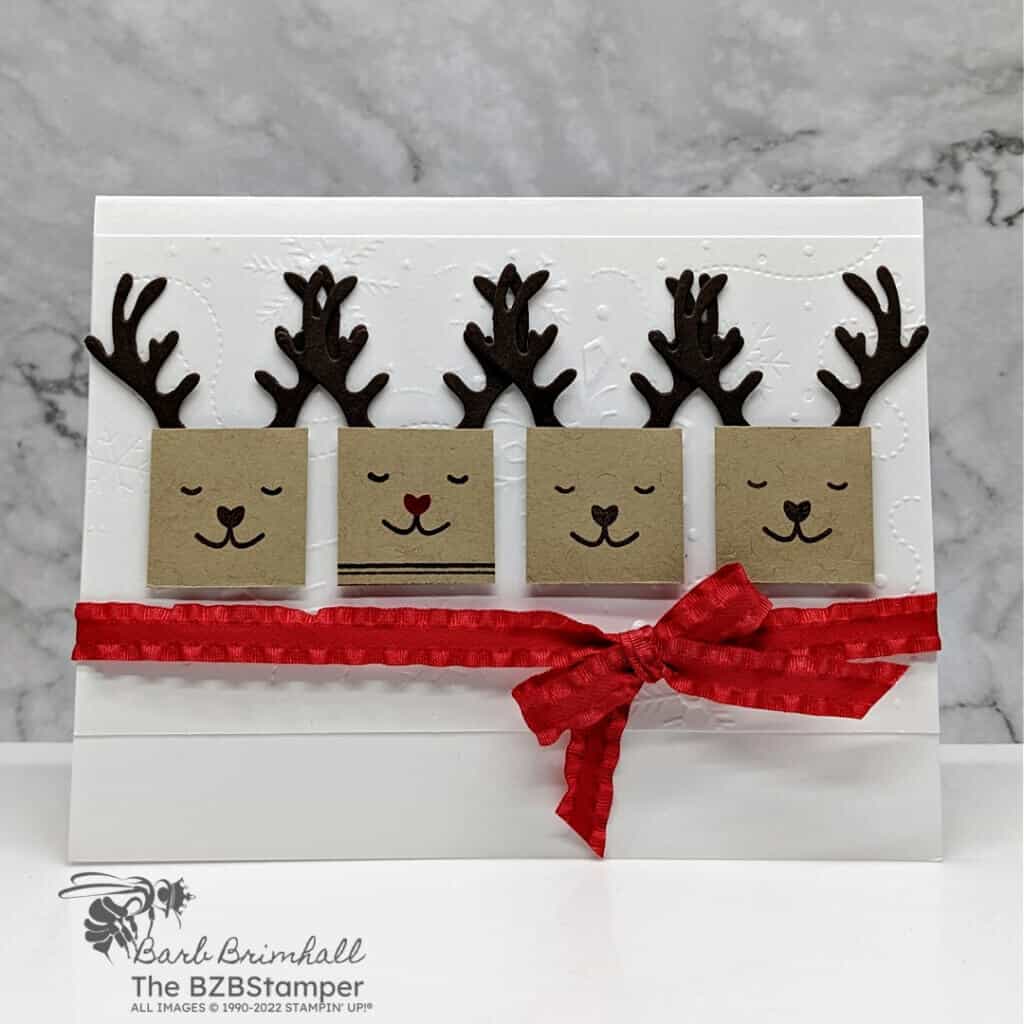
Who wouldn’t love to receive this adorable Christmas Card featuring Reindeer? It even features Rudolph! It comes together quickly thanks to the Design A Treat Bundle by Stampin’ Up! Let me show you how!
View more stamped samples & inspiration here
Project Measurements
- Basic White: 5-1/2″ x 8-1/2″, scored at 4-1/4″
- Basic White: 3-1/4″ x 5-1/2″
- Crumb Cake: 1″ x 1″ squares (x4)
- Early Espresso: 2″ x 5-1/2″ for die-cutting
Instructions
- Fold the Basic White cardstock in half at the scoreline to create the card base.
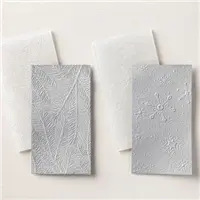
- Using the Cut & Emboss Machine and the Wintry Embossing Folder, emboss the 3-1/4″ x 5-1/2″ piece of Basic White cardstock. Adhere to the base card about 1/4″ down from the top fold of the base card.
- Using the Cut & Emboss Machine, cut out 4 of the antlers from the Design A Treat Dies that come in the Bundle. Set the antlers aside.
- Using the 4 1″ Crumb Cake Squares, stamp the face on 3 of the squares using Early Espresso ink.
- On the 4th square, ink the face in Early Espresso ink. Using a baby wipe, carefully remove the ink from the nose only. Using the corner of your Real Red ink pad, carefully add ink to the nose only. Huff on the stamp to re-moisten the ink and stamp onto the square. Use Early Espresso ink to stamp the lines at the bottom of the square.
- Using Liquid Adhesive, adhere the antlers to the back of all 4 of the Crumb Cake squares. Let dry.
- Adhere all 4 squares to the card using Stampin’ Dimensionals.
- Cut 20″ of the Real Red Mini-Ruffled Ribbon and tie it around the card front and tie it into a bow as shown in the sample.
Supplies Used in this Project
Pin It!
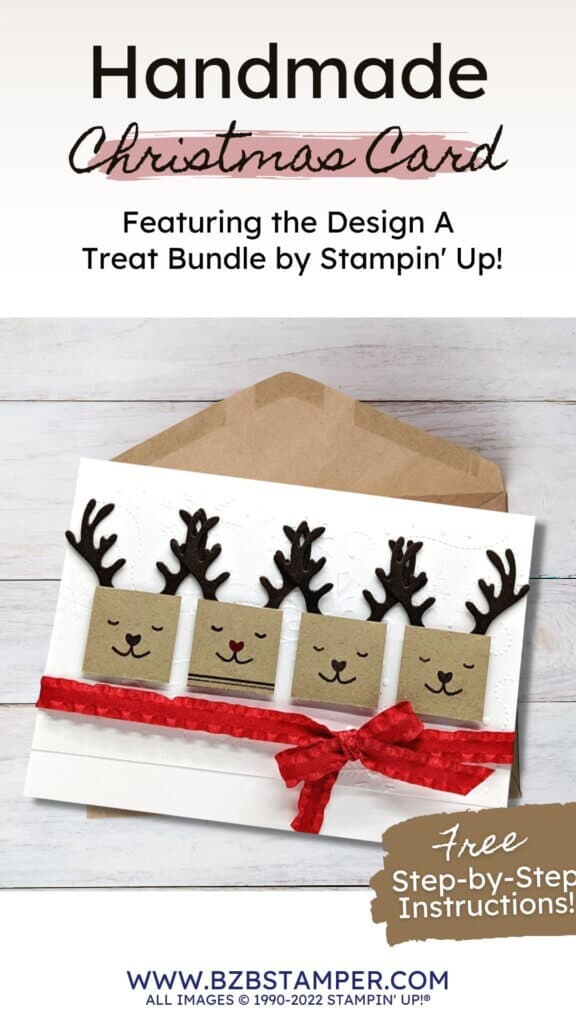
Pin the image below to your board for all those handmade holiday card ideas you have saved so when you have an opportunity for a fun cardmaking session you will be able to get right to the creative part!
Thanks for stopping by for today’s card tutorial! My goal is to help you make quick & easy greeting cards for all occasions. If you’d like more detailed directions on how to make this card, feel free to email me. I hope you’ll join me again for more card-making ideas!


