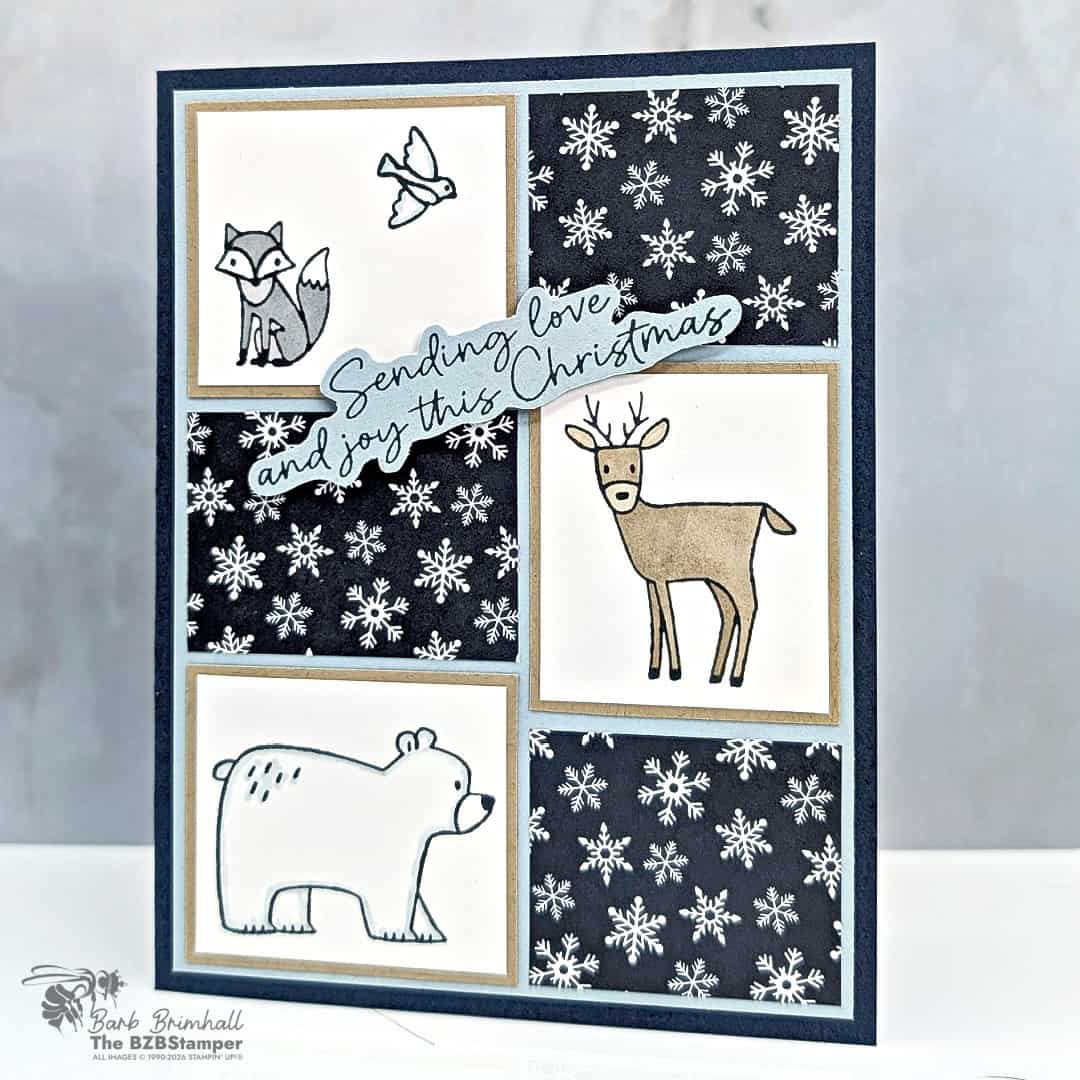
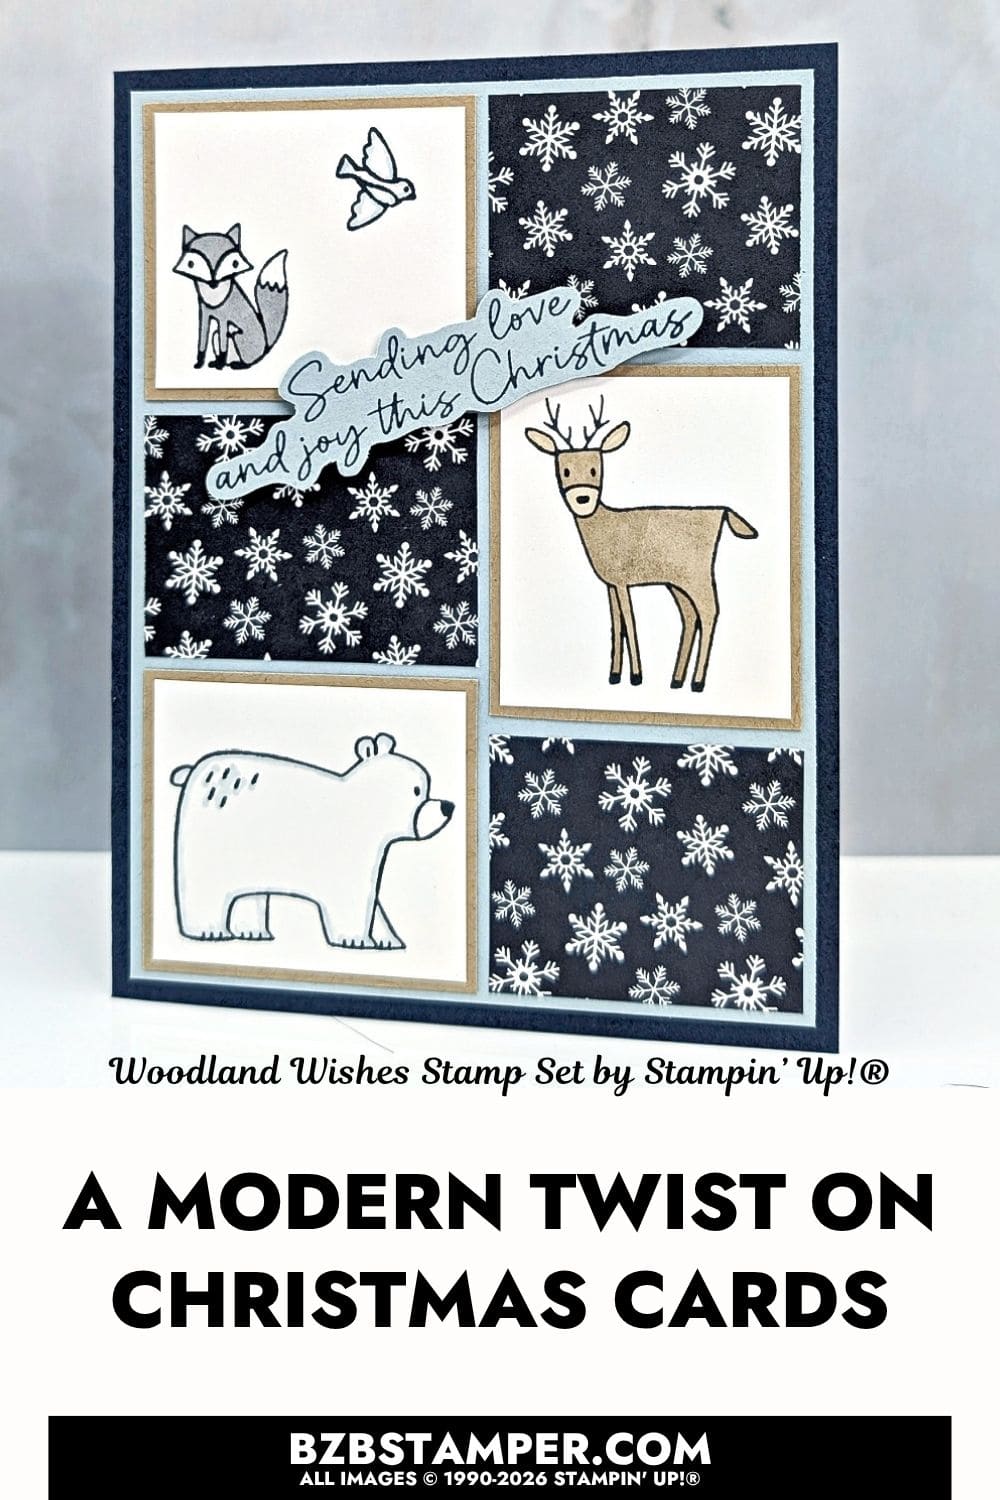
This easy Christmas Card layout using the Woodland Wishes Bundle by Stampin’ Up!® is a great example of what to do when you love several small stamped images but aren’t quite sure how to bring them together on one card.
You know those stamp sets filled with cute little images? You love every single one of them, but then you sit down to make a card and think, Now what am I supposed to do with all these little guys? This easy grid-style layout is the answer!
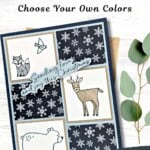
Instead of trying to create one large focal point, I divided the front of the card into six smaller sections. Three sections feature stamped images from the Woodland Wishes Bundle, while the other three use snowflake paper from the A Stitched Season Designer Series Paper.
That simple alternating pattern does two things. It gives each little stamped image its own place to shine, and the Designer Series Paper fills the remaining spaces without making the card feel busy.
Best of all, this isn’t just a Christmas card layout. You can use the same idea anytime you have a stamp set filled with several smaller images. Think flowers, cupcakes, seashells, little critters, presents or just about anything else hiding in your stamp collection!
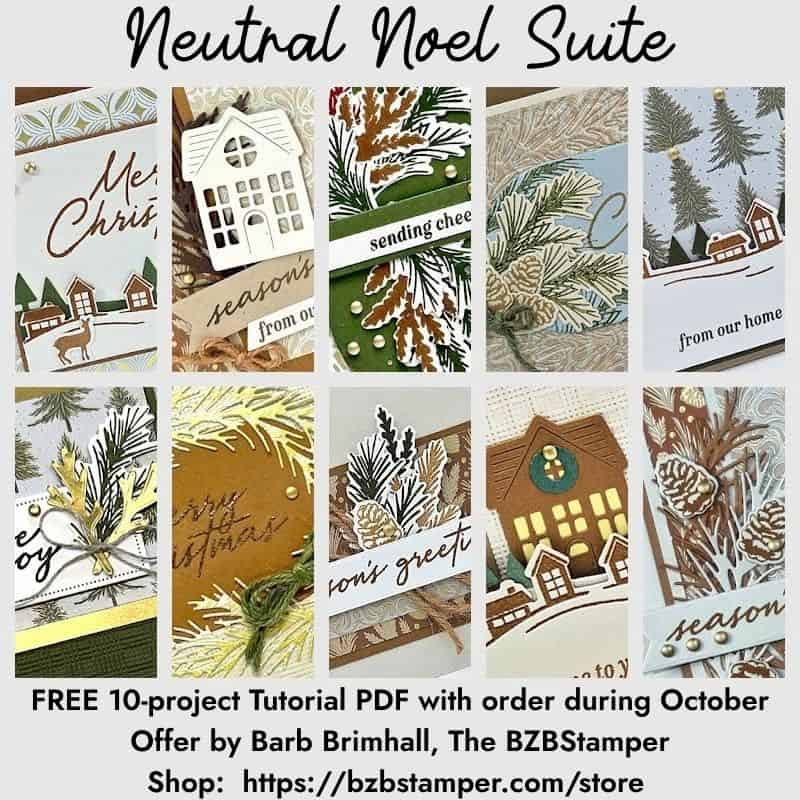
october ordering Bonus
A Bonus for You!
Any order you place in October includes a free 10-project tutorial featuring the Neutral Noel Suite that you can use with any Bundle in your stamp stash.
It’s filled with cozy, step-by-step card ideas to spark your creativity when your order arrives — so you’re not staring at supplies wondering where to start.
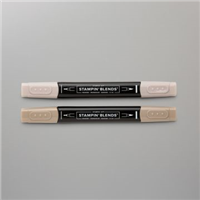
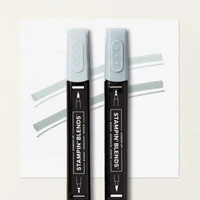
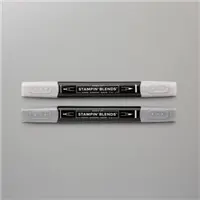
I kept the coloring simple with Stampin’ Blends in Crumb Cake, Smoky Slate and Cloud Cover. The soft colors work especially well with these sweet woodland animals.
And because the images are small, you don’t need to spend a lot of time coloring each one. That’s another reason I like this layout. You get a card with lots to look at without needing one complicated stamped or colored image.
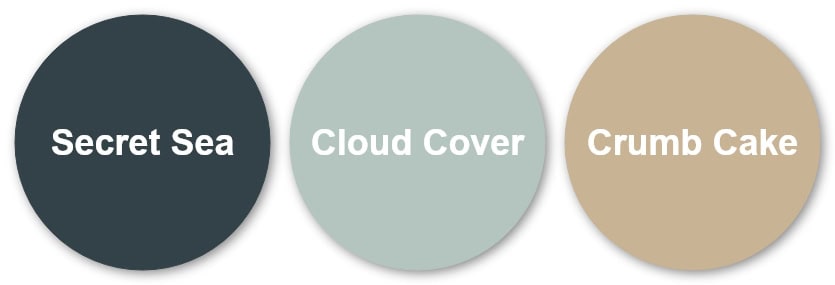
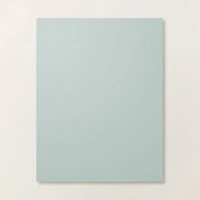
Secret Sea, Cloud Cover and Crumb Cake give this Christmas card a softer look than the traditional red and green color combination.
Secret Sea provides the deep contrast and makes those white snowflakes really stand out. Cloud Cover lightens everything up, while Crumb Cake adds warmth and works beautifully with the woodland theme.
Together, they feel wintry without screaming CHRISTMAS! And that lets those adorable animals be the stars.
How To Make This Card
You’ll find the full supply list and step-by-step instructions below.
Easy Christmas Card Layout using the Woodland Wishes Bundle
Supplies Needed
- Secret Sea Cardstock: 5-1/2" x 8-1/2" (scored at 4-1/4")
- Basic White Cardstock: 4" x 5-1/4"
- Cloud Cover Cardstock: 4" x 5-1/4"
- A Stitched Season Designer Paper: 1-3/4" x 1-3/8" (need 3; snowflake pattern)
- Crumb Cake Cardstock: 1-3/4" x 2" (need 3)
- Basic White Cardstock: 1-5/8" x 1-7/8" (need 3)
- Cloud Cover Cardstock: 1" x 3-1/4" (for sentiment)
Instructions
- Fold the Secret Sea Cardstock in half at the score line to create your card base.
- Adhere the 4" x 5-1/4" piece of Basic White cardstock inside the card base; decorate as desired.
- Adhere the 4" x 5-1/4" piece of Cloud Cover cardstock to the front of the card.
- Using the 2 pieces of the 1-5/8" x 1-7/8" Basic White Cardstock in landscape orientation, stamp the fox with bird and bear images using Black ink. Use the 3 piece in portrait orientation and stamp the deer.
- Using the Crumb Cake Stampin' Blends to color in the deer, use the Cloud Cover Light Blend to outline the bird and bear, and use the Smoky Slate Blends to color in the fox. Adhere the Basic White cardstock to the Crumb Cake cardstock.
- Adhere the 3 pieces of A Stitched Season Designer Series Paper and the 3 pieces of Crumb Cake cardstock to the front of the card as shown in the sample.
- Stamp the sentiment onto the 1" strip of Cloud Cover cardstock using Black ink. Optional: fussy cut out the sentiment using the Detail Scissors.
- To finish, adhere the sentiment to the card front at an angle using Stampin' Dimensionals.
Notes
Now let’s talk about the sentiment placement on this card. The “Sending love and joy this Christmas” greeting stretches across the center of the card and helps connect all six sections.
I especially like this placement because the sentiment doesn’t need its own separate section of the card. It simply floats across the design and ties everything together. That’s a handy little trick to remember when you’re working with a grid layout like this.
The real idea to take away from this card is the layout. Save it for the next time you find yourself wondering: “How do I make a card using several small stamps?” Now you know!
Keep filling those mailboxes with stamping sunshine!
Love this color combo? Pin it for later!
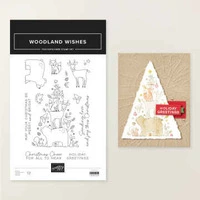
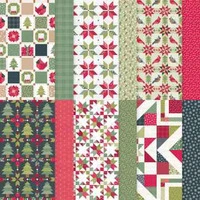
Supplies Used:
Price: $13.00








One more little perk while you’re shopping. Each month there’s a Product of the Month you can add for just $5 when your order reaches $75. It’s a fun surprise that’s not in the catalog and only available while supplies last. Click To Learn More
If you enjoy simple, cozy cardmaking like this, you’d love the creative support we share inside the Creative Living Room. If you have questions about today’s tutorial, please email me for detailed steps. Inspire your craft with more ideas—join me over on Pinterest!

Grab your Free copy
Get 5 Bee-utiful Exclusive
Card Sketches in Your Inbox
Join our newsletter and receive a honey of a package of five quick & simple cards guaranteed to make your creativity buzz! Sign up now and let the goodness flow straight to your inbox!