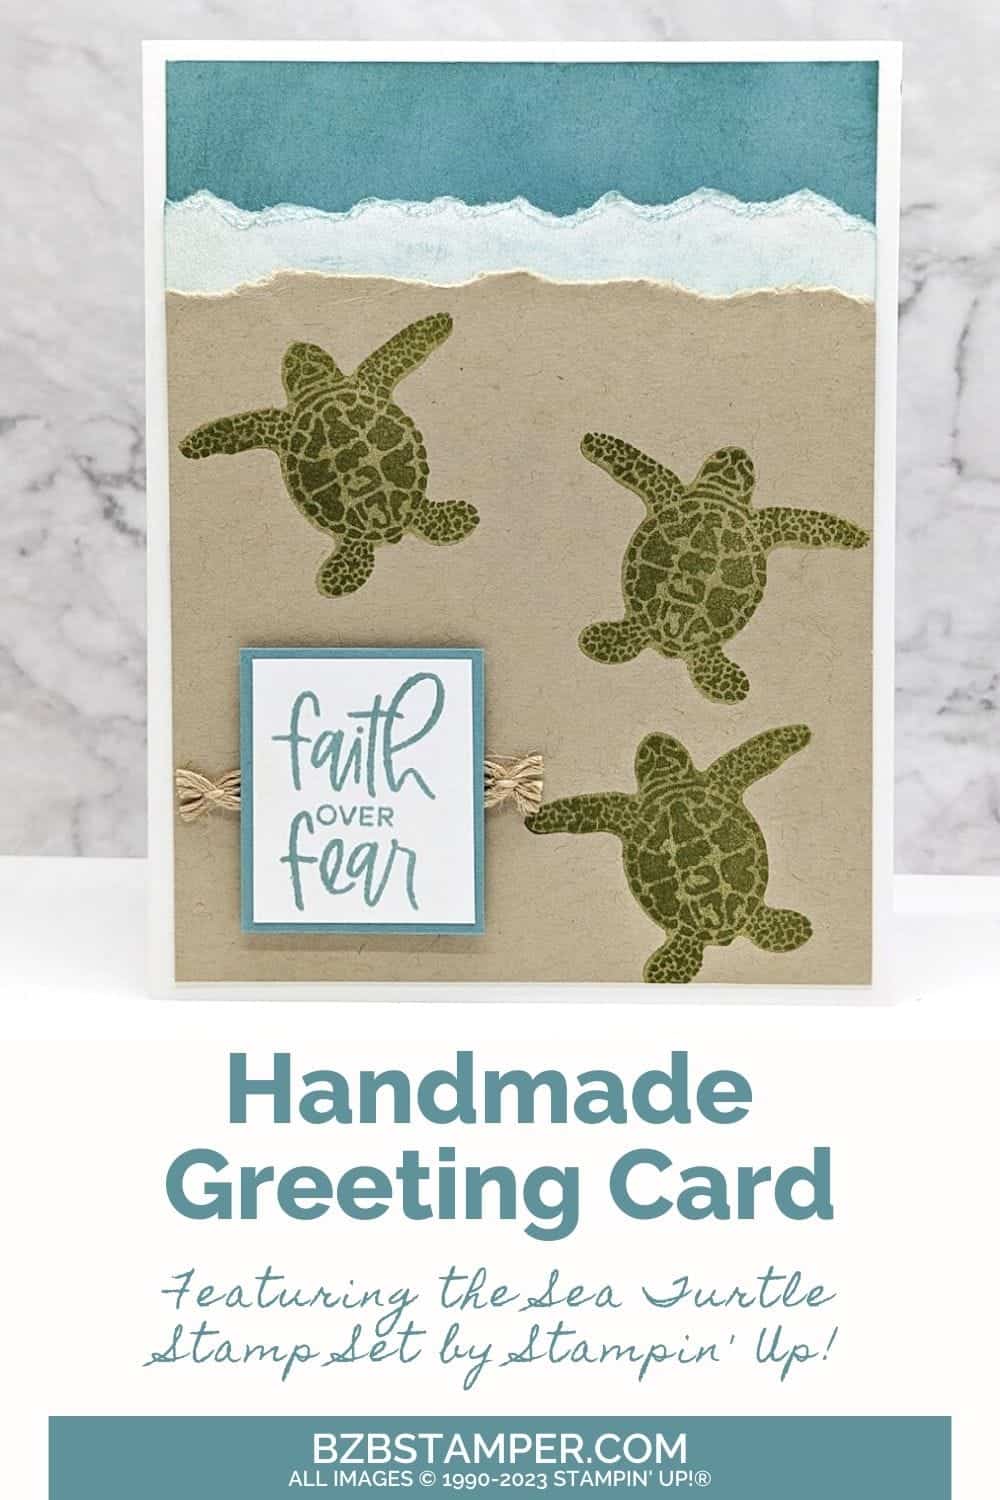
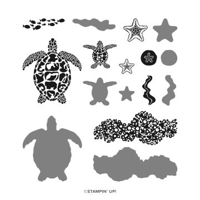
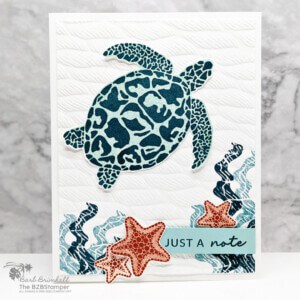
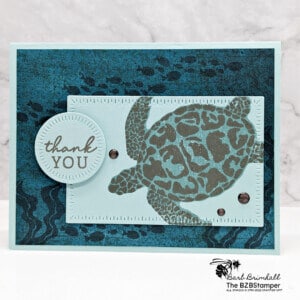
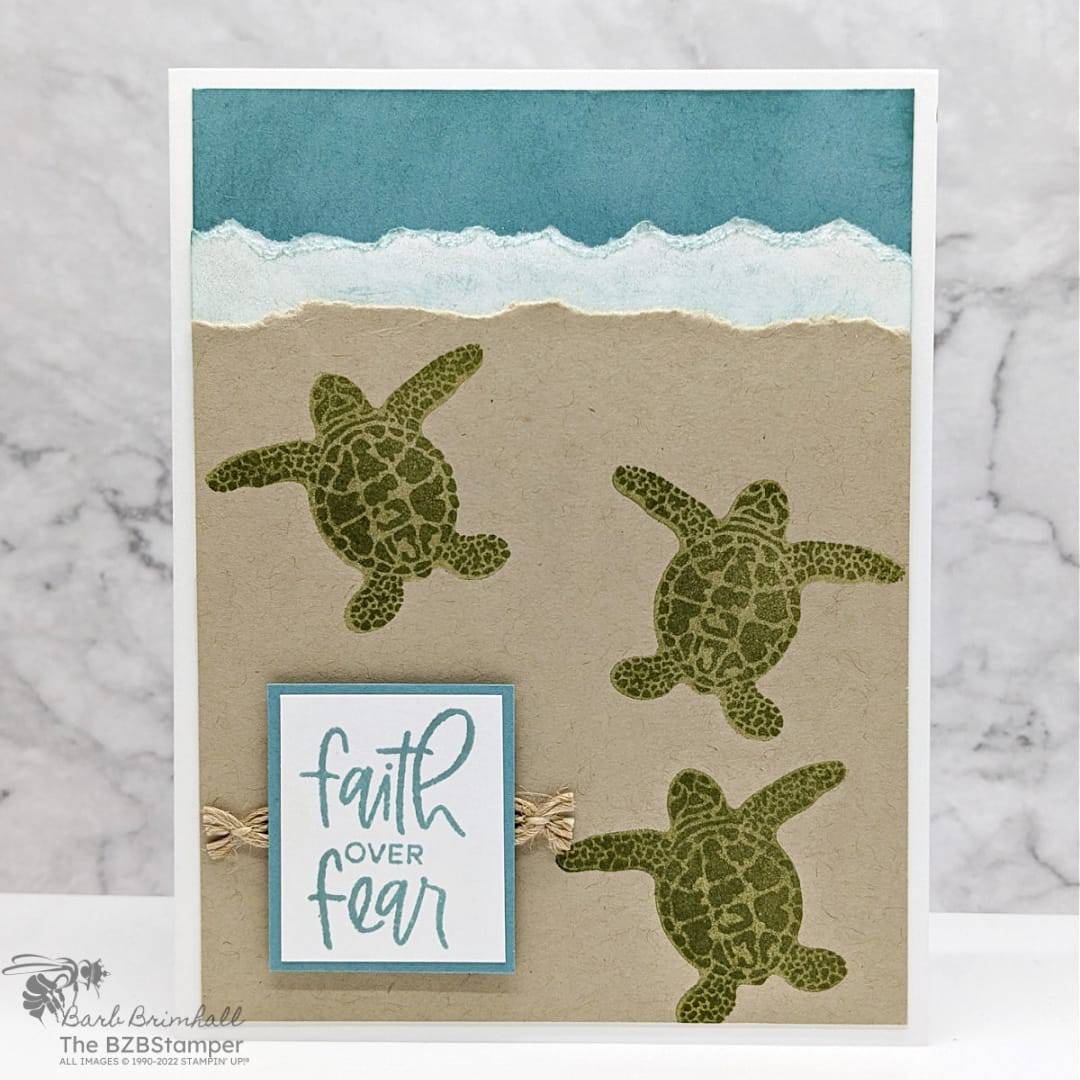
Make this inspiring handmade Card using the Sea Turtle Stamp Set by Stampin’ Up! Full of rich images that showcase one of nature’s most majestic creatures, this stamp set has something for everyone. The Sea Turtle stamp set includes a large sea turtle, a small sea turtle, a starfish, a sand dollar, a school of fish, and texture images. With so many images to mix and match, it makes it super simple to create beautiful handmade cards!
The Sea Turtle stamp set is also a Reversible Stamp Set. These aren’t your ordinary stamps; they are two-in-one wonders that act like a two-step stamp set. Imagine having a silhouette on one side and a detailed image on the other, giving you the power to add color, shadows, and mind-blowing depth to your cards and projects. Perfect for quick & easy cards, mirror images, layering, and so much more, these stamps are set to revolutionize your crafting experience.
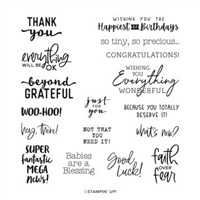
Since this set doesn’t come with any sentiments, I paired it with the Charming Sentiments stamp set, which has lots of different all-occasion stamps. I though this sentiment worked particularly well on this card!
How To Make This Card
Project Skill Level: Busy Bee
Busy Bee projects are designed for the beginner or busy papercrafter. This is a basic cardmaking project that can be achieved by someone who has never made a handmade card before. You can view more Busy Bee cards here.
Cardstock Measurements:
- Basic White Cardstock: 5-1/2″ x 8-1/2″, scored at 4-1/4″
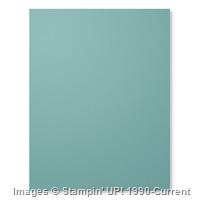
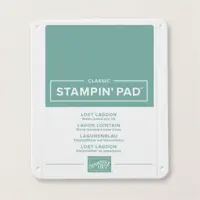
- Lost Lagoon Cardstock: 4″ x 5-1/4″
- Crumb Cake Cardstock: 4″ x 5-1/4″
- Basic White Cardstock: 4″ x 5-1/4″
- Lost Lagoon Cardstock: 1-3/8″ x 1-5/8″
- Basic White Cardstock: 1-1/4″ x 1-1/2″


Grab your Free copy
Get 5 Bee-utiful Exclusive
Card Sketches in Your Inbox
Join our newsletter and receive a honey of a package of five quick & simple cards guaranteed to make your creativity buzz! Sign up now and let the goodness flow straight to your inbox!
Step-by-Step Instructions:
- Fold the 5-1/2” x 8-1/2” piece of Basic White cardstock in half at the 4-1/4” score line.
- Using the 4” x 5-1/4” piece of Lost Lagoon cardstock, sponge the top only of the Lost Lagoon Cardstock using a sponge dauber and Lost Lagoon ink. Adhere to the front of the card.
- Tear approximately 3/4” off the top of the 4″ x 5-1/4″ piece of Basic White cardstock and lightly sponge the torn section with Lost Lagoon ink. Add Wink of Stella to the top inch of the torn and sponged cardstock. Adhere to the front of the card.
- Tear off the top of the Crumb Cake cardstock so that it’s about 1/2” shorter than the Basic White cardstock. Ink up the small bold turtle using Old Olive ink; tap off once on your scratch sheet and stamp onto the Crumb Cake Cardstock. Repeat 2 more times.
- Ink up the small outline turtle using Old Olive ink and stamp onto one of the bold turtles. Repeat 2 more times. Adhere to the front of the card.
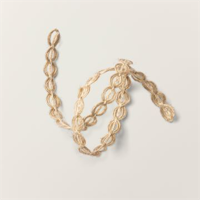
- Using the 1-1/4” x 1-1/2” piece of Basic White Cardstock, stamp the sentiment onto the White cardstock using Lost Lagoon ink and adhere to the Lost Lagoon cardstock. Cut a 2” piece of the Wavy Trim and adhere to the card front using adhesive.
- Adhere the sentiment over the Trim using Stampin’ Dimensionals to finish.
A Tip from Barb
This is the perfect card sketch for whenever you need a card in a hurry! If you struggle with cutting in 1/8″ increments, it’s perfectly ok to cut the Lost Lagoon cardstock to 1-1/2″ x 1-3/4″ to make your life easier! 😃
Thanks for stopping by for today’s card tutorial! My goal is to help you make quick & easy greeting cards for all occasions. If you’d like more detailed directions on how to make this card, feel free to email me. I hope you’ll join me again for more card-making ideas!

Don’t forget to pin this for later!
