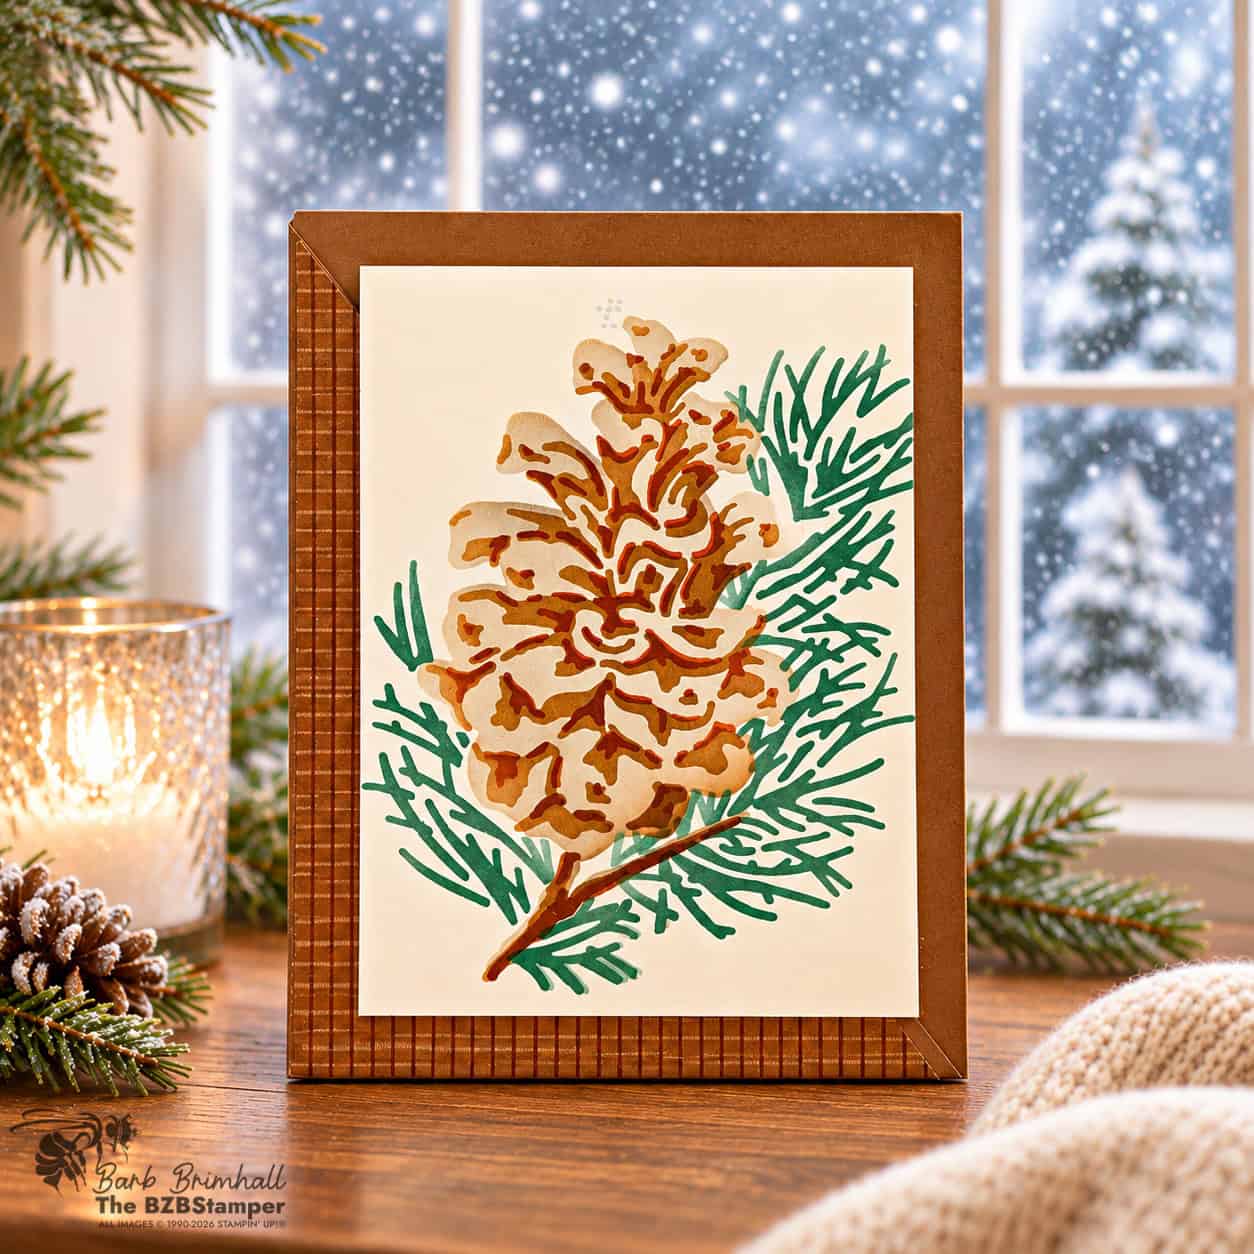
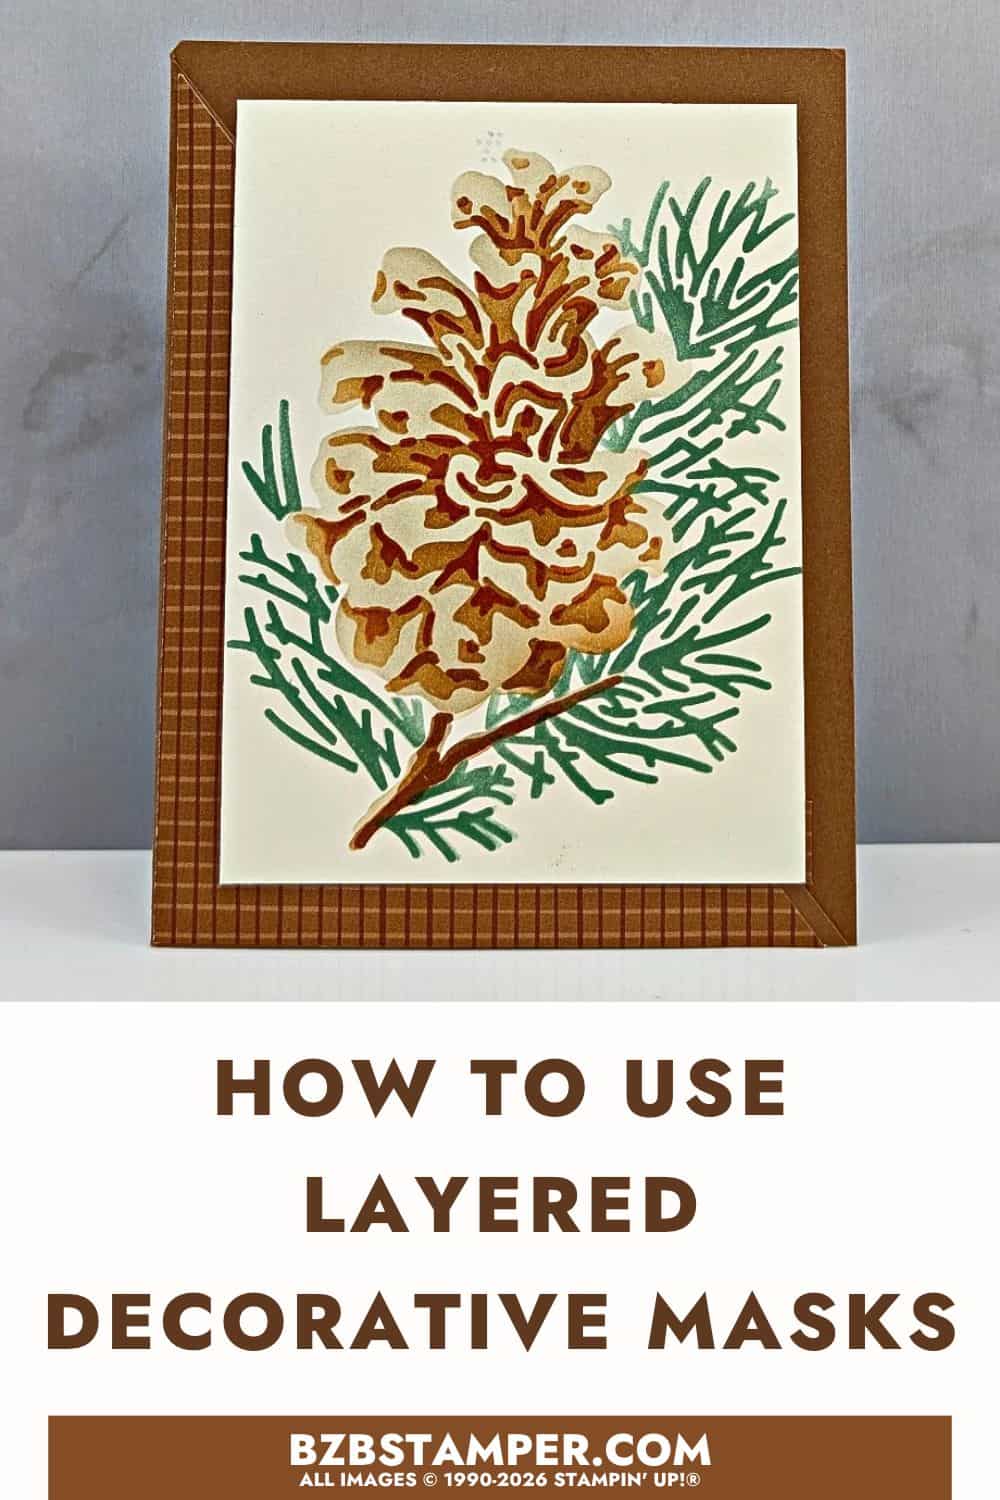
Have you ever looked at a set of decorative masks and wondered how all those layers fit together? If so, you’re going to love today’s project! I’m sharing how to use layered Decorative Masks to make a pinecone card, and I’ll show you how to build those pretty pinecones one layer at a time!
And there’s a little bonus! We’re also making a double-flap fun fold card with a surprise when you open it. This is the first project in my new Step By Step Stamping series, where I’ll walk you through the cardmaking process from start to finish.
Want to make this card? You can shop the supplies I used below!
Love Making Handmade Cards?
Get 5 Bee-utiful Exclusive
Card Sketches in Your Inbox
If you enjoy making cards and could use a little fresh inspiration, I’d love to have you join my email list!
I’ll share cardmaking ideas, free tutorials, and helpful tips to keep you creating and sending those cards. And you can always use supplies you already have!
Why These Colors Work So Well Together
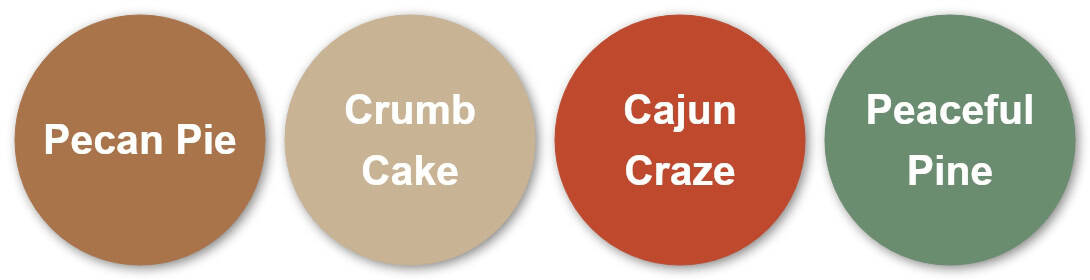
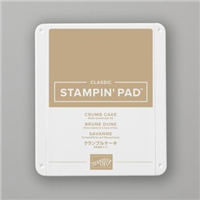
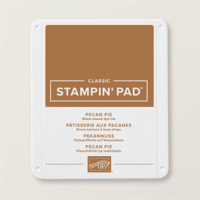
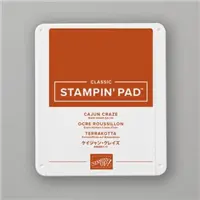
For this card, I used Crumb Cake, Pecan Pie, Cajun Craze, and Peaceful Pine. I love how these colors give the pinecones such a warm, natural look!
Crumb Cake creates a soft base for the pinecones, while Pecan Pie adds depth and definition. A little Cajun Craze brings in some warmth, and Peaceful Pine is the perfect finishing touch for the greenery.
What I especially love about this combination is that it works for so many occasions. It’s lovely for a sympathy card like this one, but you could easily use these same colors for a fall birthday card or even a masculine card.
And don’t you love a color combination that can do double duty?
Watch the Step By Step Stamping Video Tutorial
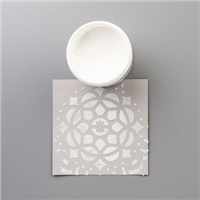
Ready to see how this card comes together? In the video below, I’ll walk you through using the Frosted Pinecones Decorative Masks to create those layered pinecones, along with the cutting, scoring, and assembly of the double-flap fun fold.
I’ll also share a few tips for lining up your masks, blending your colors, and adding a little shimmer to your finished design. Grab your favorite beverage, get comfortable, and come stamp with me!
You can find more video tutorials on our Youtube Channel
Get Your Free Step By Step Stamping Tutorial
Want to make this card yourself? I’ve put together a free printable tutorial with the measurements and instructions so you can follow along at your own pace.
Print it out, keep it at your craft table, and refer back to the video whenever you need a little extra help!
Don’t forget to pin this for later!
Want to Make This Card? Here’s What I Used!
I’ve listed the supplies I used for this project below so you can find everything in one place.
Already have some of these goodies in your craft room? Perfect! Just add the items you need, or click Add All to Cart and remove anything you already own before checking out.
And remember, you can always use supplies you already have to make this card your own!


Price: $13.00

One more little perk while you’re shopping. Each month there’s a Product of the Month you can add for just $5 when your order reaches $75. It’s a fun surprise that’s not in the catalog and only available while supplies last. Click To Learn More
What to Write Inside a Sympathy Card
I don’t know about you, but sometimes making a sympathy card is easier than figuring out what to write inside! We want to say something comforting, but finding the right words isn’t always easy. And honestly, you don’t need to write anything fancy. Just letting someone know you’re thinking of them can mean so much.
Here are two simple messages you could use:
“Thinking of you and sending love during this difficult time.”
“Wishing you comfort and peace in the days ahead.”
And remember, it’s not about finding the perfect words. It’s about letting someone know they’re not alone.
A Little Handmade Kindness Goes a Long Way
One of the things I love most about making handmade cards is knowing that something we create at our craft tables can mean so much to someone else.
And sympathy cards are especially meaningful. Sometimes there just aren’t any words that can make things better, but a handmade card can remind someone they’re loved and not alone.
I hope you’ll give these decorative masks a try, whether you make this exact card or use the technique with supplies you already have.
And don’t forget to pop that finished card in the mail. Someone out there could really use a little handmade kindness. Let’s fill those mailboxes with stamping sunshine!
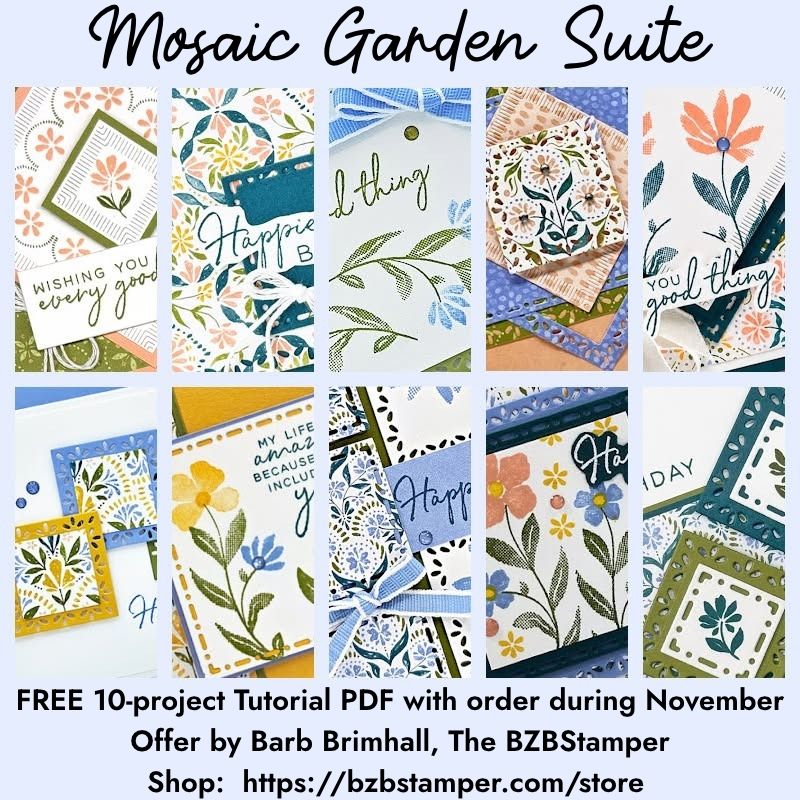
NOVEMBER ordering Bonus
A Bonus for You!
Any order you place in November includes a free 10-project tutorial featuring the Mosaic Garden Suite that you can use with any Bundle in your stamp stash.
It’s filled with beautiful, step-by-step card ideas to spark your creativity when your order arrives — so you’re not staring at supplies wondering where to start.