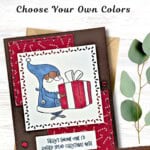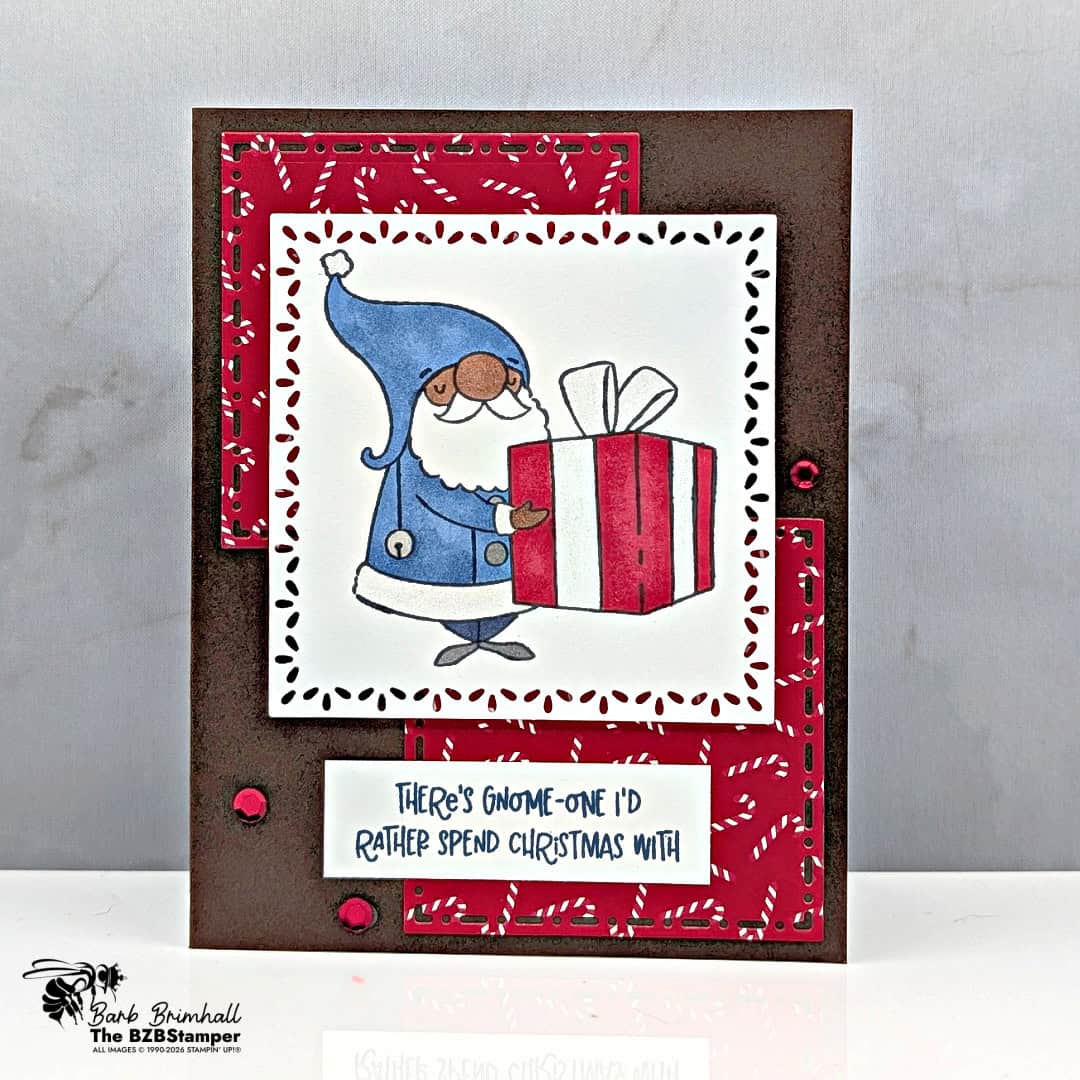
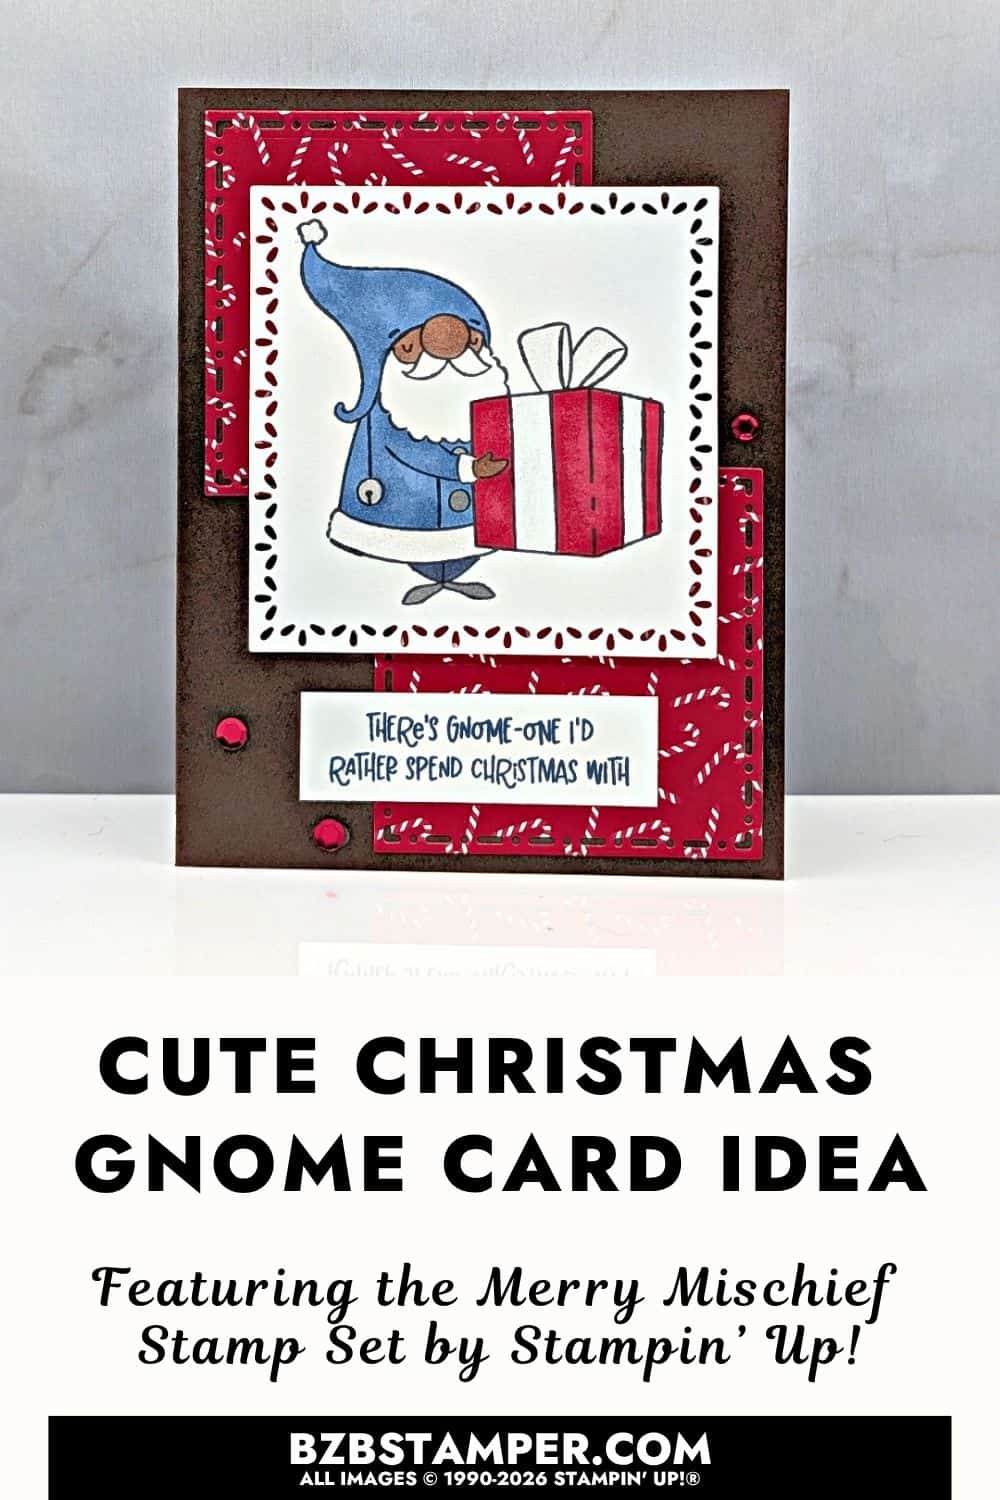
If you’re looking for a Christmas card that’s more playful than traditional, this Cute Gnome Christmas Card using the Merry Mischief Stamp Set might be just what you need. Between that adorable gift-toting gnome and the fun greeting, this card definitely doesn’t take Christmas too seriously!
But there’s another idea on this card that I really like. Take away the gnome and the Christmas paper, and you have a layered card layout you could use over and over again.
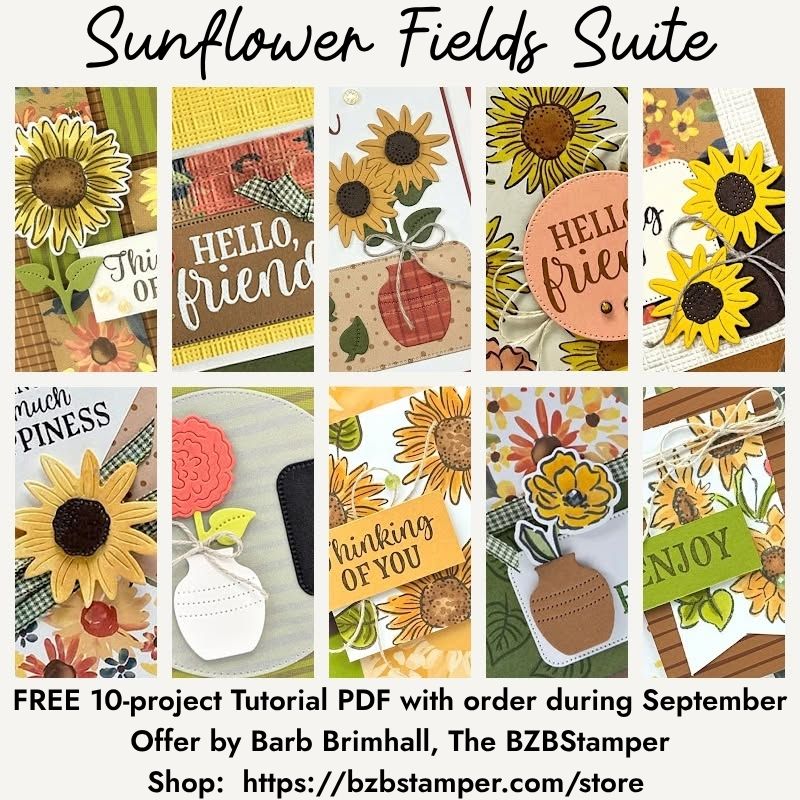
September ordering Bonus
A Bonus for You!
Any order you place in September includes a free 10-project tutorial featuring the Sunflower Fields Suite that you can use with any Bundle in your stamp stash.
It’s filled with cozy, step-by-step card ideas to spark your creativity when your order arrives — so you’re not staring at supplies wondering where to start.
The Tile Garden Dies are doing more than simply cutting squares on this card. I used two die-cut squares of A Stitched Season Designer Paper and offset them behind the main focal point. That gives us pattern and movement peeking out from different areas without covering the entire card front with Designer Paper.
It’s an easy way to make a card look more layered without having to come up with a complicated layout. And that’s what makes dies like these so useful. The Tile Garden Dies come in different sizes and edge patterns, so they’re not limited to one particular style of card. You can use them for frames, borders, layers, or focal points depending on what you’re making.
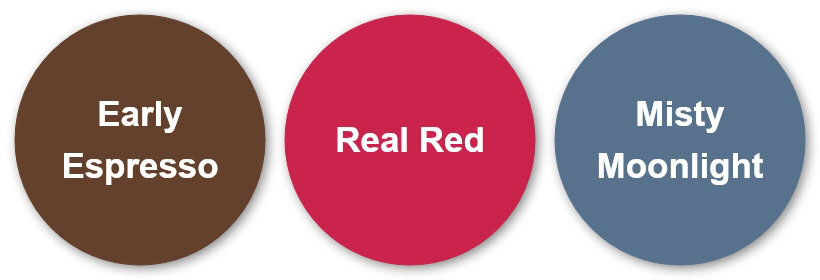
Real Red gives us the unmistakable Christmas color in this combination, but pairing it with Early Espresso and Misty Moonlight changes the whole personality of the card. Early Espresso gives all that bright red a strong, warm foundation. Misty Moonlight adds a softer blue that works beautifully on the gnome while giving us a break from the more expected red-and-green Christmas palette.
Together, the three colors feel festive without being overly traditional, which seems just right for a mischievous Christmas gnome!
Of course, we still need to talk about that gnome! The Merry Mischief Stamp Set has several playful little gnomes enjoying their own kind of Christmas fun. For this card, I chose the gnome carrying the big present and made him the main focal point.
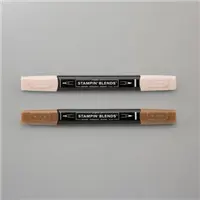
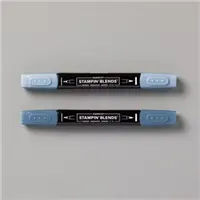
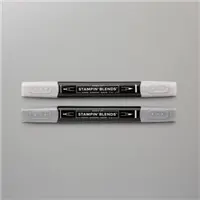
I colored him with Stampin’ Blends using Real Red, Misty Moonlight, Ivory/Bronze, and Smoky Slate. Because the image is fairly large, the coloring becomes part of the design rather than just a small detail. If you’re not familiar with our Stampin’ Blends, they are alcohol markers that make coloring images simple and fast! You can find out more about our Stampin’ Blends here.
How To Make This Card
You’ll find the full supply list and step-by-step instructions below.
Cute Gnome Christmas Card using the Merry Mischief Stamp Set
Supplies Needed
- Early Espresso Cardstock: 5-1/2" x 8-1/2" (score at 4-1/4")
- Basic White Cardstock: 4" x 5-1/4" (inside card)
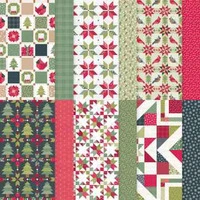
- A Stitched Season Paper: 6" x 6" (Candy Cane pattern)
- Basic White Cardstock: 3-1/2" x 3-1/2" (for die-cutting)
- Basic White Cardstock: 3/4" x 2-1/2" (for sentiment)
Instructions
- Fold the Early Espresso cardstock in half to create your card base.
- Adhere the 4" x 5-1/4" piece of Basic White cardstock inside the card base and decorate as desired.
- Run the A Stitched Season Paper through the Stampin' Cut & Emboss Machine and die-cut two of the 2-3/4" x 2-3/4" Tile Garden Dies. Adhere one square in the upper left corner and the other square in the lower right corner of the card front.
- Stamp the elf image onto the 3-1/2" square of Basic White cardstock using Black ink. Color in using the Blends. Run through the Cut & Emboss Machine and die-cut using the 3-1/4" Tile Garden square die. Adhere to the front of the card using Stampin' Dimensionals.
- Stamp the sentiment onto the 3/4" strip of Basic White cardstock using Black ink. Adhere to the card, as shown in the sample, using adhesive.
- To finish, add Wink of Stella and 3 of the Cherry Cobbler Sequins to the card as desired.
Notes
Not every Christmas card needs to be elegant or sentimental. Sometimes you know exactly who needs the card with the silly gnome and the greeting that makes them laugh.
And really, isn’t that part of the fun of making our own cards? We get to choose something that reminds us of the person who will eventually find it in their mailbox.
Let’s get stamping!
Love this color combo? Pin it for later!
Supplies Used:

Price: $13.00












One more little perk while you’re shopping. Each month there’s a Product of the Month you can add for just $5 when your order reaches $75. It’s a fun surprise that’s not in the catalog and only available while supplies last. Click To Learn More
If you enjoy simple, cozy cardmaking like this, you’d love the creative support we share inside the Creative Living Room. If you have questions about today’s tutorial, please email me for detailed steps. Inspire your craft with more ideas—join me over on Pinterest!

Grab your Free copy
Get 5 Bee-utiful Exclusive
Card Sketches in Your Inbox
Join our newsletter and receive a honey of a package of five quick & simple cards guaranteed to make your creativity buzz! Sign up now and let the goodness flow straight to your inbox!