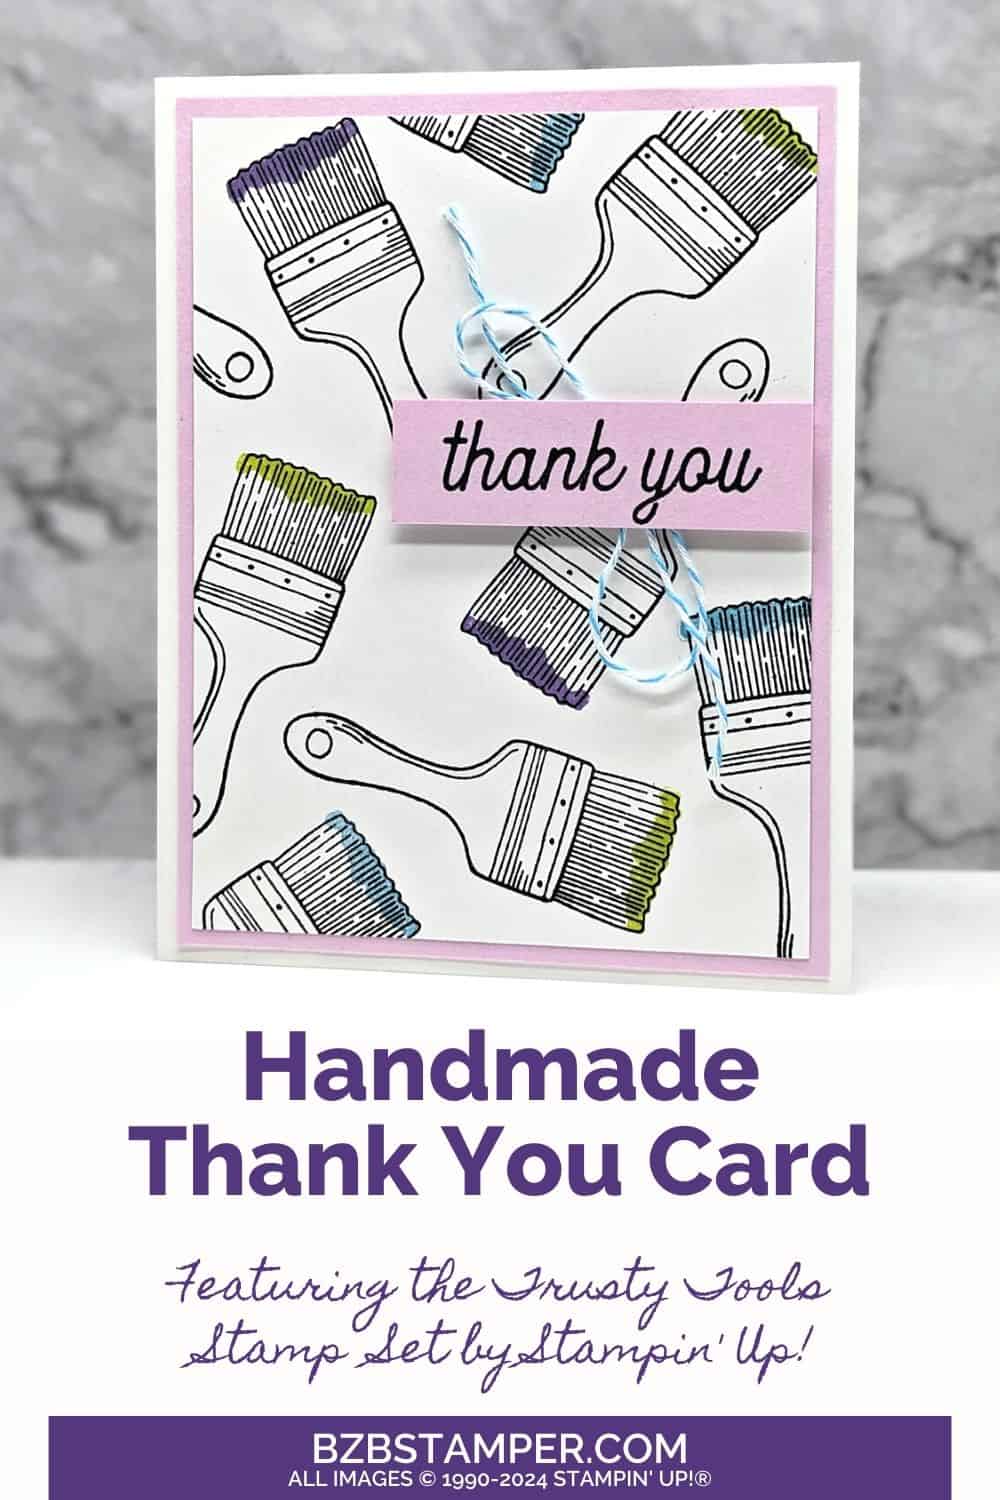
We all have people in our life who deserve our thanks and it’s easy to create a handmade Thank You Card using the Trusty Tools Bundle by Stampin’ Up! When it comes to expressing your gratitude, there’s nothing quite like a handmade card and this Bundle makes it easy!
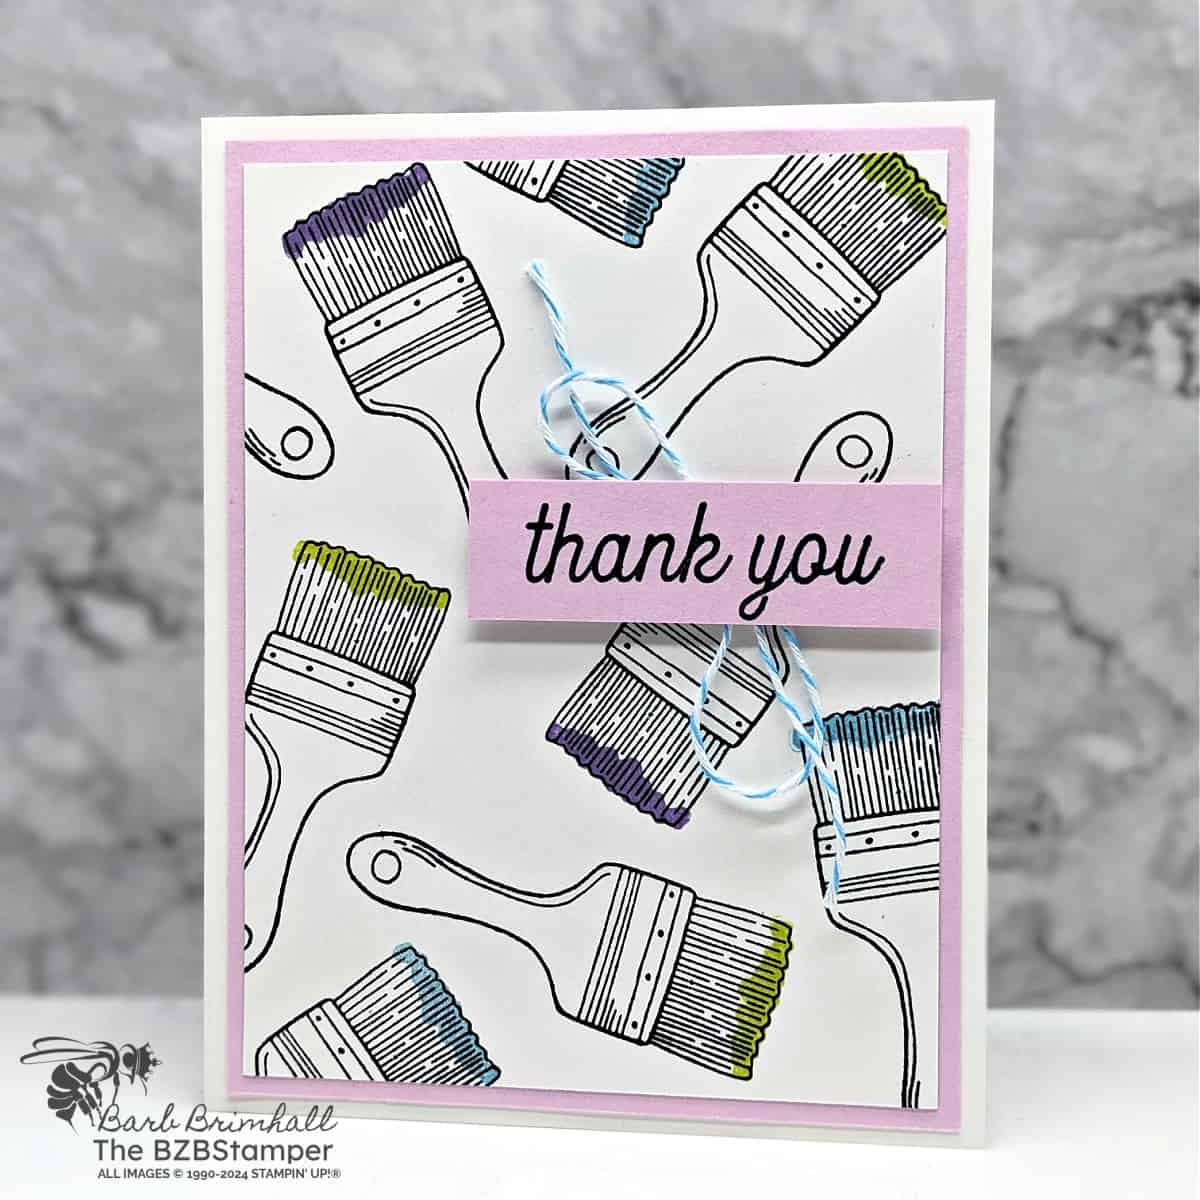
The Trusty Tools Stamp Set and Dies are perfect for adding a unique, colorful touch to your projects thanks to it’s Two-Step Stamping design. The two-step stamping process lets you layer images using different stamps from the set and gives your stamped images more color and detail than you’d get using just one stamp. Try two-step stamping to add more life and color to your papercrafting projects!
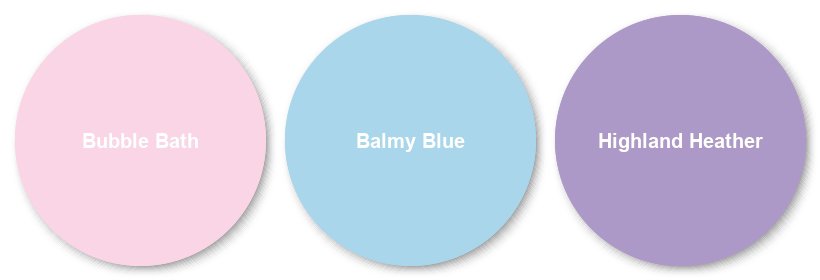
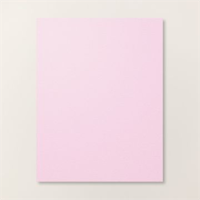
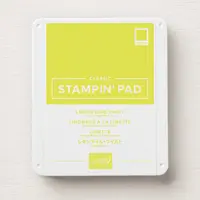
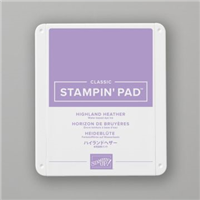
For this card, I used the two-step paintbrush combined with the image that lets you add paint to the bottom of your brush. I went with the fun color combo of Bubble Bath, Balmy Blue, and Highland Heather – with a pop of Lemon Lime Twist to add a dash of bright color! If this color combination doesn’t appeal to you, make sure you check out my Color Combination Library for more inspiration!
Whether it’s for a helpful neighbor, a supportive friend, or anyone who’s been a solid rock in your life, these tool-themed cards are sure to leave a lasting impression.
How To Make This Card
Project Skill Level: Busy Bee
Busy Bee projects are designed for the beginner or busy papercrafter. This is a basic cardmaking project that can be achieved by someone who has never made a handmade card before. You can view more Busy Bee cards here.
Cardstock Measurements:
- Basic White Cardstock: 5-1/2” x 8-1/2”, scored at 4-1/4”
- Bubble Bath Cardstock: 4” x 5-1/4”
- Basic White Cardstock: 3-3/4” x 5”
- Bubble Bath Cardstock: 3/4” x 2-1/2”


Grab your Free copy
Get 5 Bee-utiful Exclusive
Card Sketches in Your Inbox
Join our newsletter and receive a honey of a package of five quick & simple cards guaranteed to make your creativity buzz! Sign up now and let the goodness flow straight to your inbox!
Step-by-Step Instructions:
- Fold the 5-1/2” x 8-1/2” piece of Basic White Cardstock in half at the scoreline to create card base.
- Using the Black Memento ink, stamp the paintbrush randomly onto the 3-3/4” x 5” piece of Basic White cardstock until the cardstock is filled.
- Using the Lemon Lime Twist ink pad, stamp the ‘paint’ onto the end of several of the paint brushes, reinking your stamp each time. Clean stamp thoroughly and repeat the process using Balmy Blue ink. Repeat one more time using Highland Heather ink.
- Adhere the White cardstock to the Bubble Bath cardstock and adhere to front of card.
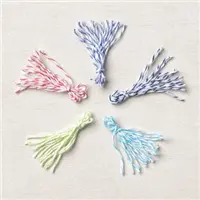
- Stamp the sentiment onto the 3/4” strip of Bubble Bath cardstock using Black Memento ink. Using about 12” of Tahitian Tide Baker’s Twine, tie into a loose bow and adhere to back of sentiment strip.
- Adhere sentiment strip/twine to the front of the card using Stampin’ Dimensionals to finish.
A Tip from Barb
This is a fabulous card sketch when you need a card in a hurry. What makes this card special is the fact that this is a two-step stamp set, which allows you to add a bunch of color to your card quickly and easily. You could make a ton of these Thank You cards in a hurry in whatever color combination you like!
Thanks for stopping by for today’s card tutorial! My goal is to help you make quick & easy greeting cards for all occasions. If you’d like more detailed directions on how to make this card, feel free to email me. I hope you’ll join me again for more card-making ideas!

Don’t forget to pin this for later!
