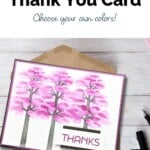
Sending a heartfelt thank you card is a wonderful way to show your appreciation, and what better way to do it than with this vibrant Thank You Card using the Frosted Forest Masks by Stampin’ Up! These Masks are perfect for adding depth, texture, and a touch of artistic flair to your projects. Whether you’re a seasoned crafter or just starting out, you’ll find that these masks make it easy to create beautiful, professional-looking cards.
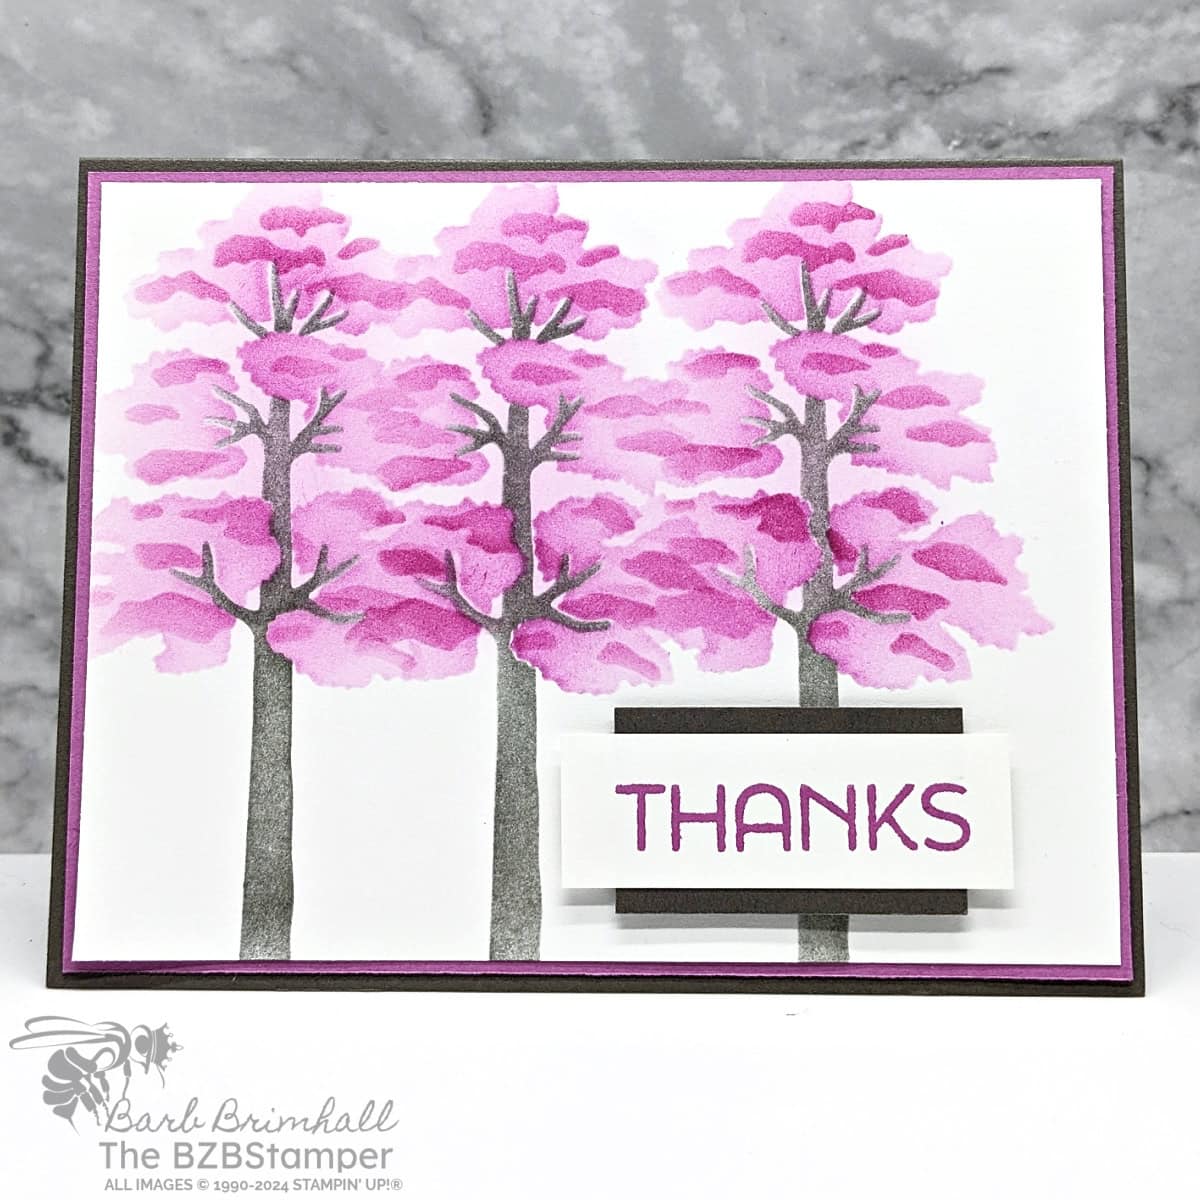
The Frosted Forest Decorative Masks feature six unique tree designs that can be layered to create intricate and realistic scenes. You can use Blending Brushes or Sponge Daubers to apply different shades of ink for a multi-dimensional look, or try Embossing Paste to add texture and depth. With these masks, the possibilities are endless, and the results are always impressive.
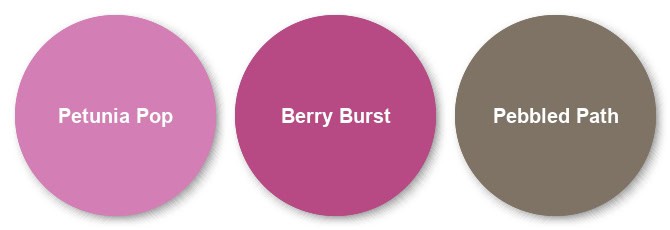
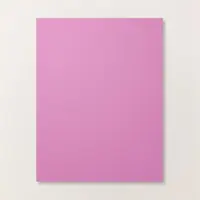
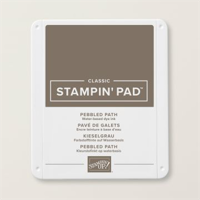
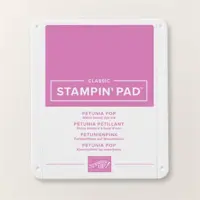
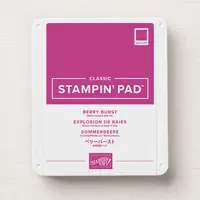
For this card, I used Blending Brushes to add one of my favorite color combinations – Petunia Pop, Berry Burst and Pebbled Path. If you’d like something softer, make sure you check out my Color Combination Library for lots of inspiration.
Creating a vibrant thank you card with Frosted Forest Masks is a fun and rewarding project that will leave a lasting impression on the recipient. These versatile masks make it easy to add depth, texture, and a touch of artistry to your handmade cards. So grab your supplies and get ready to create a card that truly stands out!
How To Make This Card
Project Skill Level: Busy Bee
Busy Bee projects are designed for the beginner or busy papercrafter. This is a basic cardmaking project that can be achieved by someone who has never made a handmade card before. You can view more Busy Bee cards here.
Cardstock Measurements:
- Pebbled Path Cardstock: 5-1/2″ x 8-1/2″, scored at 4-1/4″
- Basic White Cardstock: 4″ x 5-1/4″ (2 pieces)
- Petunia Pop Cardstock: 4-1/8″ x 5-3/8″
- Pebbled Path Cardstock: 1″ x 1-3/4″
- Basic White Cardstock: 3/4″ x 2-1/4″


Grab your Free copy
Get 5 Bee-utiful Exclusive
Card Sketches in Your Inbox
Join our newsletter and receive a honey of a package of five quick & simple cards guaranteed to make your creativity buzz! Sign up now and let the goodness flow straight to your inbox!
Step-by-Step Instructions:
- Fold the Pebbled Path cardstock in half at the score line to create the base card.
- Adhere one of the 4″ x 5-1/4″ pieces of Basic White cardstock inside the card.
- Using the other piece of Basic White cardstock, adhere to a scratch sheet of paper using non-stick tape (such as Washi Tape.)
- Using the 3 Frosted Forest Decorative Masks, line them up together with the notch on the right side. Using non-stick tape, adhere the branch mask over the White cardstock, positioning on the left side as desired. Ink up a Small Blending Brush with Pebbled Path ink and lightly blend over the branch mask. Carefully move the mask to the right and repeat the process. Finally, move the mask to the right again and repeat the process. Set the mask aside for cleaning later.
- Using the “bold” leaf mask, line up on the left sponged tree trunk and lightly sponge with Petunia Pop ink using a clean small Blending Brush. Repeat 2 more times on the other 2 sponged branches.
- Using the “detailed” leaf mask, line up on the left sponged tree and lightly sponge using Berry Burst ink and a clean Blending Brush. Repeat the process 2 more times. When all 3 trees are done, adhere the White Cardstock to the Petunia Pop cardstock and adhere to the front of the card.
- Stamp the sentiment onto the 3/4″ x 2-1/4″ piece of Basic White cardstock using the Berry Burst ink pad. Adhere the sentiment strip to the 1″ strip of Pebbled Path cardstock.
- Adhere the sentiment strip to the lower right corner of the card using Stampin’ Dimensionals to finish.
A Tip from Barb
When you’re done using the masks, place them in a sink. Because the ink used is a dye-based, water-soluble ink, it will rinse right off. If there is any staining on the mask, use a stamp cleaner or a teeny bit of Dawn Dish Detergent. Rinse clean and then stand up to dry. Because portions of these masks can be fragile, I recommend that you “hang” them to dry, rather than pat them dry with a towel.
Thanks for stopping by for today’s card tutorial! My goal is to help you make quick & easy greeting cards for all occasions. If you’d like more detailed directions on how to make this card, feel free to email me. I hope you’ll join me again for more card-making ideas!

Don’t forget to pin this for later!






Barb Thank You! You cards are beautiful.
Ellen! You made my day! Thank you so much for your kind comments. 😊 If there’s anything else I can help you with, please let me know!