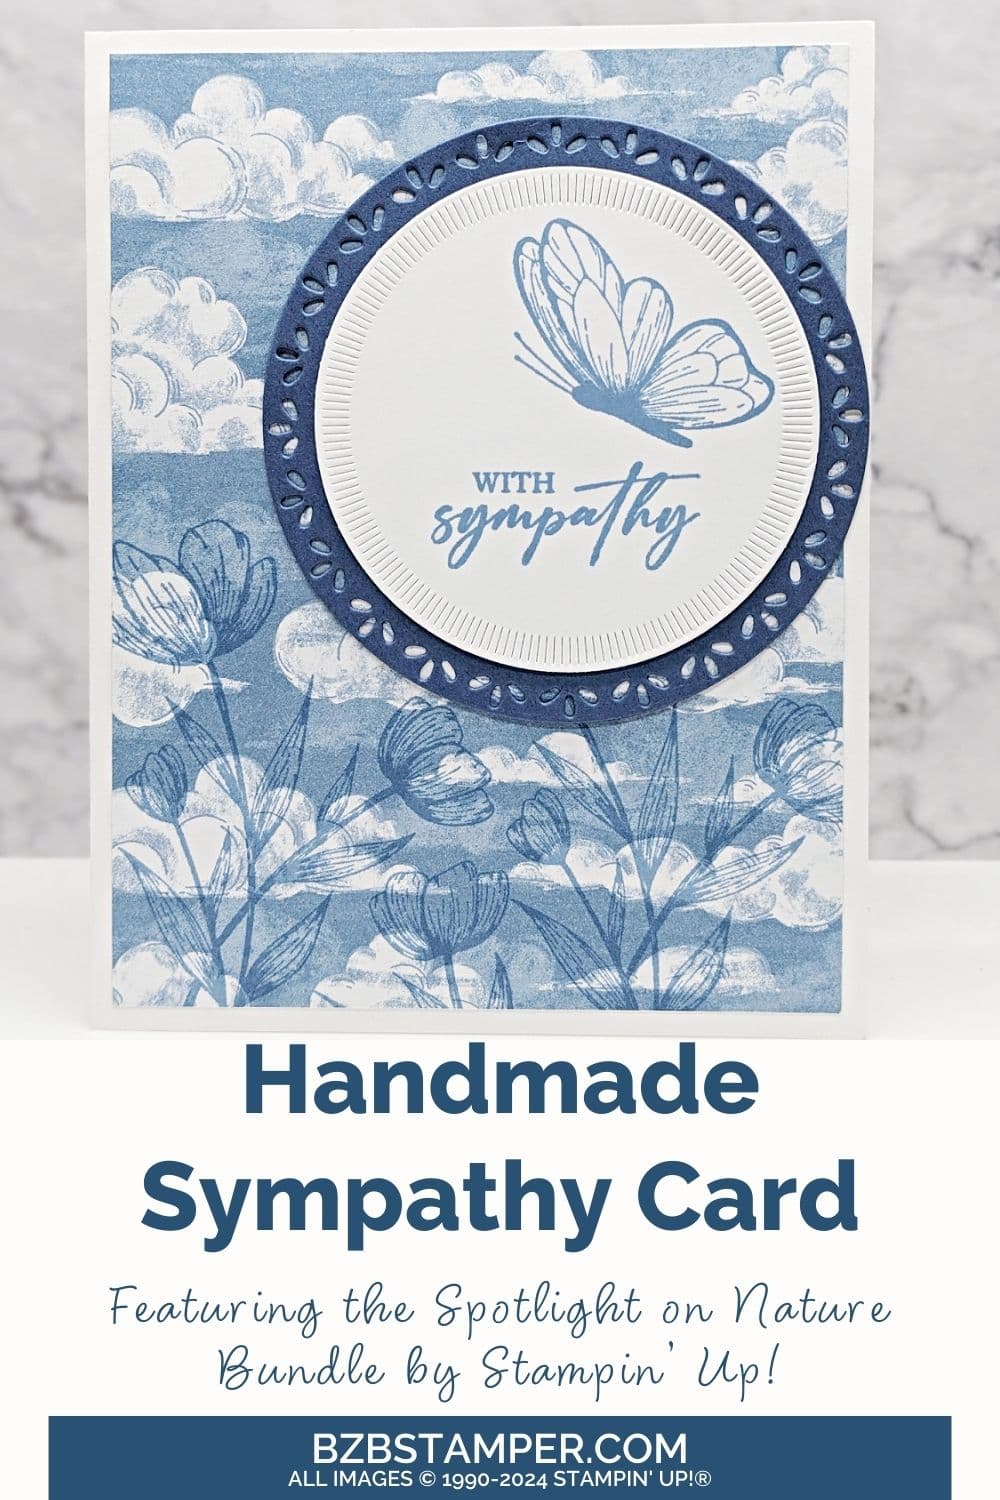
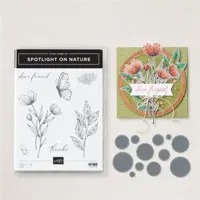
Learn how to create this beautiful Spotlight on Nature Sympathy card using the Spotlight on Nature Bundle by Stampin’ Up! Creating a sympathy card can be a heartfelt way to express your condolences and provide comfort to someone during a difficult time. With the Spotlight on Nature Bundle, you can craft a beautiful and thoughtful handmade sympathy card that conveys your sincere sentiments by adding soft greenery, delicate florals, and touching sentiments.
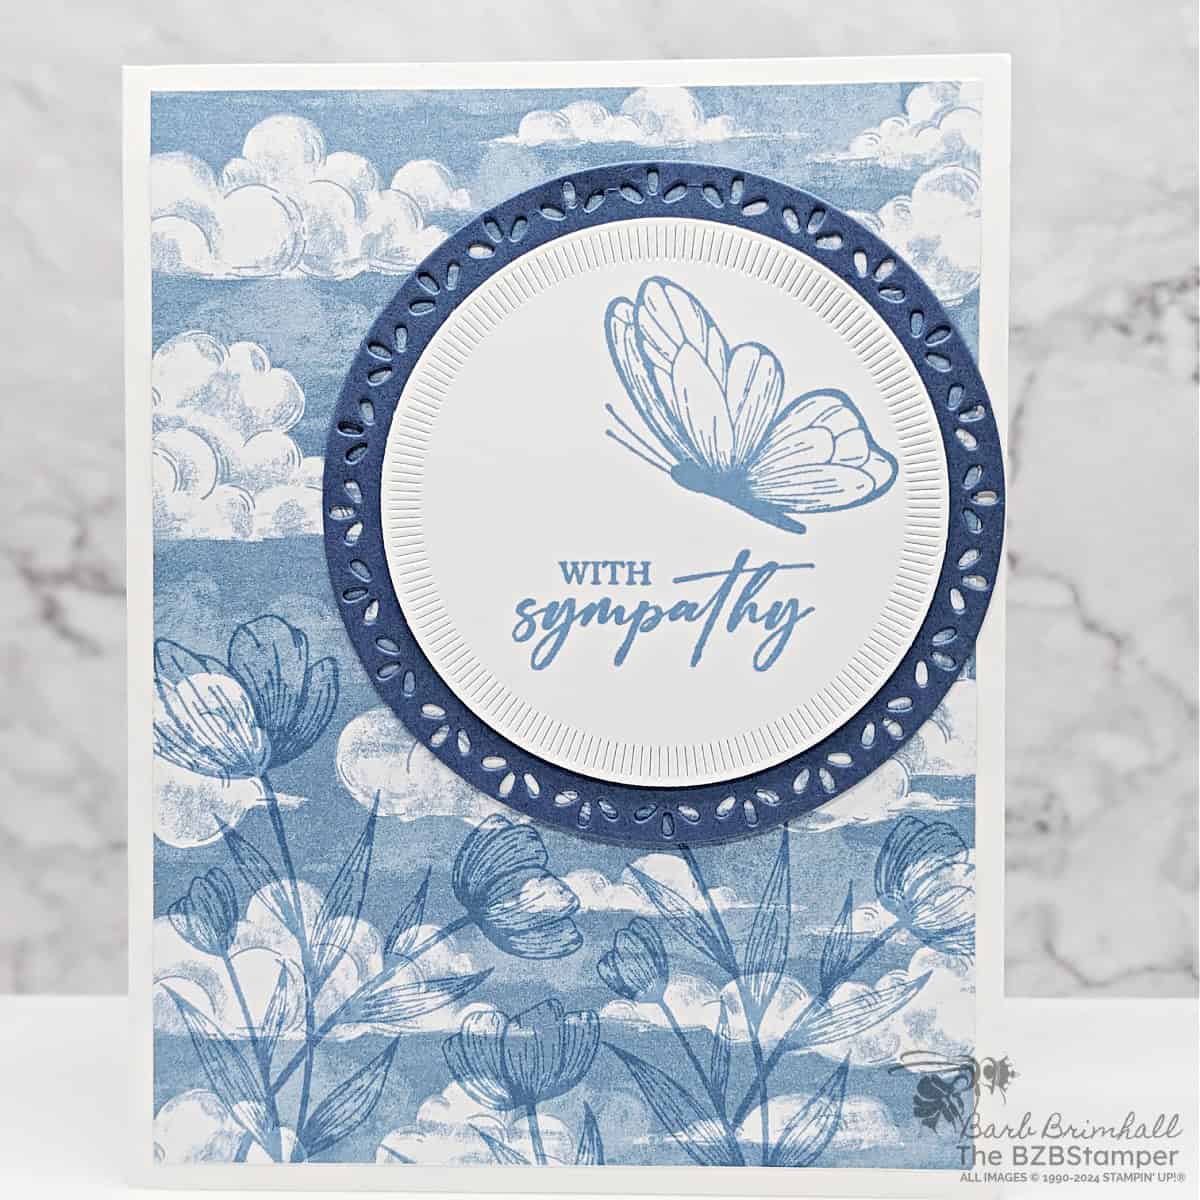
The Spotlight on Nature Bundle is designed to help you create cards that are not only beautiful but also meaningful. The intricate designs of the stamps and the versatile circular dies give you the tools to craft a sympathy card that stands out. Imagine sending a card adorned with a stamped butterfly or a delicate sprig of leaves, accompanied by a heartfelt message. It’s a simple yet powerful way to show you care.
Ready to get started? Gather your crafting supplies, and let’s get started on making a sympathy card that truly expresses your heartfelt condolences.
How To Make This Card
Project Skill Level: Worker Bee
Worker Bee projects are designed for the crafter who has a bit more time and enjoys creating a handmade card that features a technique or tool. In many cases, a Stampin’ Cut & Emboss Machine is required for die-cutting and/or embossing.
Cardstock Measurements:
- Basic White Cardstock: 5-1/2″ x 8-1/2″, scored at 4-1/4″
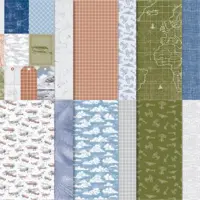
- Take to the Sky Designer Paper: 4″ x 5-1/4″
- Misty Moonlight Cardstock: 3-1/2″ x 3-1/2″ (for die-cutting)
- Basic White Cardstock: 3-1/2″ x 3-1/2″ (for die-cutting)


Grab your Free copy
Get 5 Bee-utiful Exclusive
Card Sketches in Your Inbox
Join our newsletter and receive a honey of a package of five quick & simple cards guaranteed to make your creativity buzz! Sign up now and let the goodness flow straight to your inbox!
Step-by-Step Instructions:
- Fold the Basic White cardstock in half to create your card base.
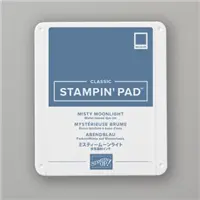
- Using the Misty Moonlight ink pad, stamp the flowers at the bottom of the Take to the Sky paper several times, varying the height of the flowers.
- Adhere the Take to the Sky paper to the front of the card base.
- Run the Misty Moonlight cardstock through the Cut & Emboss Machine using the
3-1/4″ circle die that comes in the Bundle. - Stamp the sentiment onto the center of the 3-1/2″ Basic White paper using Misty Moonlight ink. Stamp the butterfly just to the right and above your sentiment.
- Run the stamped Basic White cardstock through the Cut & Emboss Machine using the 2-3/4″ circle die that comes in the Bundle.
- Adhere the Basic White circle to the Misty Moonlight circle using adhesive and then adhere to the top right of the card to finish.
Thank you so much for stopping by and checking out this papercrafting tutorial. I hope you are inspired to create and send cards. If you’d like more detailed directions on how to make this card, feel free to email me. I love sharing how to make cards here on the BZBStamper blog, and I can’t thank you enough for all of your support!

Don’t forget to pin this for later!
