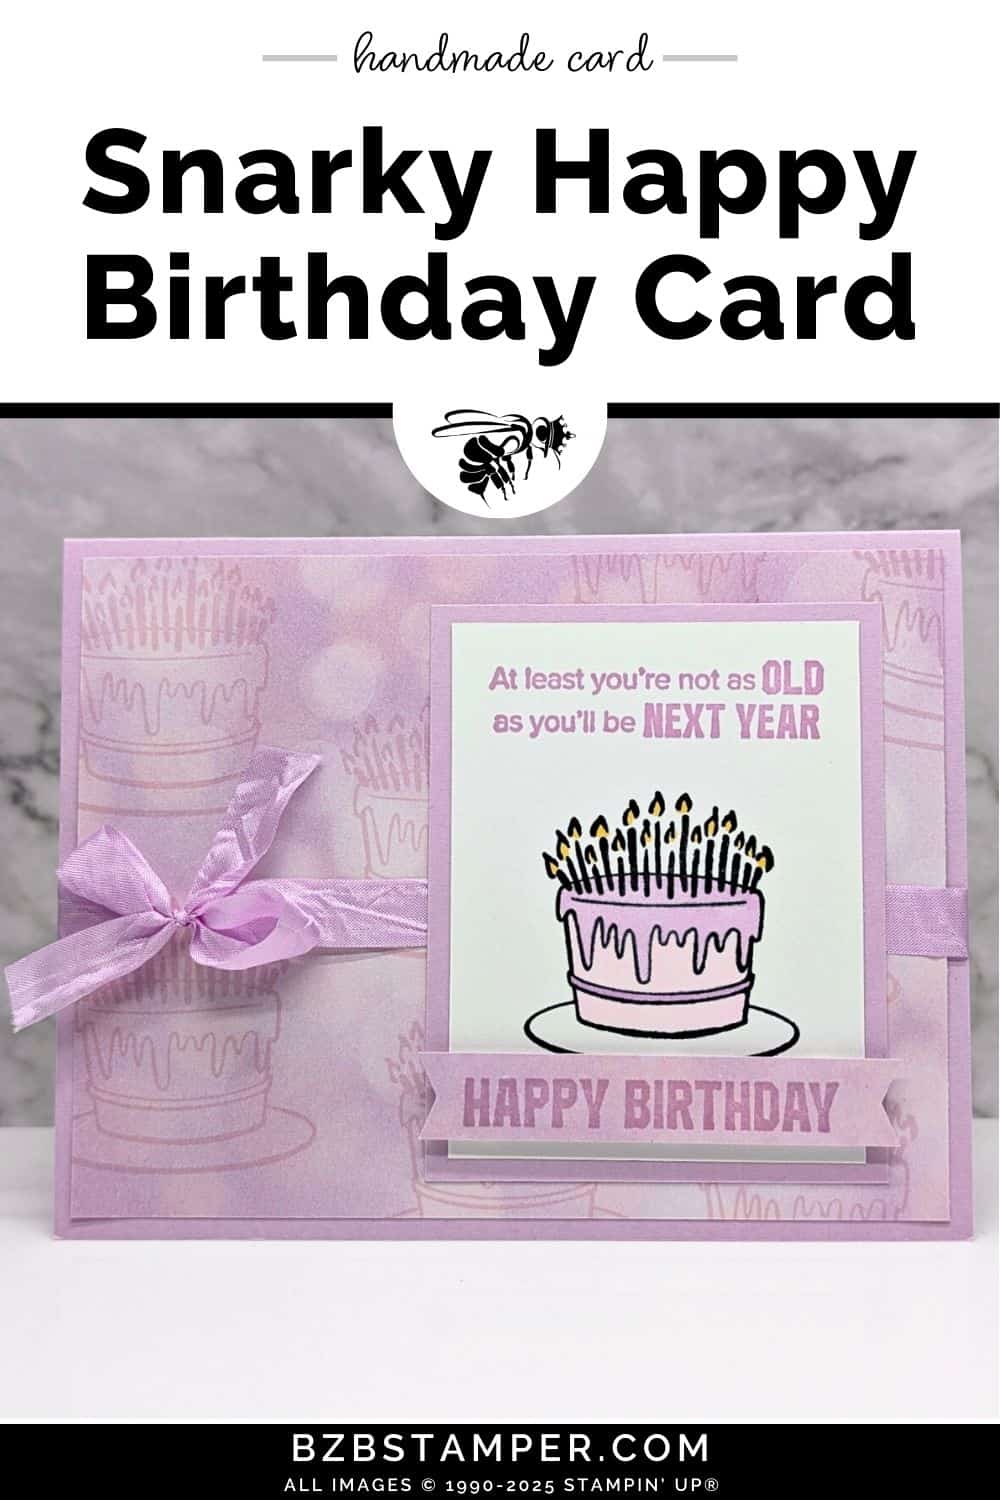
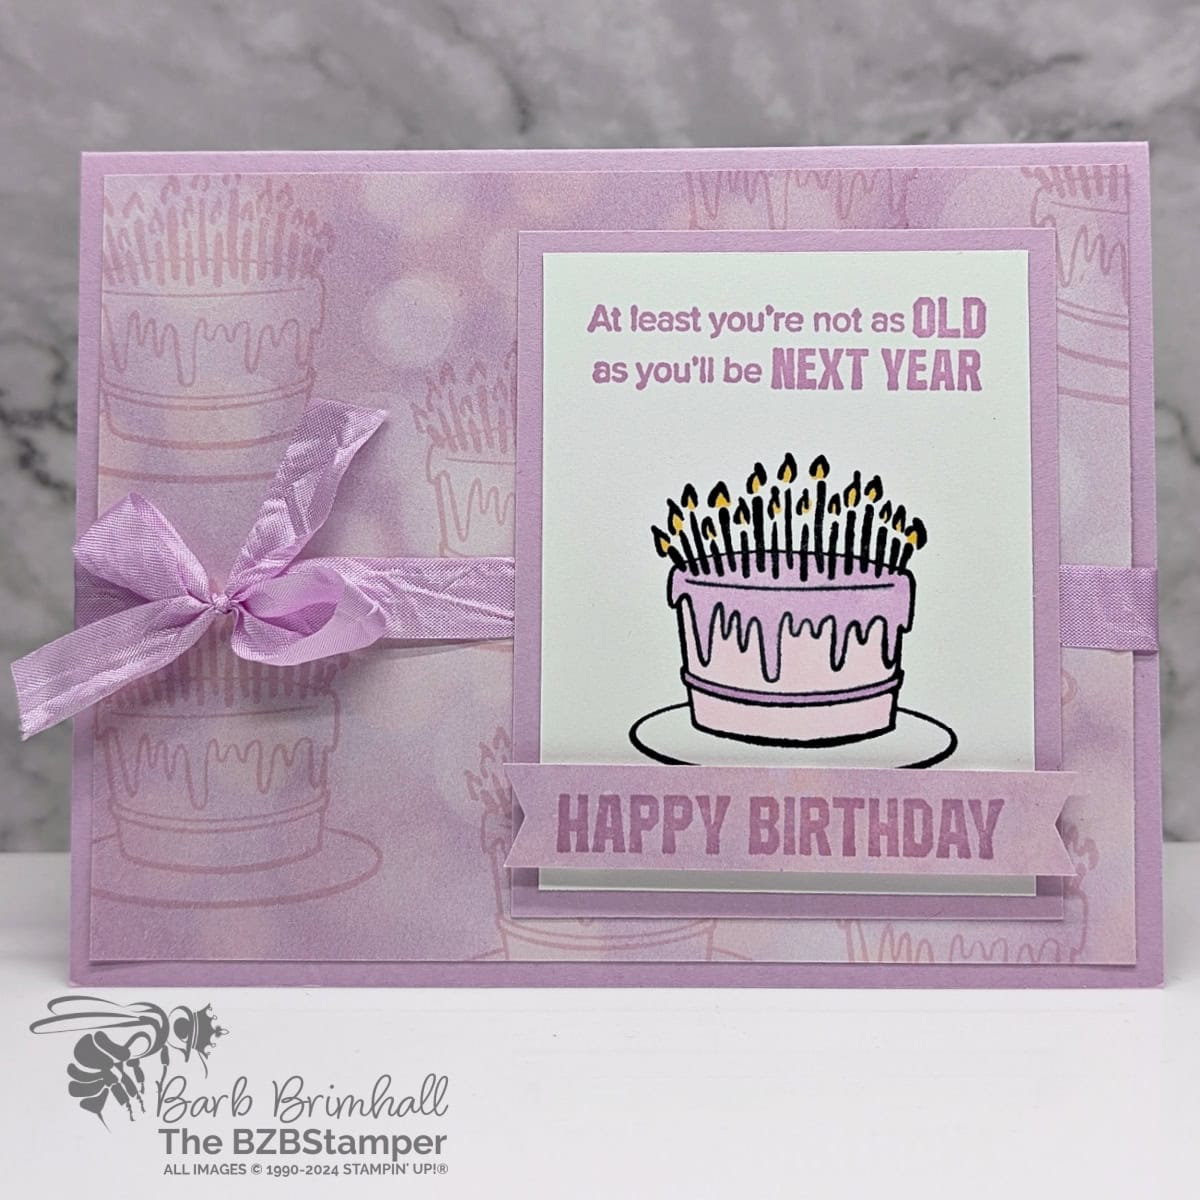
Sometimes a heartfelt birthday card just doesn’t cut it—you need something with a little more sass and sparkle. That’s where this snarky Happy Birthday Handmade Card comes in. Perfect for anyone who loves a good laugh, this card combines fun, humor, and a touch of style to celebrate birthdays in a memorable way. Whether it’s for a friend hitting a milestone year or someone who just appreciates a bit of witty banter, this handmade card is guaranteed to stand out in the birthday lineup.
The One More Year Stamp Set from Stampin’ Up! is the star of this project. With its funny sentiments and charming line-art images, it’s the ideal choice for creating birthday cards that bring a smile. You’ll find cheeky phrases, images of aged wine and cheese, a birthday cake overloaded with candles, and even a party-ready pup. Each of these elements adds a lighthearted twist to your designs, making them perfect for any age, from the big 3-0 to the fabulous 5-0 and beyond.
One of the best things about this stamp set is its versatility. The clean line-art images are just waiting for you to bring them to life with your favorite colors. Whether you prefer the bold and vibrant look of Stampin’ Blends, the soft elegance of watercolor pencils, or the classic touch of ink pads and sponge daubers, the options are endless. Want a more polished card? Pair your snarky sentiment with coordinating dies or punches for added dimension and detail.
Not only does this card deliver humor, but it also shows off the thought and care you put into crafting it. Let’s face it—store-bought cards just can’t compete with something handmade. Creating a snarky yet charming birthday card allows you to personalize it to match the recipient’s personality and the milestone you’re celebrating. Whether you’re highlighting the fun in turning one year older or poking a little gentle fun at “one more year,” this card brings joy and laughter to the celebration.
If you’re someone who loves crafting cards that feel unique, playful, and filled with personality, this is the perfect project to tackle. It’s ideal for crafters of all levels, too. Beginners can focus on simple stamping and coloring, while experienced stampers can step things up with layered cardstock, embossed backgrounds, and even a few well-placed embellishments.
In the end, the Snarky Happy Birthday Handmade Card isn’t just a card—it’s a small piece of happiness wrapped in wit and creativity. It’s about making someone’s birthday brighter, sparking a chuckle, and showing that getting older can still be a lot of fun. Ready to create yours? Grab your One More Year Stamp Set, pick out your favorite colors, and let’s get stamping!
How To Make This Card
Project Skill Level: Busy Bee
Busy Bee projects are designed for the beginner or busy papercrafter. This is a basic cardmaking project that can be achieved by someone who has never made a handmade card before. You can view more Busy Bee cards here.
Cardstock Measurements:
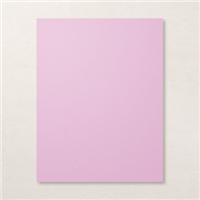
- Fresh Freesia: 5-1/2″ x 8-1/2″, scored at 4-1/4″
- Basic White: 4” x 5-1/4”
- Beautiful Bokeh Designer Paper: 4” x 5-1/4”
- Fresh Freesia: 2-3/4″ x 3-1/2″
- Basic White Cardstock: 2-1/2″ x 3-1/4″
- Fresh Freesia: 1/2″ x 3-1/4″


Grab your Free copy
Get 5 Bee-utiful Exclusive
Card Sketches in Your Inbox
Join our newsletter and receive a honey of a package of five quick & simple cards guaranteed to make your creativity buzz! Sign up now and let the goodness flow straight to your inbox!
Step-by-Step Instructions:
- Fold the Fresh Freesia cardstock in half at the 4-1/4” score line to create card base.
- Adhere the 4” x 5-1/4” Basic White cardstock inside the card.
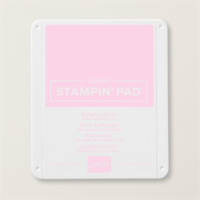
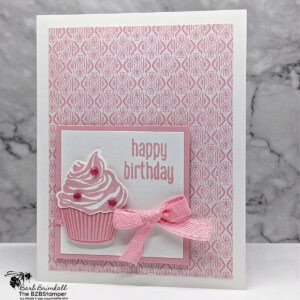
- Stamp the birthday cake image onto the Beautiful Bokeh paper using Bubble Bath Ink.
- Wrap the Fresh Freesia Ribbon around the Beautiful Bokeh paper; tie into a bow on the left side. Adhere the paper to the card base.
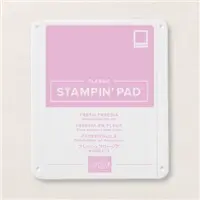
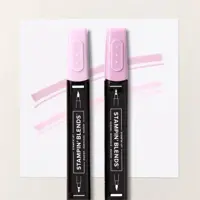
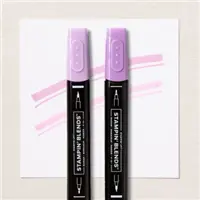
- Stamp the sentiment at the top of the 2-1/2” x 3-1/4” piece of Basic White cardstock using Fresh Freesia ink. Stamp the cake just below the sentiment using Tuxedo Black Memento ink. Color the cake using the Stampin’ Blends as desired.
- Adhere the Basic White cardstock to the Fresh Freesia mat and adhere to card.
- Using the bold Happy Birthday sentiment stamp, place a piece of tape so that it covers the “another wrinkle wise” part of the stamp. Ink up the stamp using Fresh Freesia ink, remove the tape, and stamp onto the ½” strip of Fresh Freesia Cardstock.
- “Banner notch” both ends of the sentiment strip using scissors and adhere below the cake using Stampin’ Dimensionals to finish.
Thank you for visiting! I’m here to guide you through creating fun all-occasion cards that come together effortlessly. Should you need further instructions to craft today’s card, don’t hesitate to reach out via email. Don’t miss out—subscribe to my newsletter for exclusive tutorials and card-making tips today!

Don’t forget to pin this for later!
