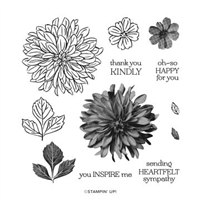
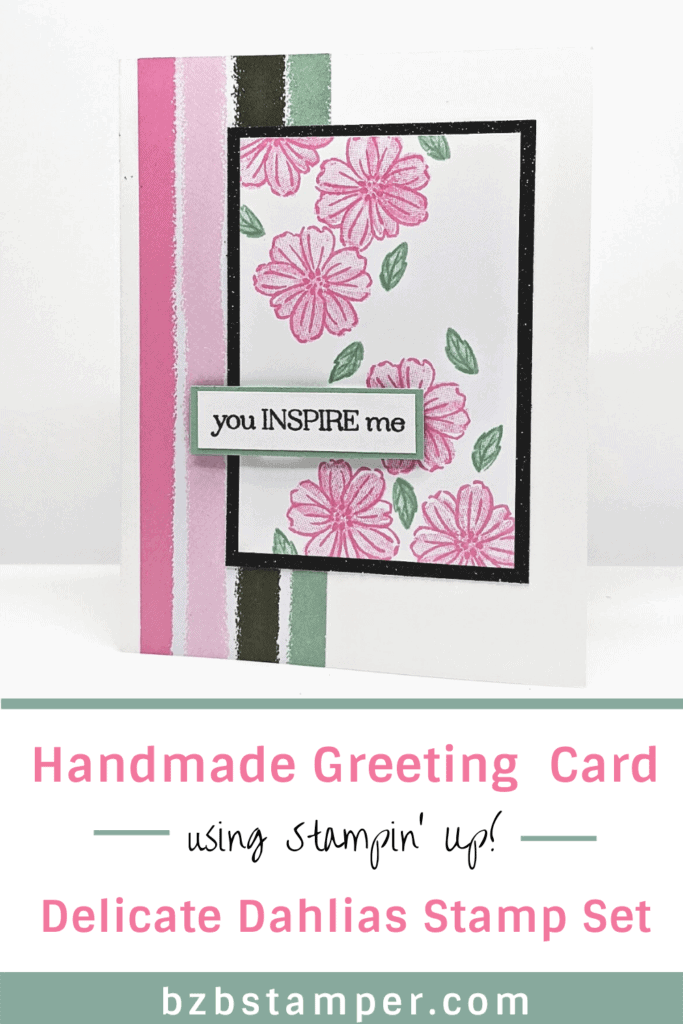
The Delicate Dahlias Stamp Set is a Two-Step Stampin’ set; it allows you to layer two or more images to create one final image with extra texture and dimension in the colors you want.
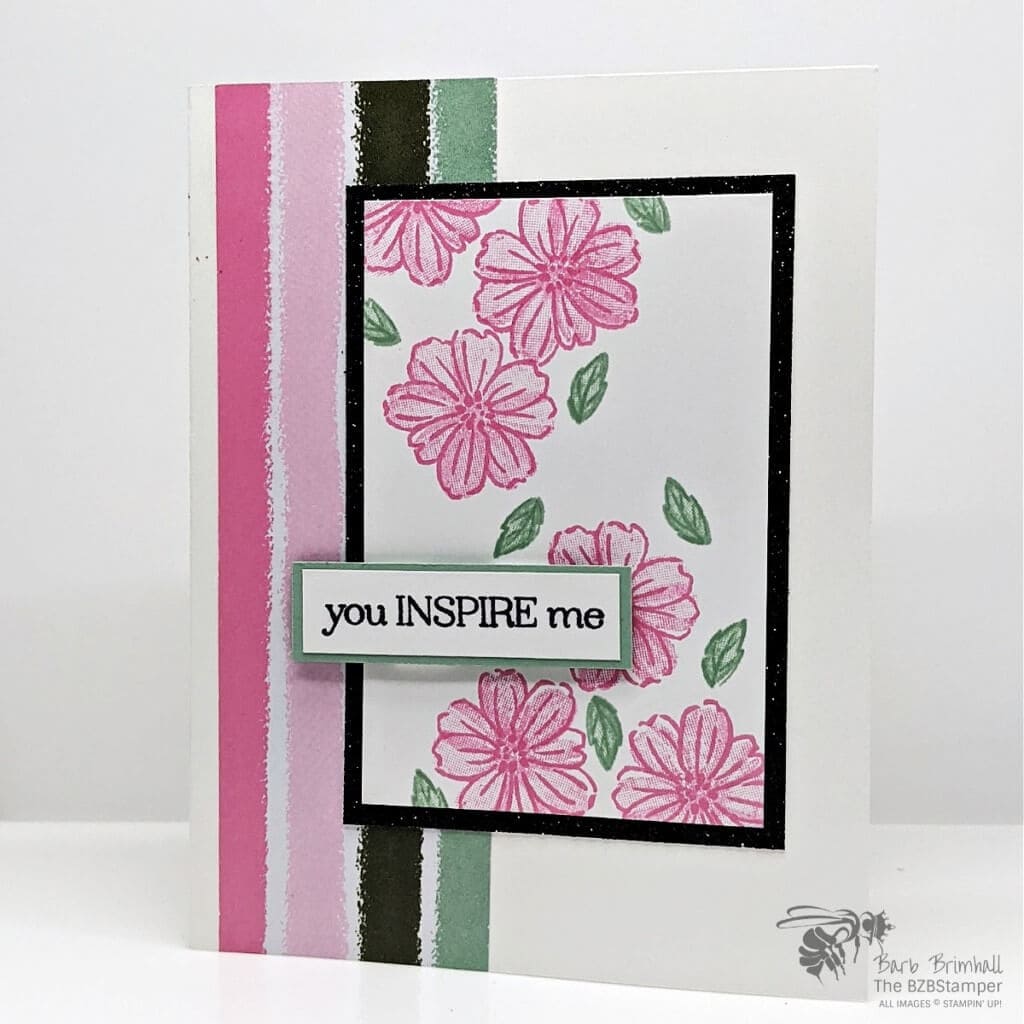
I am soooo going to miss this stamp set when it retires at the end of this month. (This is a Fall Sale-A-Bration set which is available for free with a qualifying $100 order; Sale-A-Bration ends September 30, 2021.) I love that the Delicate Dahlias stamp set contains not only a large focal point floral image, but also smaller outline floral designs that allow you to explore all the coloring techniques your heart desires.
In this case, I kept the card design super simple. I used a slight variation of Card Sketch #12 from my Card Sketch Library but to add a punch of the dramatic, I used Black Glitter Paper for the mat layer under the stamped image focal point. This little bit of sparkle really takes this card up a notch.
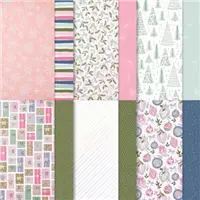
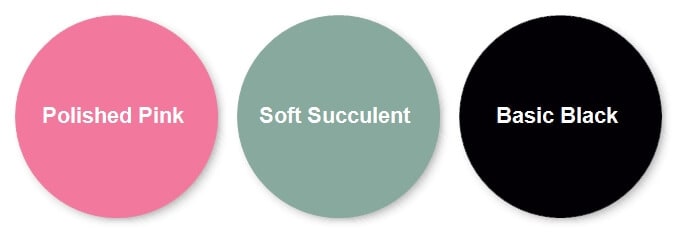
For the color combination, I took it right from the gorgeous Whimsy & Wonder Specialty Designer Paper:
Here’s how I created this card:
Supplies Used on this Project
Project Measurements
- Basic White: 5-1/2” x 8-1/2”, scored at 4-1/4”; 2-1/2” x 3-3/4” and 1/2” x 2”
- Whimsy & Wonder: 1-3/4” x 5-1/2”
- Black Glitter Paper: 2-3/4” x 4”
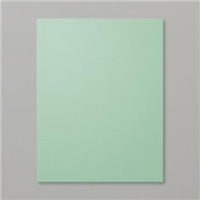
- Mint Macaron: 5/8” x 2-1/8”
Project Instructions
1. Fold the Basic White cardstock in half at the score line and burnish with Bone Folder for a good crease.
2. Adhere the Whimsy & Wonder Designer Paper to the left side of the base card, about 1/4” over from the left fold.
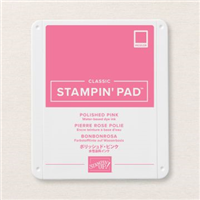
3. Using the 2-1/2” x 3-3/4” White cardstock, stamp the small outline flower 3 times in the upper left corner and 3 times in the lower right corner using Polished Pink ink.
4. Using Polished Pink ink and the small bold flower, ink the stamp, tap off one time on your scratch paper, and stamp onto the outline flower. Repeat with the other 5 flowers.
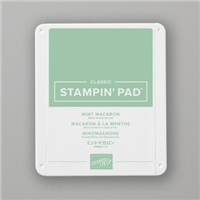
5. Stamp the small outline leaves randomly around the flowers as desired using Mint Macaron ink. Ink up the small bold leaf stamp in Mint Macaron ink, tap off the ink 1x on your scratch paper, and stamp inside one of the outline leaves. Repeat with the other leaves.
6. Adhere the White cardstock to the Black Glimmer paper using Liquid Adhesive and set aside to dry. Pro-tip: the white paper will “slide” on the Glitter paper so set it down carefully – ask me how I know!
7. Using the 1/2” strip of White cardstock, stamp the sentiment using Black Memento ink; adhere to the strip of Mint Macaron cardstock.
8. Adhere the stamped piece from Step #5 to the center of the base card using Adhesive.9. Adhere the sentiment strip to the base card using Stampin’ Dimensionals to finish.

Pin It
Pin away, my friends, pin away!
- Get a Free Tutorial Every Week!
- Shop 24/7 in your PJ’s
- Queen Bee Rewards – Earn FREE Stamps!
- View the 2024-2025 Annual Catalog
- View NEW Online Products
- Monthly Crafting Kit
Thanks for stopping by today, I hope you enjoyed this papercrafting tutorial. If you have a question or if I can help you with anything, please leave me a comment. I’d love to hear from you!


