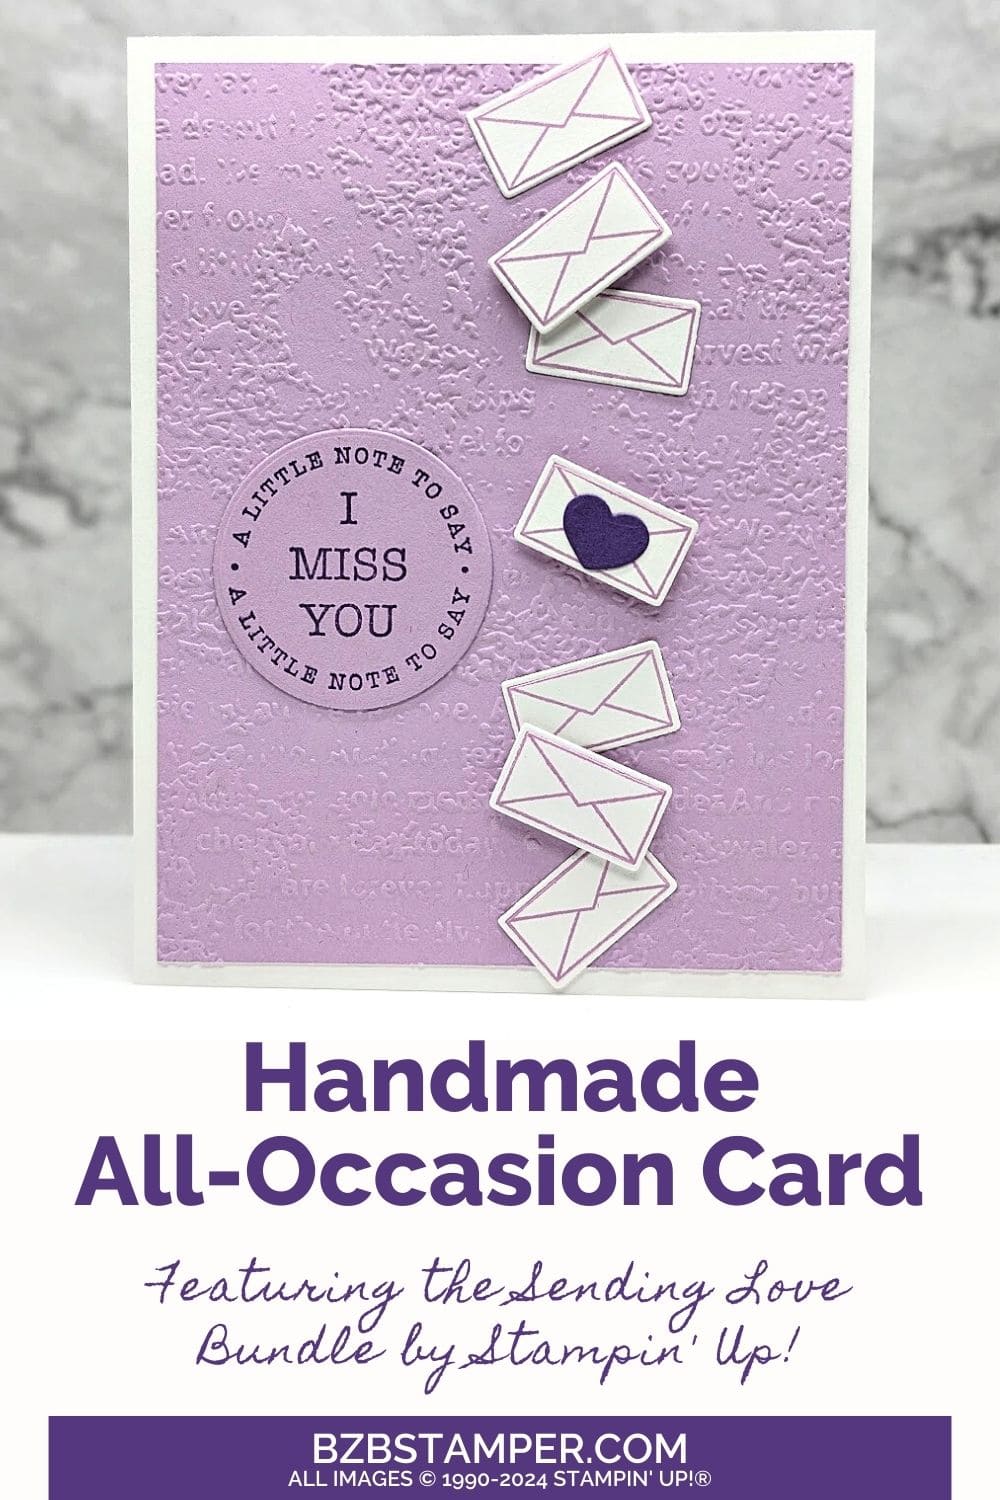
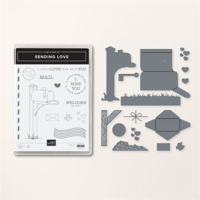
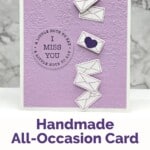
Every day is mail day with the Sending Love Bundle by Stampin’ Up! No matter what type of card you send, this Bundle will help you send mai in style! Whether you need to send birthday, thank you, or missing you cards, each stamp will help you create fun cards for any friend—near or far!
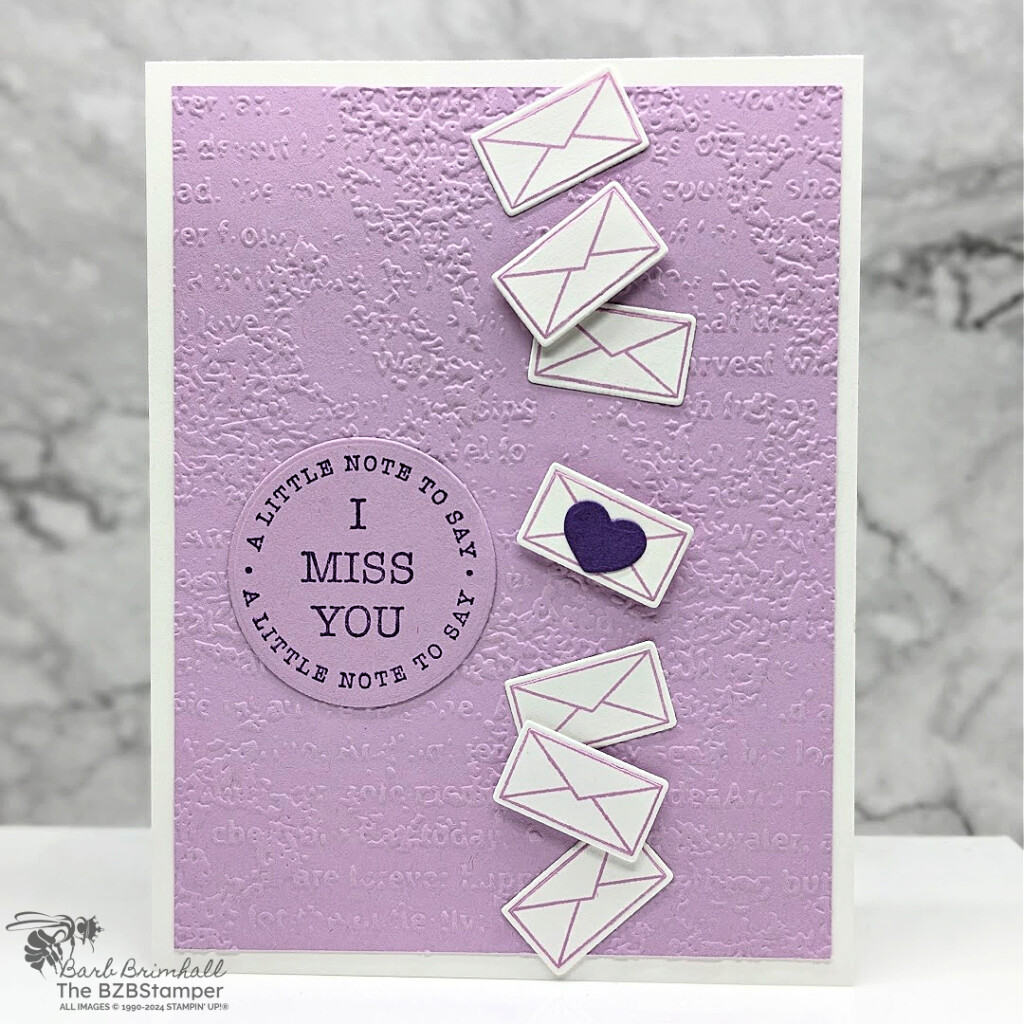
For this card, I went with a monocromatic color combination, which makes it even easier to create a heartfelt card in a hurry. If you’d like something brighter, make sure you check out my Color Combination Library for lots of ideas.
Whether you’re reaching out to a distant friend or reminding someone of your affection, these stamps and dies provide endless opportunities to create something truly special.
How To Make This Card
Project Skill Level: Worker Bee
Worker Bee projects are designed for the crafter who has a bit more time and enjoys creating a handmade card that features a technique or tool. In many cases, a Stampin’ Cut & Emboss Machine is required for die-cutting and/or embossing.
Cardstock Measurements:
- Basic White Cardstock: 5-1/2” x 8-1/2”, scored at 4-1/4”
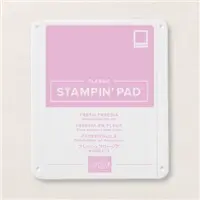
- Fresh Freesia Cardstock: 4” x 5-1/4”
- Basic White Cardstock: 2-3/4” x 4-1/4” (for die-cutting)
- Fresh Freesia Cardstock: 2” x 2” (for die-cutting)
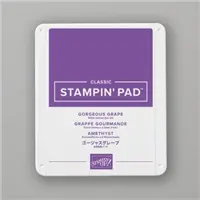
- Gorgeous Grape Cardstock: 1” x 1” (for die-cutting)


Grab your Free copy
Get 5 Bee-utiful Exclusive
Card Sketches in Your Inbox
Join our newsletter and receive a honey of a package of five quick & simple cards guaranteed to make your creativity buzz! Sign up now and let the goodness flow straight to your inbox!
Step-by-Step Instructions:
- Fold the 5-1/2” x 8-1/2” piece of Basic White cardstock in half at the score line to create your card base.
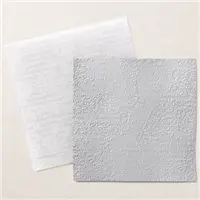
- Run the 4” x 5-1/4” piece of Fresh Freesia cardstock through the Cut & Emboss Machine using the Timeworn Type 3D Embossing Folder. Adhere to the front of the card.
- Using the Fresh Freesia ink pad, stamp the envelope image 7 times on the 2-3/4” x 4-1/4” piece of Basic White cardstock. Run through the Cut & Emboss Machine and cut out the envelopes using the die from the Sending Love Bundle Dies.
- Cut the large heart out of the scrap of Gorgeous Grape cardstock using the same dies and adhere to one of the envelopes.
- Adhere the envelopes to the right side of the card as shown in the sample using Stampin’ Dimensionals on the 2nd and 6th envelope.
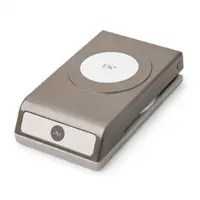
- Stamp the circle sentiment onto the 2” scrap of Fresh Freesia cardstock using the Gorgeous Grape ink pad. Punch out using the 1-3/4” Circle Punch and adhere to the front of the card, to the left of the center envelope with the heart to finish.
A Tip from Barb
If you don’t have a Cut & Emboss Machine, you can still make this card. Simply remove the Timeworn Type Embossing Folder step, and cut out the envelopes using scissors. You may have to forgo the heart on the middle envelope, but you can even cut out the sentiment circle with your scissors if you don’t have the punch. This will still make an adorable card, it’ll just take you a wee bit longer to create!
Thank you so much for stopping by and checking out this papercrafting tutorial. I hope you are inspired to create and send cards. If you’d like more detailed directions on how to make this card, feel free to email me. I love sharing how to make cards here on the BZBStamper blog, and I can’t thank you enough for all of your support!

Don’t forget to pin this for later!
