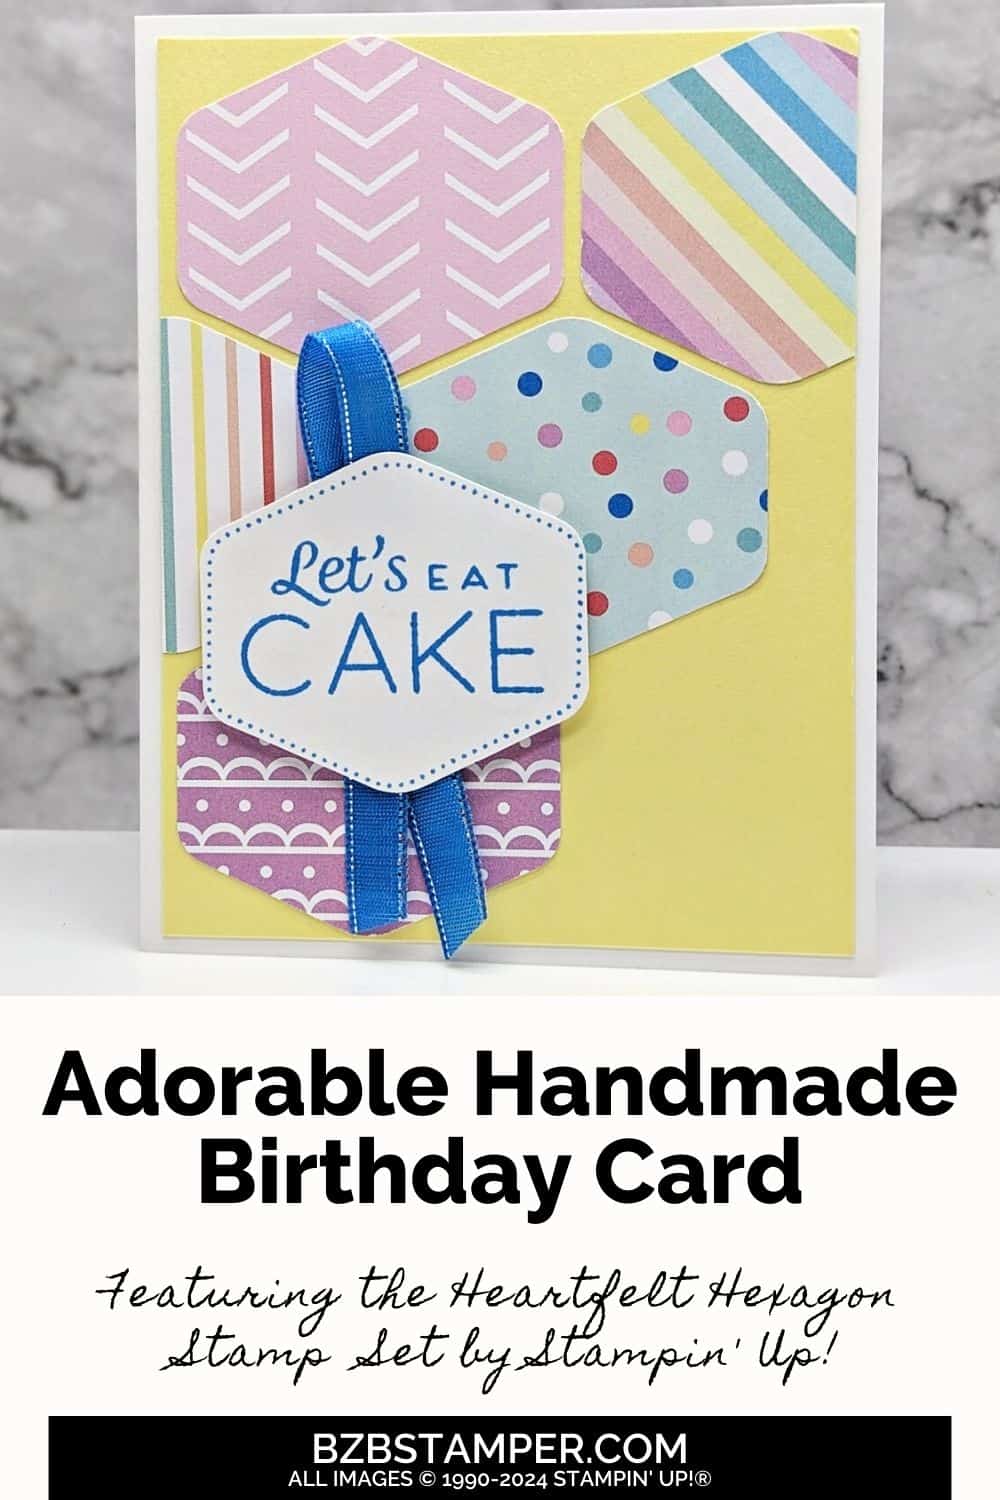
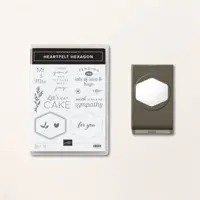
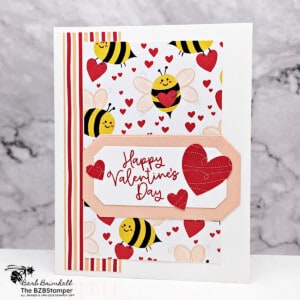
You’ll love how easy it is to make this Heartfelt Hexagon Birthday Card using the Heartfelt Hexagon Bundle by Stampin’ Up! Birthdays are a time for joy, celebration, and, of course, beautiful cards! With this Bundle, the possibilities for creating unique and vibrant birthday cards are endless. Whether you’re aiming for bright and bold or soft and subtle, these designs will make any birthday extra special.
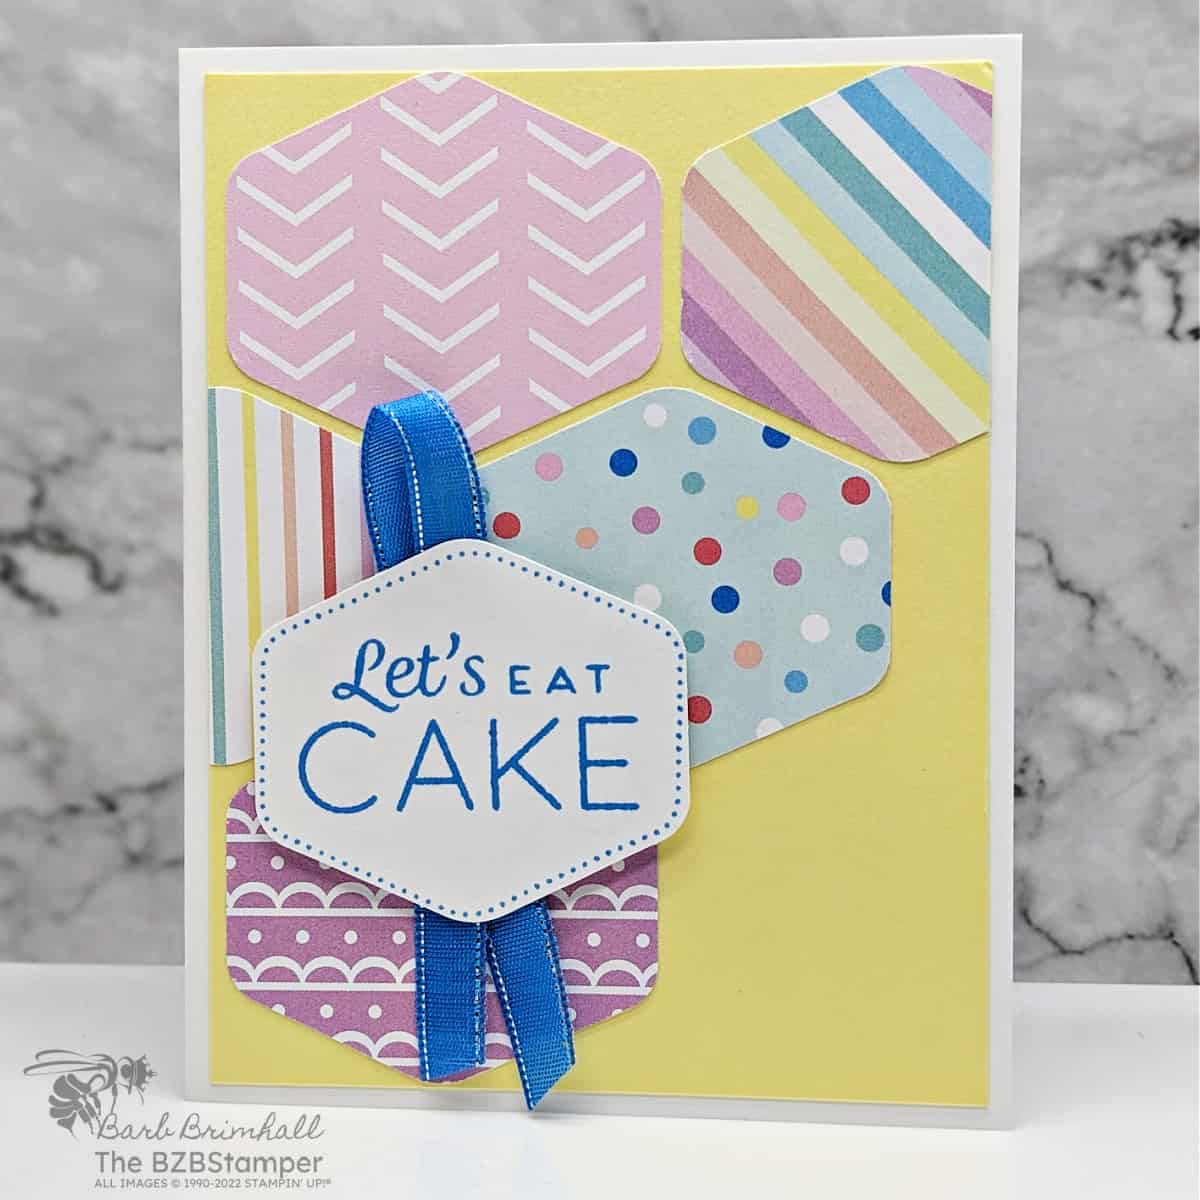
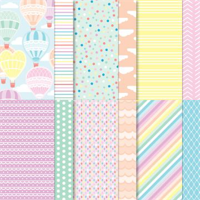
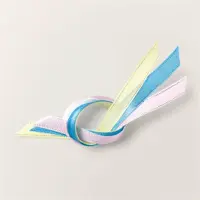
For this card, I paired this fun Bundle up with the Lighter Than Air Designer Paper and used the Heartfelt Hexagon Bundle Punch to create a fun design on the front of the card. This paper has such a happy vibe and I thought the pop of the Azure Afternoon Ribbon just added to that vibe!
How To Make This Card
Project Skill Level: Busy Bee
Busy Bee projects are designed for the beginner or busy papercrafter. This is a basic cardmaking project that can be achieved by someone who has never made a handmade card before. You can view more Busy Bee cards here.
Cardstock Measurements:
- Basic White Cardstock: 5-1/2” x 8-1/2”, scored at 4-1/4”
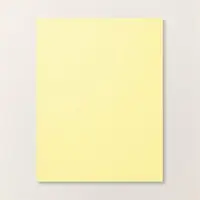
- Lemon Lolly Cardstock: 4” x 5-1/4”
- Lighter Than Air Paper: (5 different designs): 3” x 3” scraps for punching
- Basic White Cardstock: 3” x 3” scrap for punching


Grab your Free copy
Get 5 Bee-utiful Exclusive
Card Sketches in Your Inbox
Join our newsletter and receive a honey of a package of five quick & simple cards guaranteed to make your creativity buzz! Sign up now and let the goodness flow straight to your inbox!
Step-by-Step Instructions:
- Fold the 5-1/2” x 8-1/2” piece of Basic White cardstock in half at the score line to create your card base.
- Using the 5 scraps of Lighter Than Air paper, use the Hexagon Punch from the Bundle to punch a piece from all 5 of the papers. Set aside.
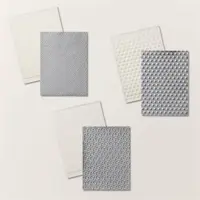
- Run the Lemon Lolly cardstock through the Cut & Emboss Machine using the Basic Dots folder.
- Using the 5 punched pieces of paper from the previous step, adhere to the Lemon Lolly cardstock as shown in the sample. Cut off any overhang using scissors. Adhere to front of Basic White card base.
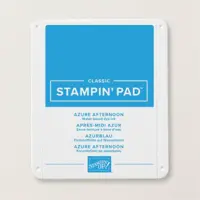
- Stamp the sentiment onto the 3” scrap of Basic White cardstock using Azuer Afternoon ink. Punch out the sentiment using the Hexagon Punch.
- Cut a 9” piece of the Azure Afternoon Ribbon and fold in half; adhere to the back of the sentiment tag, then adhere to front of card using Stampin’ Dimensionals.
- Trim ribbon as needed to finish the card.
A Tip from Barb
This is the perfect card sketch for whenever you have some pretty paper you’d like to use! Just grab 2-3 colors from the paper you want to use and pull your coordinating cardstock, inks and any embellishments you’d like! An easy peasy card without any stress – I love when my pretty paper can do the heavy lifting on my cards!😊
Thanks for stopping by for today’s card tutorial! My goal is to help you make quick & easy greeting cards for all occasions. If you’d like more detailed directions on how to make this card, feel free to email me. I hope you’ll join me again for more card-making ideas!

Don’t forget to pin this for later!
