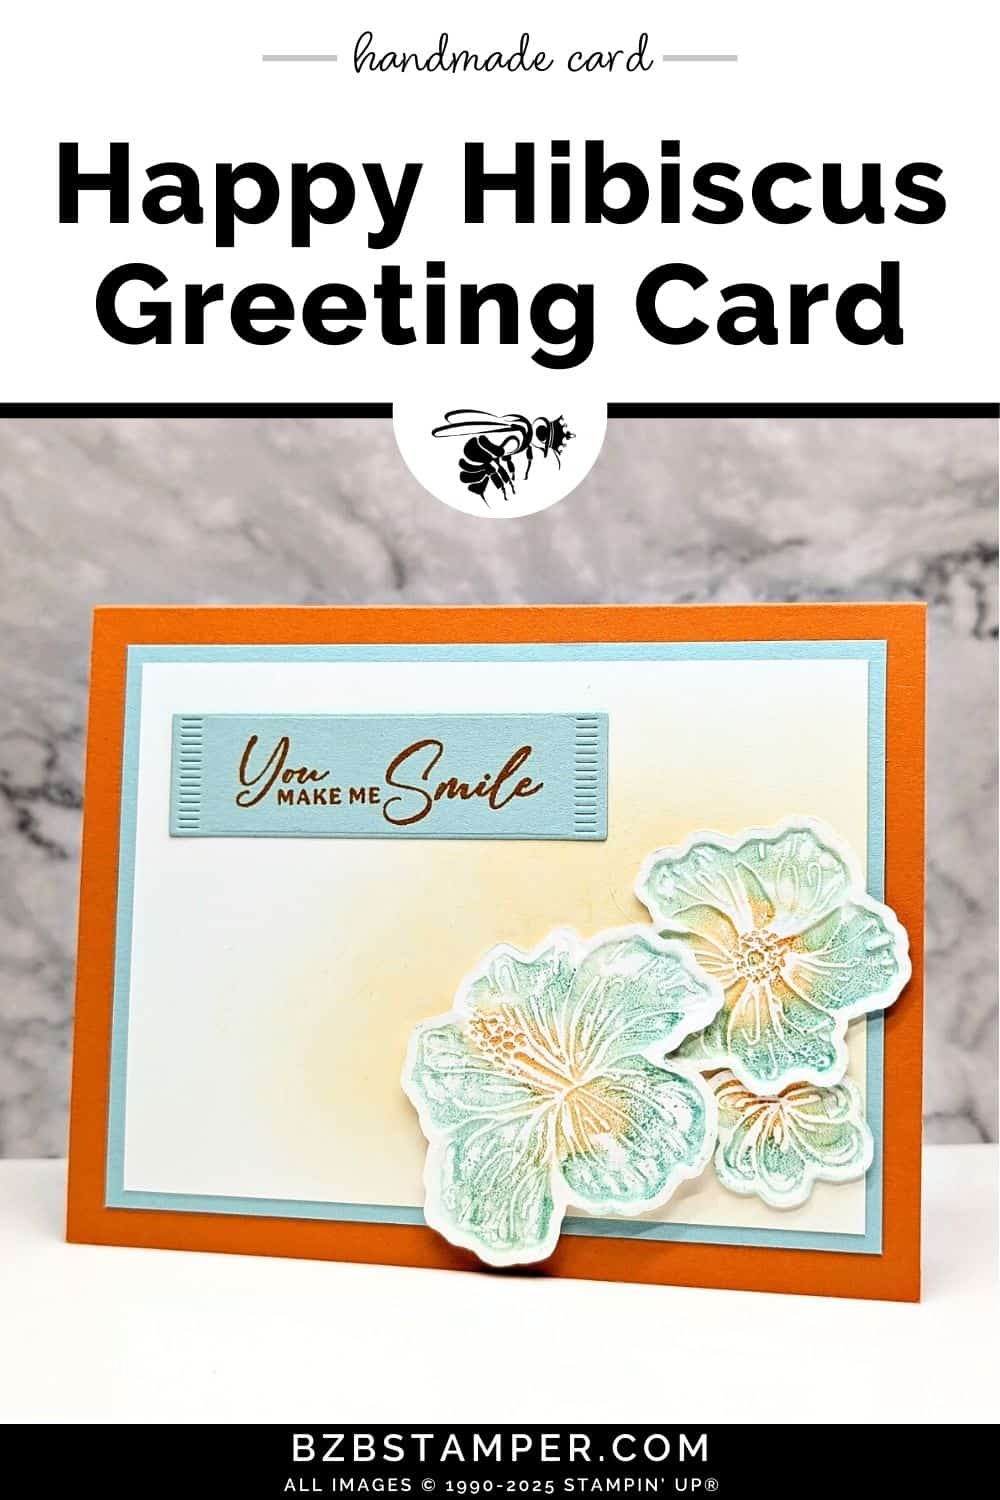
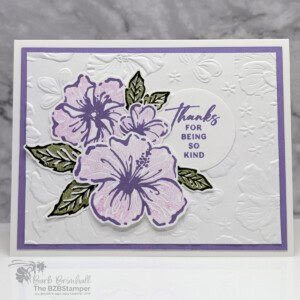
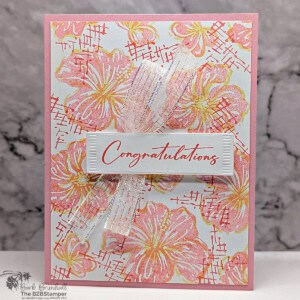
This pretty Happy Hibiscus All-Occasion Card is a perfect project for any celebration, from birthdays to weddings or simply to send a warm hello. The versatility of the Happy Hibiscus Bundle, with the Hybrid Embossing Folder lets you craft a card that fits any moment. Whether you’re designing something bold or soft and subtle, this set offers endless creative possibilities.
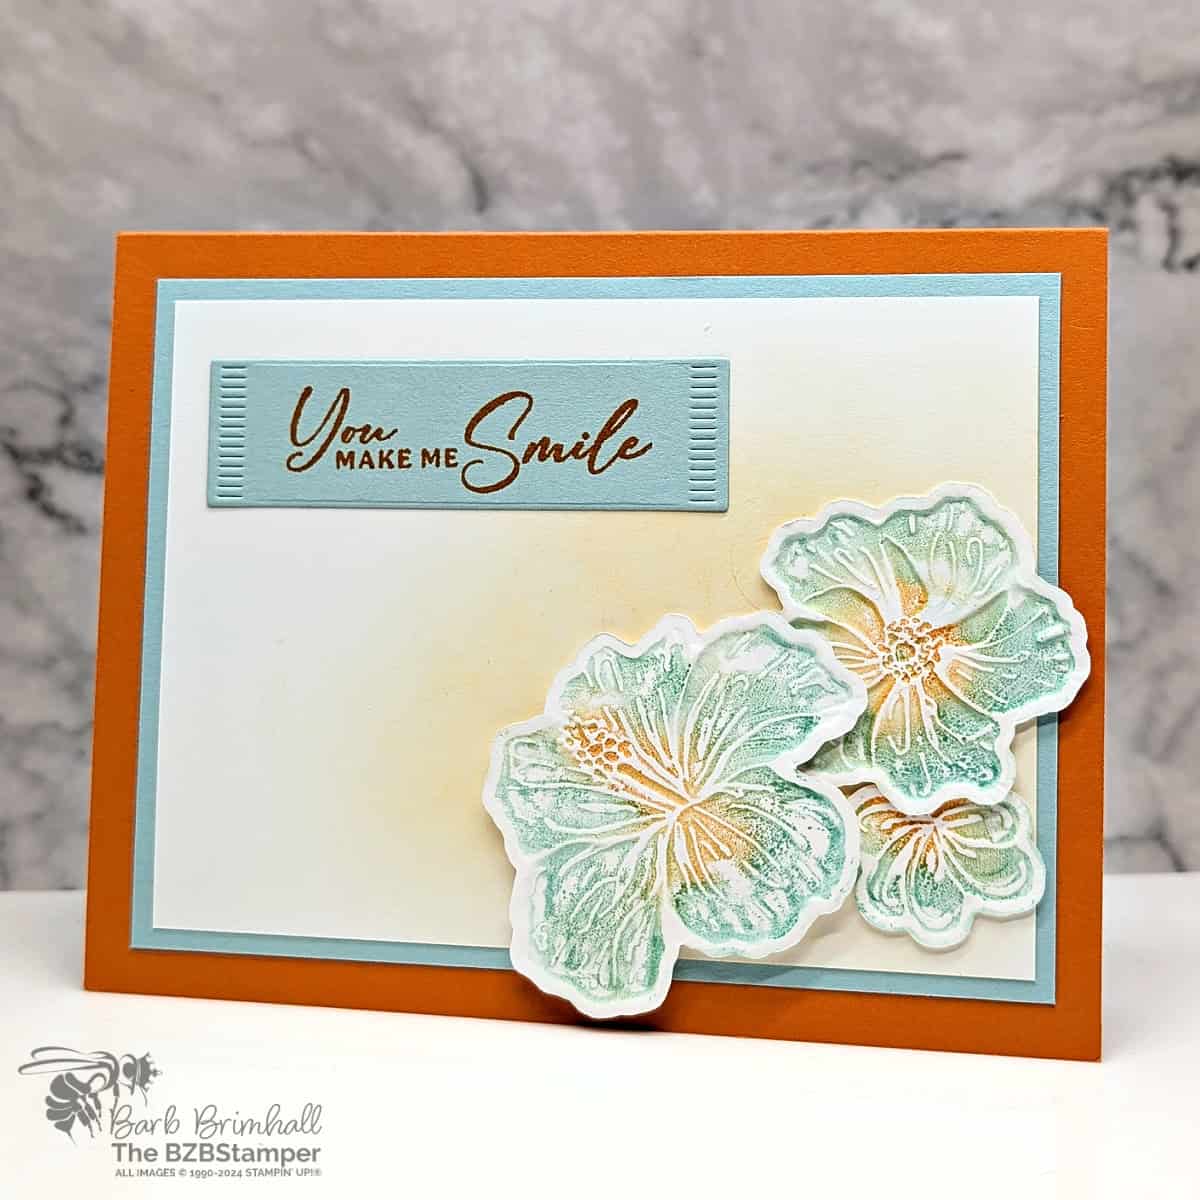
The Happy Hibiscus Bundle allows you to mix stamping and 3D Embossing Folder techniques effortlessly. You can layer the hibiscus and leaf images for a vibrant tropical arrangement or use the embossing folder to create texture and dimension that elevates your design. The result? A card that looks professional and polished yet is easy and enjoyable to make.
This all-occasion card uses tropical hues to showcase the beauty of the hibiscus flower. Perfect for any recipient, the calming tones create a card that’s both versatile and heartfelt. Let’s dive into the steps to create your very own Happy Hibiscus All-Occasion Card!
How To Make This Card
Project Skill Level: Worker Bee
Worker Bee projects are designed for the crafter who has a bit more time and enjoys creating a handmade card that features a technique or tool. In many cases, a Stampin’ Cut & Emboss Machine is required for die-cutting and/or embossing.
Cardstock Measurements:
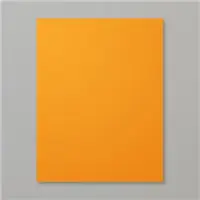
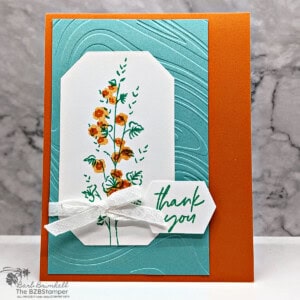
- Pumpkin Pie Cardstock: 5-1/2″ x 8-1/2″, scored at 4-1/4″
- Basic White Cardstock: 4″ x 5-1/4″ (2 pieces)
- Pool Party Cardstock: 3-3/4″ x 5″
- Basic White Cardstock: 3-1/2″ x 4-3/4″
- Pool Party Cardstock: 1″ x 3-1/4″ (for die-cutting)


Grab your Free copy
Get 5 Bee-utiful Exclusive
Card Sketches in Your Inbox
Join our newsletter and receive a honey of a package of five quick & simple cards guaranteed to make your creativity buzz! Sign up now and let the goodness flow straight to your inbox!
Step-by-Step Instructions:
- Fold the Pumpkin Pie cardstock in half at the score line to create your card base.
- Adhere one of the 4″ x 5-1/4″ pieces of Basic White cardstock inside the card.
- Adhere the 3-1/2″ x 4-3/4″ Basic White cardstock to the 1/4″ larger piece of Pool Party cardstock. Adhere to the front of the card.
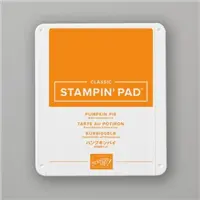
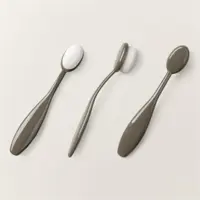
- Using the small Blending Brush and the Pumpkin Pie ink pad, lightly sponge ink in the lower right corner of the Basic White cardstock mat.
- Stamp the sentiment onto the 1″ x 3-1/4″ Pool Party cardstock and run through the Stampin’ Cut & Emboss Machine; die-cut using the banner from the Happy Hibiscus dies. Adhere to the upper left corner of the Basic White cardstock using adhesive.
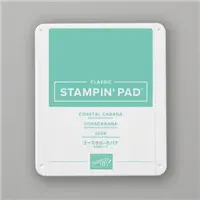
- Using the Happy Hibiscus Hybrid Embossing Folder from the Bundle, using Small Blending Brushes to sponge Pumpkin Pie ink on the center of the Hibiscus Flowers and then sponge Coastal Cabana ink onto the actual petals.
- Adhere the other piece of 4″ x 5-1/4″ Basic White cardstock onto the inked side of the folder and then adhere the trio-flower die from the Bundle so that the blade is sitting on top of the White cardstock. Run through the Cut & Emboss Machine so that the 3 flowers are embossed & die-cut at the same time.
- Adhere the 2 smaller flowers in the lower right corner using adhesive and then adhere the larger flower onto the card using Stampin’ Dimensionals to finish.
Thanks for joining me in today’s crafting session! I’m passionate about helping you create versatile cards for any celebration, designed to be quick yet impressive. For additional guidance on today’s tutorial, feel free to email me. Stay connected! Follow my Facebook Community for more crafting tips and updates.

Don’t forget to pin this for later!
