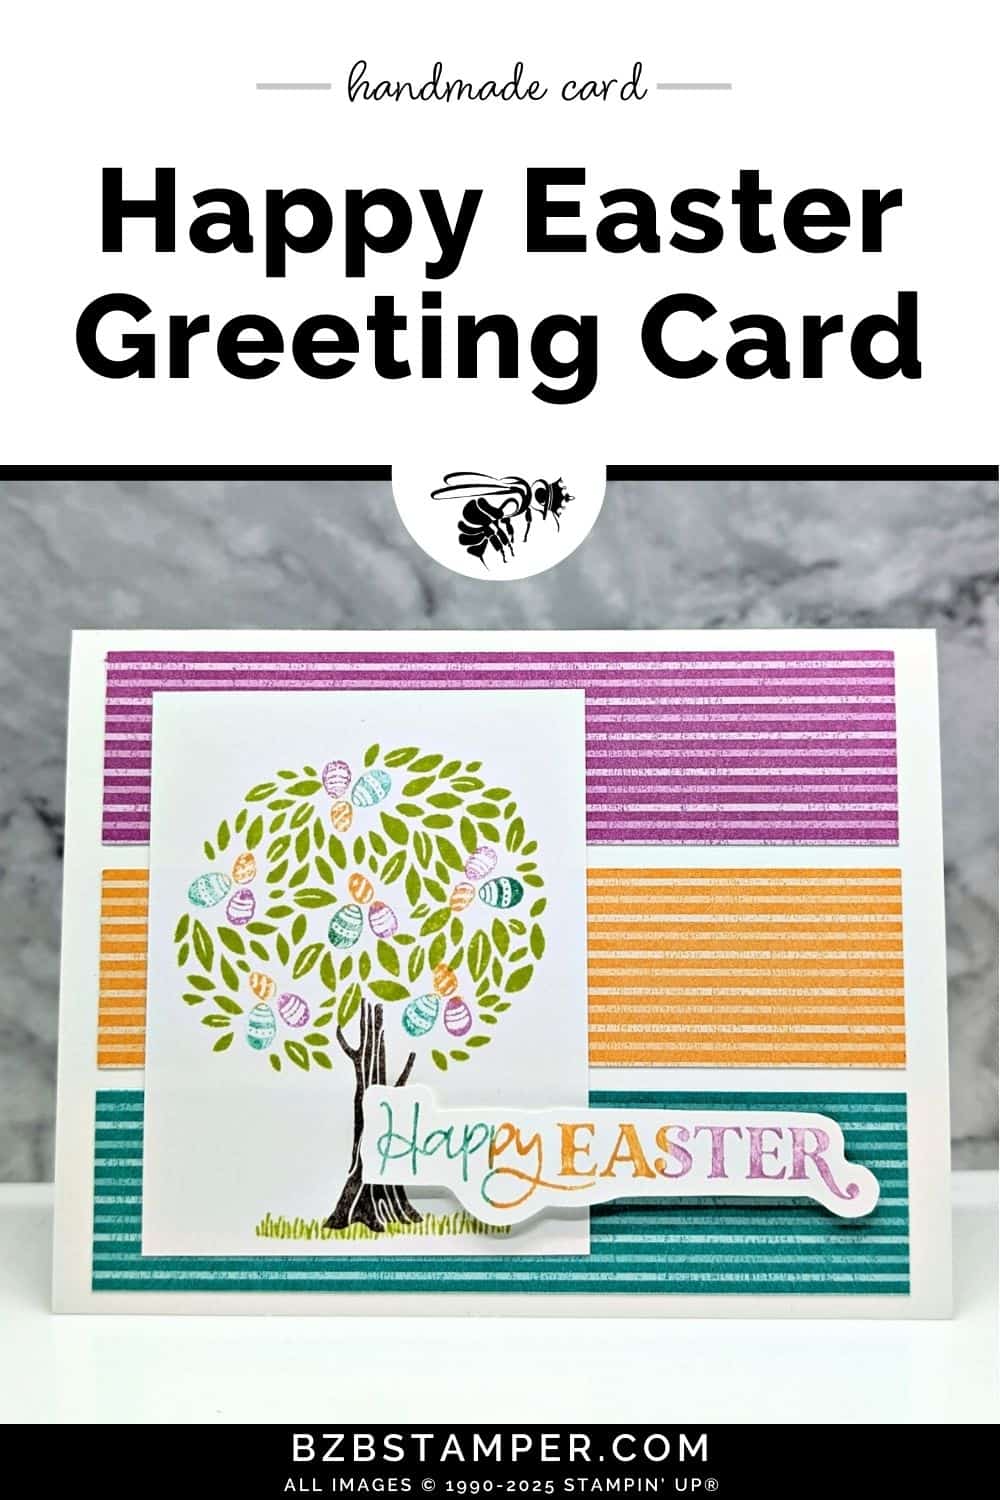
Making a Happy Easter Card using the Pick A Season Stamp Set by Stampin’ Up! is a delightful way to celebrate the season and share some handmade joy with your friends and family. This versatile stamp set has everything you need to craft a cheerful and festive card, whether you’re adding colorful Easter eggs, playful patterns, or soft spring hues.
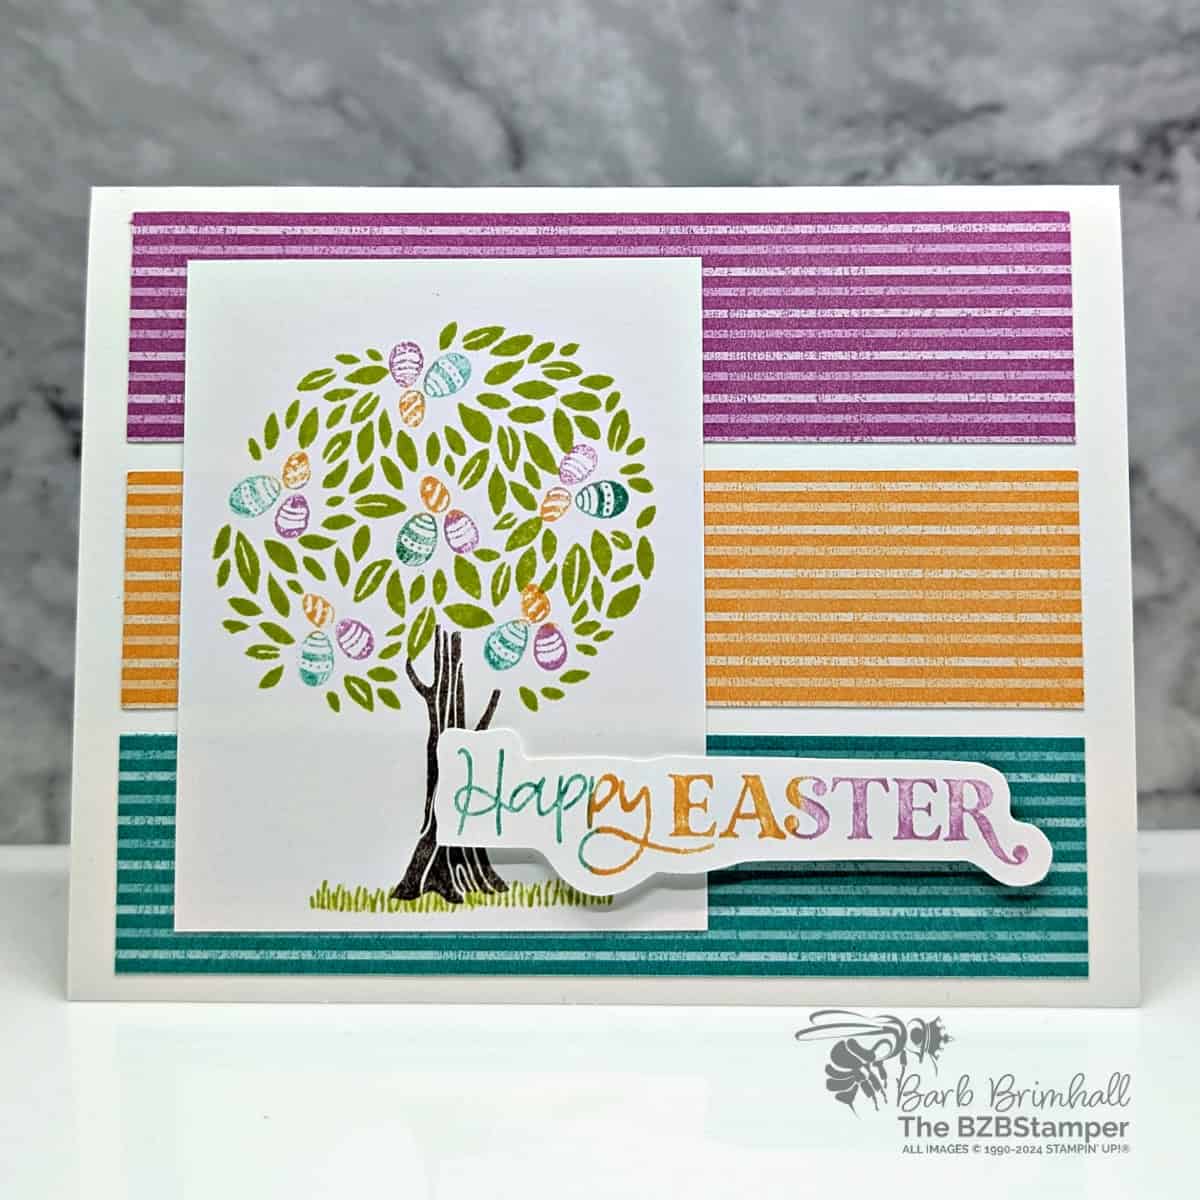
For this project, we’ll focus on creating a card that combines the best of springtime charm with the unique layering possibilities of the Pick A Season Stamp Set. The Two-Step Stampin’ feature allows you to build texture and depth effortlessly, helping your Easter eggs pop with vibrant colors and delicate patterns. Plus, with its clear photopolymer stamps, you’ll find it easy to align your images perfectly, whether you’re a beginner or a seasoned cardmaker.
The Pick A Season Stamp Set is part of the 2025 Sale-A-Bration promotion, meaning you can earn it for free with a $60 purchase during January and February. It’s the perfect opportunity to expand your crafting supplies and get your hands on a set that’s ideal for every holiday and season. Let me show you how to create a Happy Easter card that’s as joyful to make as it is to give!
How To Make This Card
Project Skill Level: Busy Bee
Busy Bee projects are designed for the beginner or busy papercrafter. This is a basic cardmaking project that can be achieved by someone who has never made a handmade card before. You can view more Busy Bee cards here.
Cardstock Measurements:
- Basic White Cardstock: 5-1/2″ x 8-1/2″, scored at 4-1/4″
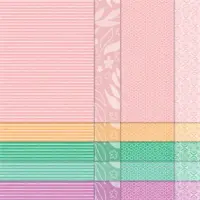
- In Color Paper (Petunia Pop, Peach Pie, Summer Sky): 1-1/4” x 5” (1 each of 3 colors)
- Basic White Cardstock: 2-3/4” x 3-1/2”
- Basic White Cardstock: 1” x 3-1/2”


Grab your Free copy
Get 5 Bee-utiful Exclusive
Card Sketches in Your Inbox
Join our newsletter and receive a honey of a package of five quick & simple cards guaranteed to make your creativity buzz! Sign up now and let the goodness flow straight to your inbox!
Step-by-Step Instructions:
- Fold the Basic White cardstock in half to create the card base.
- Adhere the 3 pieces of Designer Paper onto the front of the card as shown in the sample.
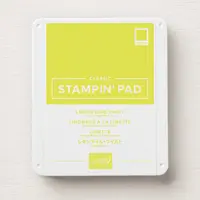
- Ink up the tree branches/leaves using Lemon Lime Twist Ink and stamp onto the top of the 2-3/4” x 3-1/2” piece of Basic White cardstock.
- Stamp the tree trunk under the tree using Early Espresso ink.
- Using Lemon Lime Twist ink, stamp the grass 2 times under the tree trunk, or as desired.
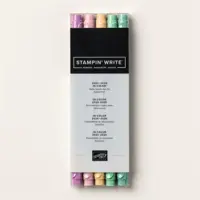
- Using the Peach Pie, Summer Sky, and Petunia Pop In Color Markers, color in the 3 Easter eggs and stamp inside one of the “circles” in the branches. Repeat 5 more times until all of the “circles” are filled.
- Using the same 3 Markers, color in portions of the “Happy Easter” sentiment stamp. Huff on the stamp to remoisten the ink and stamp onto the 1” strip of Bsic White Cardstock.
- Using scissors, fussy cut out the sentiment and adhere to the card as shown using Stampin’ Dimensionals to finish.
A Tip from Barb
When coloring the sentiment stamp with the Markers, don’t worry if they blend just a bit. Make sure you are using the side of your Brush Tip marker so that you don’t ruin the tip of your marker. By huffing on your stamp before stamping onto your cardstock, your breath will re-moisten the ink and help the color of your ink stay more vibrant.
Thanks for stopping by for today’s card tutorial! My goal is to help you make quick & easy greeting cards for all occasions. If you’d like more detailed directions on how to make this card, feel free to email me. I hope you’ll join me again for more card-making ideas!

Don’t forget to pin this for later!
