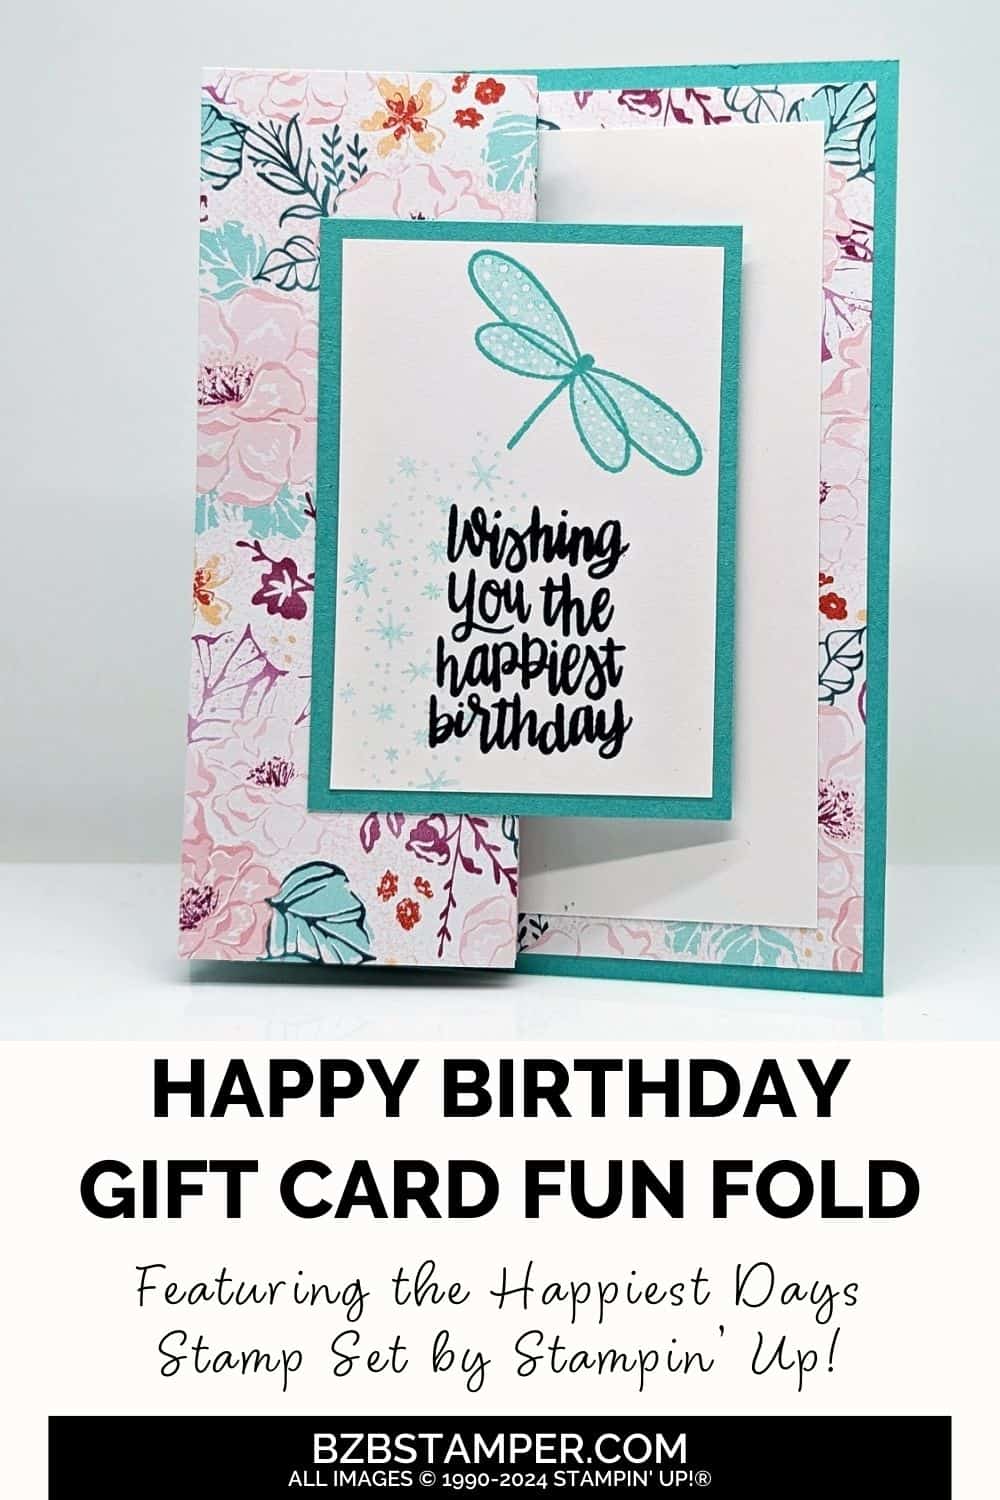
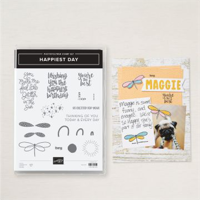
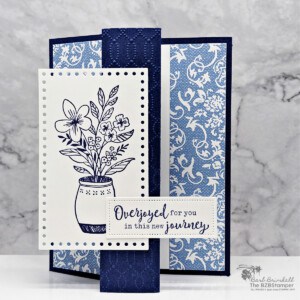
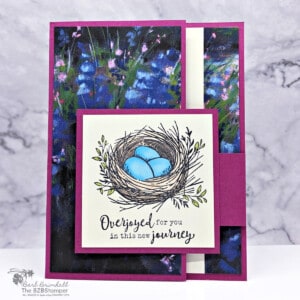
Crafting a birthday card that stands out is always a treat, and today I’m thrilled to share a project that does just that. This easy Happiest Day Fun Fold Birthday Card using the Happiest Day Stamp Set by Stampin’ Up! will have your recipient smiling ear to ear. Plus it doubles as a gift card holder! Whether you’re new to cardmaking or a seasoned crafter, this project offers a playful, colorful twist on traditional birthday cards that anyone can create.
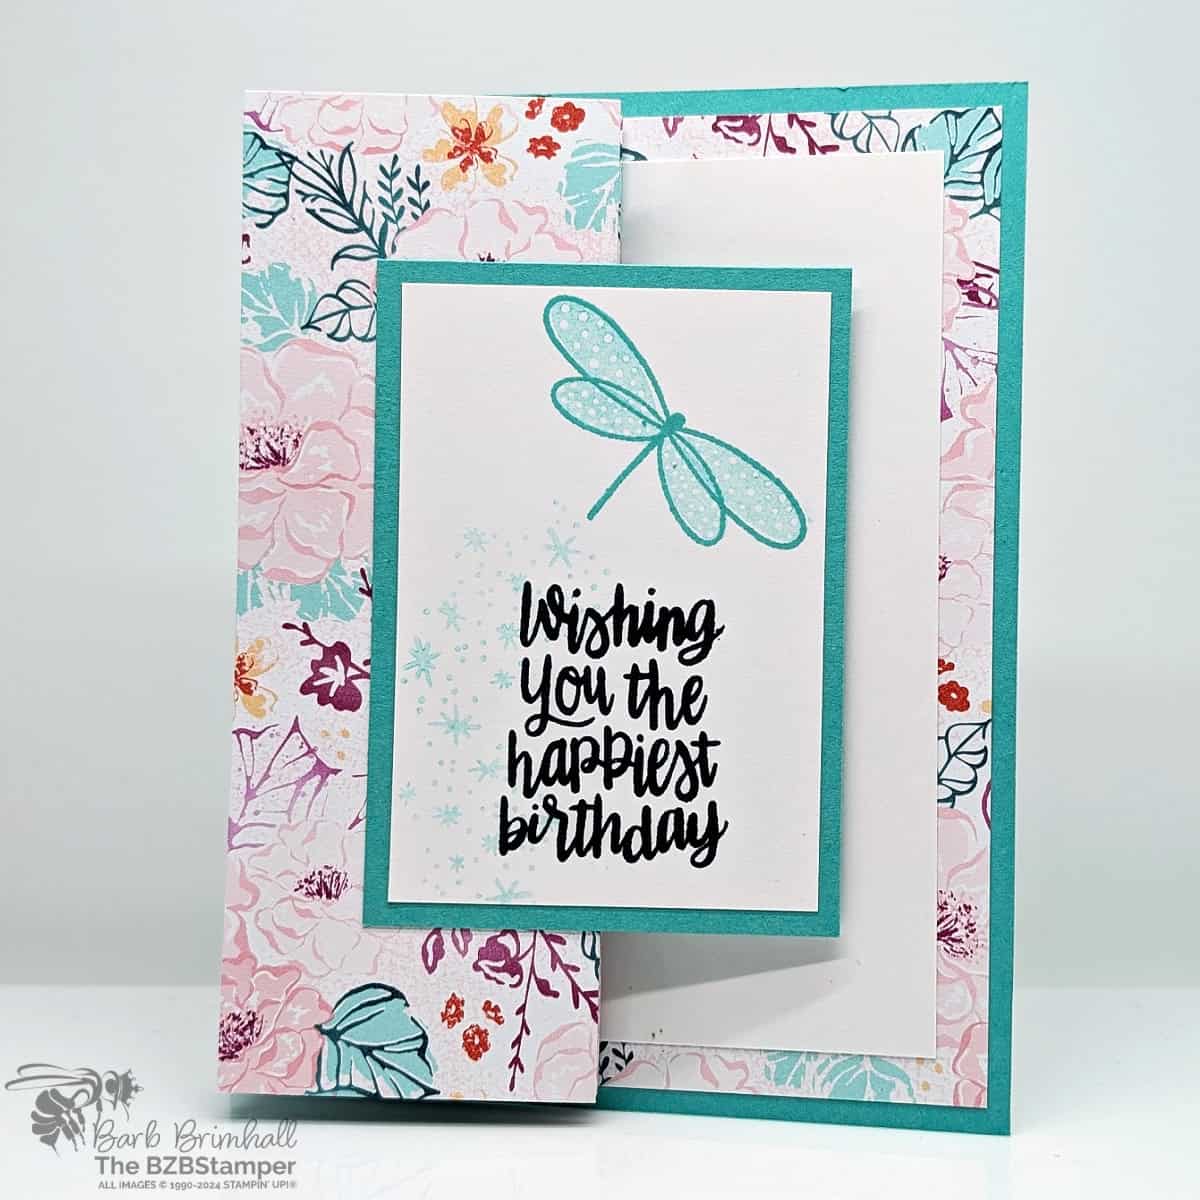
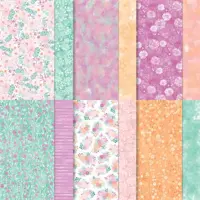
The Happiest Day Stamp Set is perfect for more than just birthdays; its versatile designs and sentiments make it a go-to for all kinds of occasions. The set includes a mix of bold, cheerful elements such as sun rays, dragonflies, and rainbows, giving you plenty of room to get creative. For this particular card, I focused on the dragonfly and incorporated a coordinating floral Designer Paper for a pop of elegance. With Two-Step Stamping, I added dimension to the dragonfly’s wings, giving it an eye-catching layered effect that truly makes it the star of the show.
Fun fold cards are an exciting way to add a little flair and creativity to your crafting. They’re interactive, beautiful, and perfect for leaving a lasting impression. This card style features a unique fold that reveals a surprise message or extra sentiment when opened, making it ideal for birthdays. Whether you’re crafting for a close friend or a new acquaintance, this thoughtful design will brighten their special day and fill it with joy.
How To Make This Card
Project Skill Level: Worker Bee
Worker Bee projects are designed for the crafter who has a bit more time and enjoys creating a handmade card that features a technique or tool. In many cases, a Stampin’ Cut & Emboss Machine is required for die-cutting and/or embossing.
Cardstock Measurements:
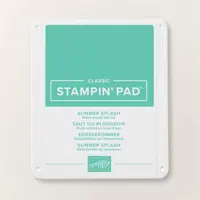
- Summer Splash Cardstock: 4-1/4″ x 5-1/2″
- Unbounded Beauty Designer Paper: 5-1/4″ x 12″
- Basic White Cardstock: 3-1/2″ x 4-3/4″
- Summer Splash Cardstock: 2-1/2″ x 3-1/2″
- Basic White Cardstock: 2-1/4″ x 3-1/4″
- Summer Splash Cardstock: 2-3/8″ x 3-1/4″
- Unbounded Beauty Designer Paper: 3″ x 4″ (for die-cutting)


Grab your Free copy
Get 5 Bee-utiful Exclusive
Card Sketches in Your Inbox
Join our newsletter and receive a honey of a package of five quick & simple cards guaranteed to make your creativity buzz! Sign up now and let the goodness flow straight to your inbox!
Step-by-Step Instructions:
- Using the 5-1/4″ x 12″ Unbounded Beauty Designer Paper, score at 2″, 4″, 6″, and 8″. Start by adhering the 4″ x 5-1/4″ section of the Unbounded Beauty Paper to the 4-1/4″ x 5-1/2″ piece of Summer Splash cardstock. (This is the “back” of the card.)
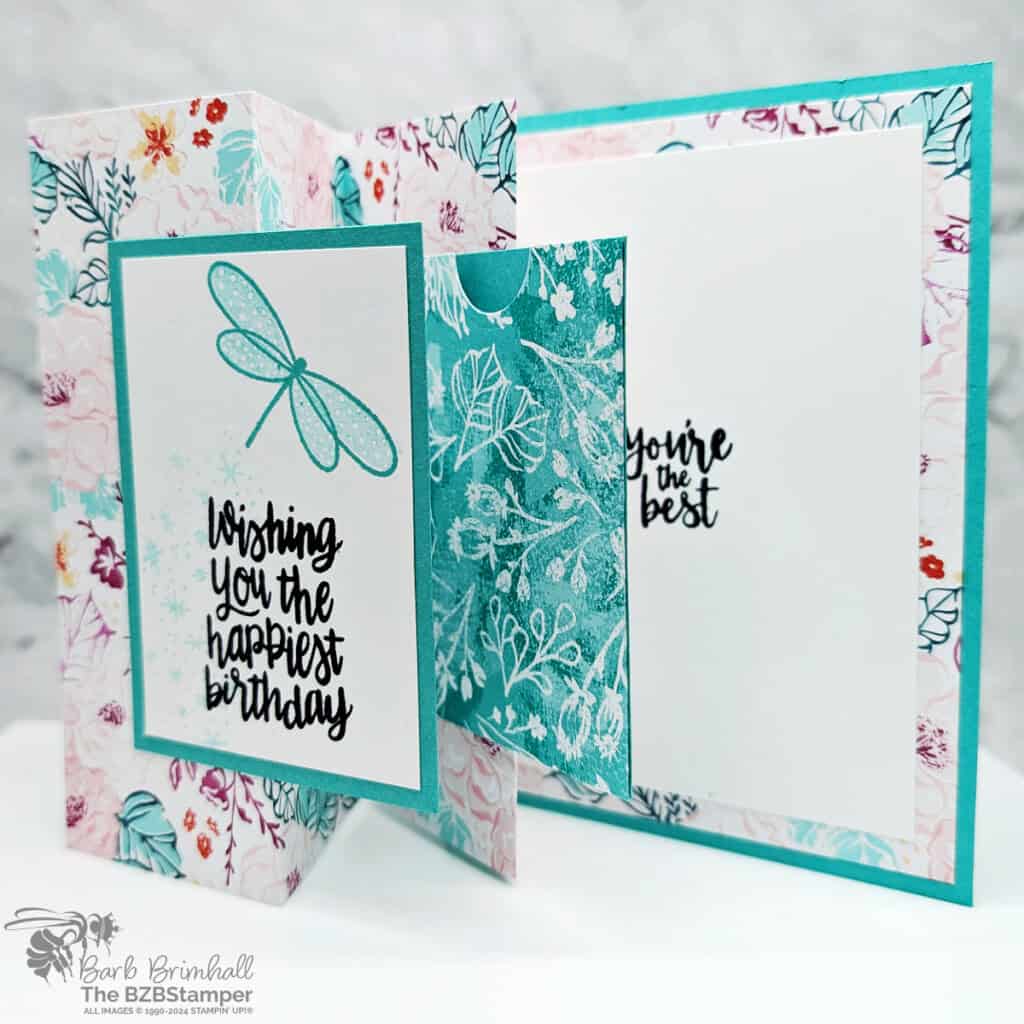
- Working backwards, accordion fold on the score lines, starting with a valley fold, mountain fold, valley fold, and ending with a mount fold.
- Using the 3-1/2″ x 4-3/4″ piece of Basic White cardstock, stamp the “you’re the best” sentiment onto the center of the cardstock using Black Memento ink. Adhere to the ‘back’ of the card, onto the 4″ x 5-1/4″ part of the Unbounded Beauty paper.
- Using the 2-1/4″ x 3-1/4″ piece of Basic White cardstock, the sentiment in the middle/bottom of the cardstock using Black Memento ink. Above the sentiment, stamp the outline of the Dragonfly using Summer Splash ink.
- Ink the larger ‘dragonfly wings’ using Summer Splash ink, stamp off once on your scrap paper, and then stamp inside out dragonfly outline. Repeat the process with the smaller ‘dragonfly wings’. Ink up the starburst image using Summer Splash ink, stamp off two times on your scrap paper, and then stamp on the bottom left of the cardstock.
- Adhere the Basic White cardstock to the Summer Splash cardstock. Fold the front flap of the Unbounded Beauty paper back, and adhere only the left side of the Summer Splash cardstock to the fold line of the Designer Paper. (Be careful to not get ink on the other side or you may accidentally seal your card shut.)
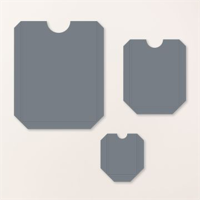
- Using the 3″ x 4″ piece of Unbounded Beauty Designer Paper, run through the Cut & Emboss Machine using the middle pocket die from the Pocket Thoughts Dies. Fold on all the score lines and adhere to the 2-3/8″ x 3-1/4″ piece of Summer Splash cardstock to create your gift card holder.
- Adhere the gift card holder to the 3rd panel from the left, lining up with the stamped image adhered on Step #6, making sure you only apply adhesive to the left side so that you don’t accidentally glue your paper shut.
A Tip from Barb
This is the perfect card sketch for whenever you have some pretty paper you’d like to show off! Just grab 2-3 colors from the paper you want to use and pull your coordinating cardstock, inks and any embellishments you’d like! A fairly simple fun fold card without any stress – I love when my pretty paper can do the heavy lifting on my cards!😊
I appreciate you dropping by! My mission is to inspire you with card tutorials that are as fun to make as they are to give. If you’re curious about the specifics of crafting today’s design, just send me an email. Want more papercrafting ideas? Join my Facebook Community today.

Don’t forget to pin this for later!
