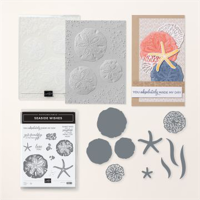
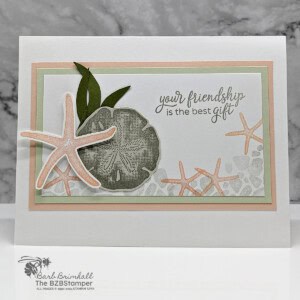
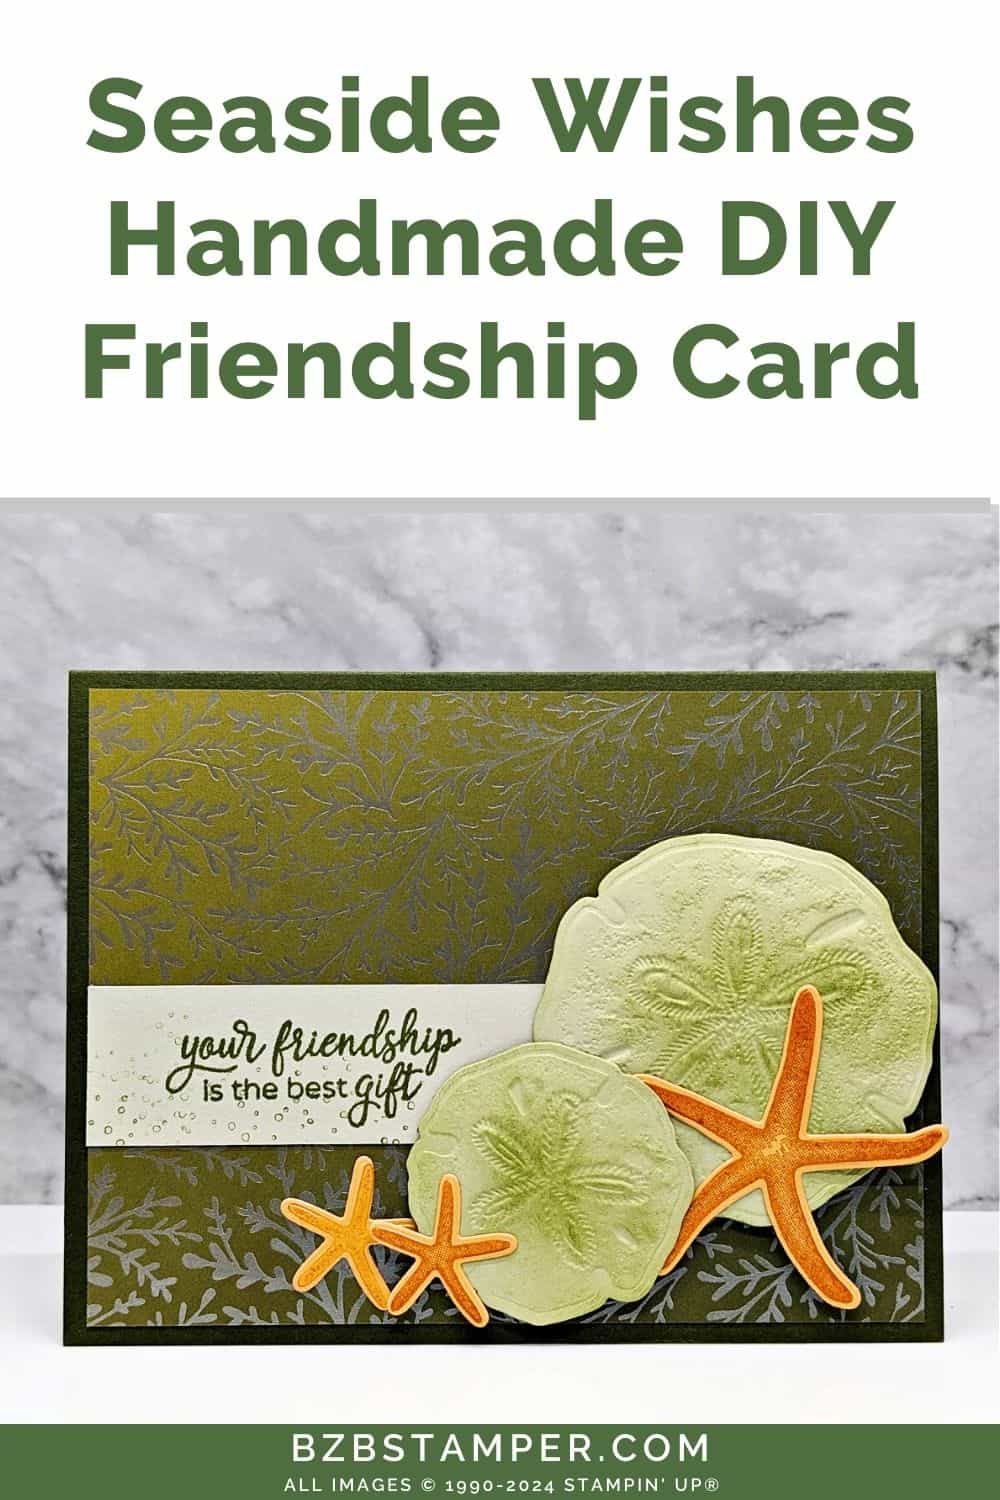
Learn how to create a handmade Seaside Wishes Friendship Card to celebrate your treasured friendships. The Seaside Wishes Bundle from Stampin’ Up! is ideal for creating cards that combine the serenity of the ocean with heartfelt messages. Featuring the Seaside Wishes Stamp Set and Hybrid Embossing Folder, this bundle offers endless creative possibilities.
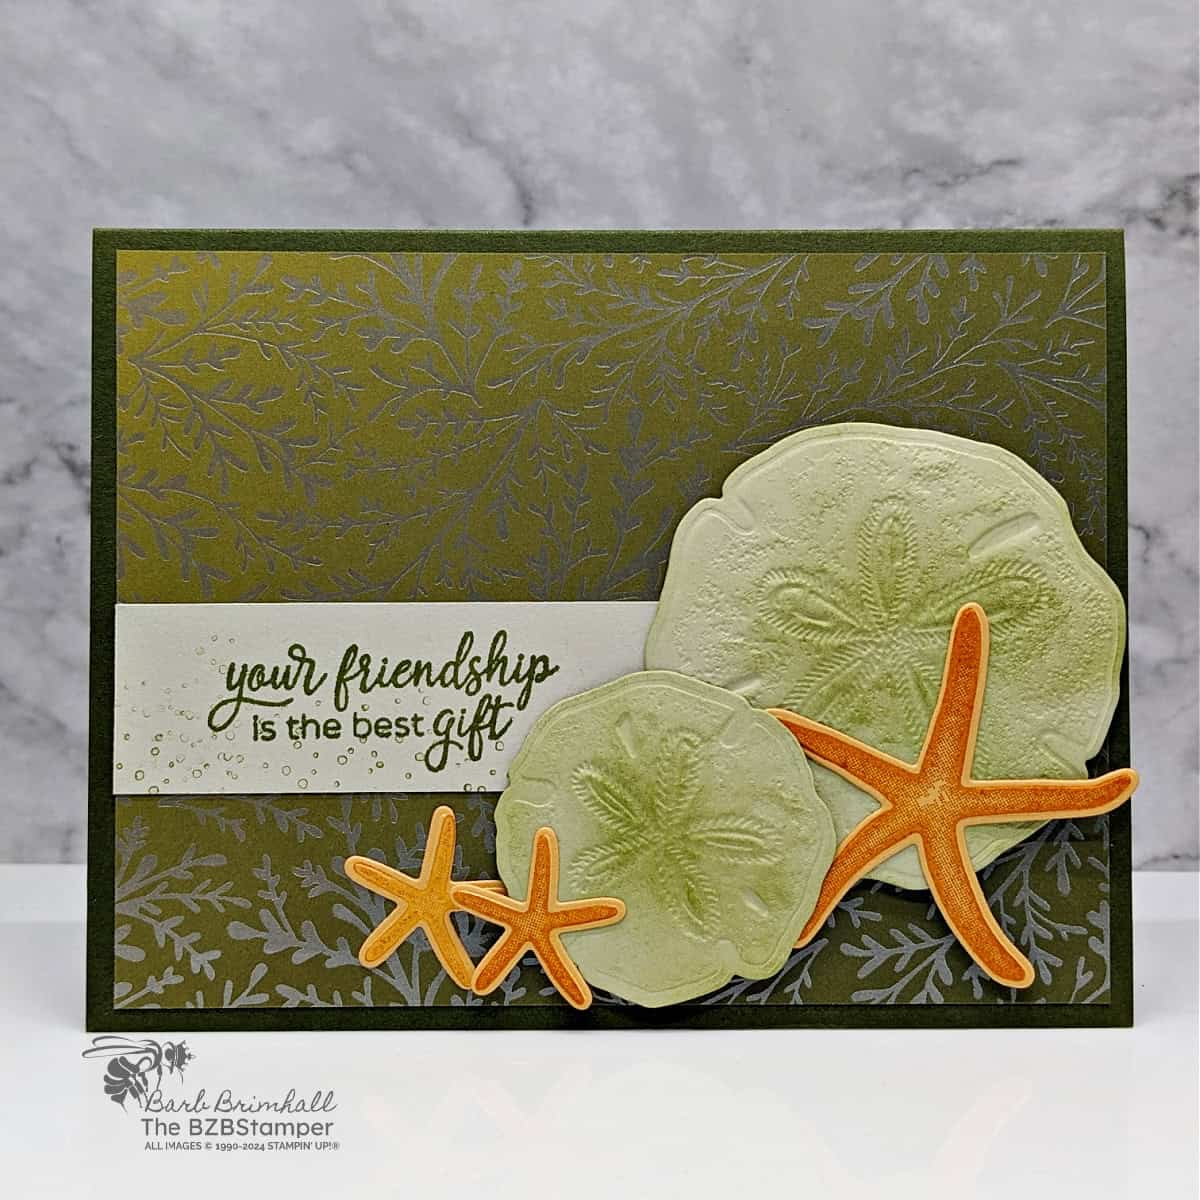
For this card, I used the Hybrid Embossing Folder to create those beautiful seashells, and then used the dies to create the starfish. This was much easier than it looked thanks to the Stampin’ Up! Cut & Emboss Machine.
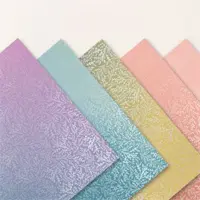
I wanted to add a bit of glimmer and shine to this card, so I used the beautiful Thoughtful Designs Specialty Paper for the background. This lovely pearlized paper is a great way to add dimension to your creations as the colors shift when light bounces off each page!
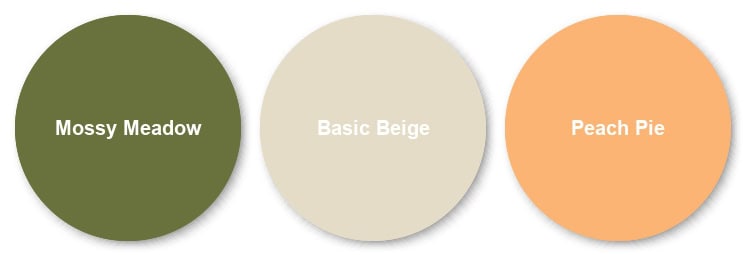
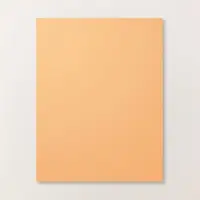
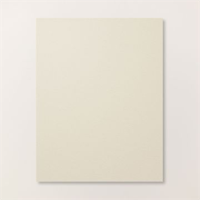
Because I used the Mossy Meadow paper from the Thoughtful Designs paper, I added Basic Beige and Peach Pie to lighten up the card. I really liked how this color combination turned out, but if you prefer something lighter, there are several other colors from this Specialty Paper that you can choose from. And make sure you check out my Color Combination Library for even more color inspiration!
So grab your stamping supplies and let’s make this beautiful friendship card that your friends will love.
How To Make This Card
Project Skill Level: Worker Bee
Worker Bee projects are designed for the crafter who has a bit more time and enjoys creating a handmade card that features a technique or tool. In many cases, a Stampin’ Cut & Emboss Machine is required for die-cutting and/or embossing.
Cardstock Measurements:
- Mossy Meadow Cardstock: 5-1/2″ x 8-1/2″, scored at 4-1/4″
- Basic Beige Cardstock: 4″ x 5-1/4″
- Thoughtful Designs Specialty Paper (Mossy Meadow): 4″ x 5-1/4″
- Basic Beige Cardstock: 1″ x 3″
- Basic Beige Cardstock: 3″ x 5-1/2″ (for die-cutting)
- Peach Pie Cardstock: 2-3/4″ x 5-1/2″ (for die-cutting)


Grab your Free copy
Get 5 Bee-utiful Exclusive
Card Sketches in Your Inbox
Join our newsletter and receive a honey of a package of five quick & simple cards guaranteed to make your creativity buzz! Sign up now and let the goodness flow straight to your inbox!
Step-by-Step Instructions:
- Fold the Mossy Meadow cardstock in half at the score line to create your card base.
- Adhere the 4″ x 5-1/4″ piece of Basic Beige cardstock inside the card.
- Adhere the Thoughtful Designs Specialty Paper to the front of the card.
- Using the 1″ strip of Basic Beige cardstock, stamp the sentiment onto the left side of the cardstock using Old Olive ink.
- Ink up the “speckle” stamp using Old Olive ink and stamp off 2 times on your scrap paper. Stamp onto the sentiment strip below the sentiment. Repeat as desired.
- Add the Seaside Wishes Dies and the 3″ x 5-1/2″ piece of Basic Beige cardstock so that it lines up over the large and small sand dollar in the Seaside Wishes Hybrid Embossing Folder. (See tip below.) Run through the Cut & Emboss Machine to emboss and die-cut the sand dollars. Lightly sponge Old Olive ink over the 2 sand dollars using a Small Blending Brush. Add the large sand dollar image to the right of the sentiment using adhesive. Add the small/medium sand dollar image just to the right of the sentiment so that it overlaps the larger sand dollar using Stampin’ Dimensionals.
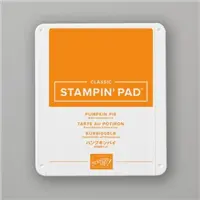
- Stamp the large starfish and 2 of the small starfish images onto the Peach Pie cardstock using Pumpkin Pie ink. Run through the Cut & Emboss Machine and cut out using the appropriate Seaside Wishes Dies from the Bundle.
- Adhere the 3 starfishes to the front of the card as shown in the sample using adhesive in the center of each starfish to finish.
A Tip from Barb
The Stampin’ Up! Hybrid 3D Embossing Folders make it easy to create ornate die-cut pieces with rich texture in one simple pass through the Stampin’ Cut & Emboss Machine. I love that you can also use the Hybrd Embossing Folder with a die to cut and emboss at the same time!
The die will fit ONE way in your embossing folder with the ridged side of the die up. Then insert your paper on top and close the folder. You will use the same sandwich as if you were only using the 3D Embossing Folder:
Base Plate 1
Embossing Folder
Plate 4
TIP: Run the Folder through your machine twice or use a shim to get a good cut if your paper doesn’t cut all the way through.
Thank you so much for stopping by! I hope you feel inspired to create and that you also feel you have all the info you need to make this card with these instructions. If you aren’t sure about something or would like more detailed directions on how to make this card, feel free to email me. I’m here to help!

Don’t forget to pin this for later!
Supplies Used On This Project:
Price: $11.00

