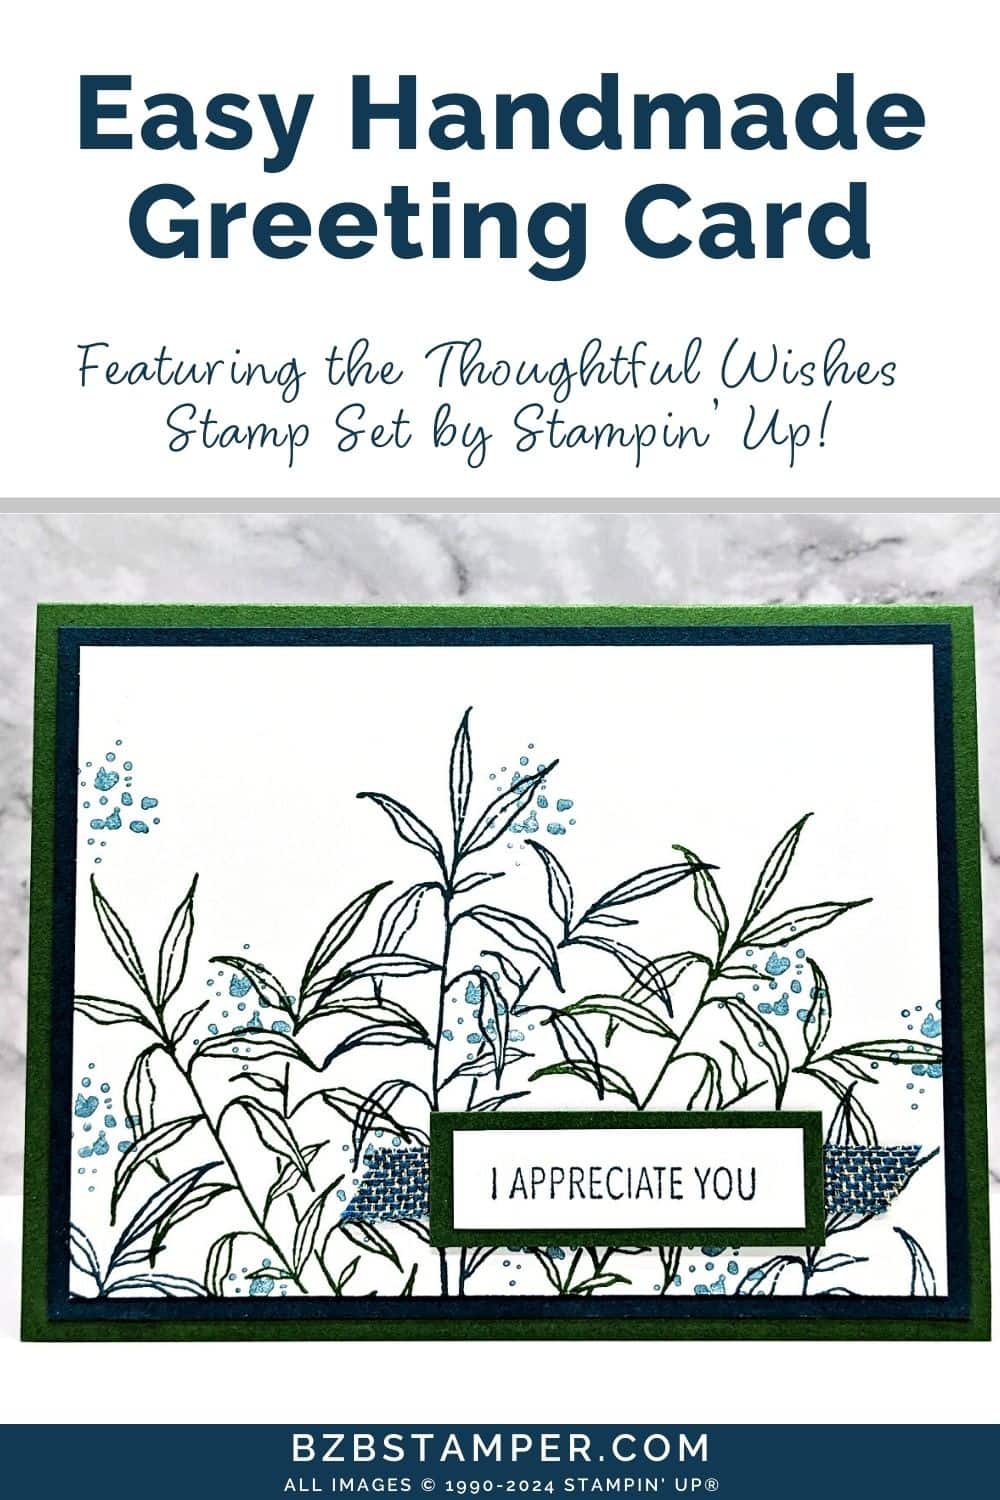
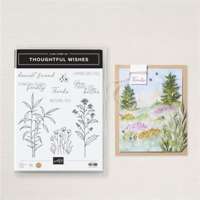
Make beautiful yet easy greeting cards using the Thoughtful Wishes Stamp Set by Stampin’ Up! Perfect for busy crafters who still want to create beautiful cards, the Thoughtful Wishes Stamp Set is a lifesaver. With its coordinated stamps and dies, you can whip up stunning greeting cards in no time.
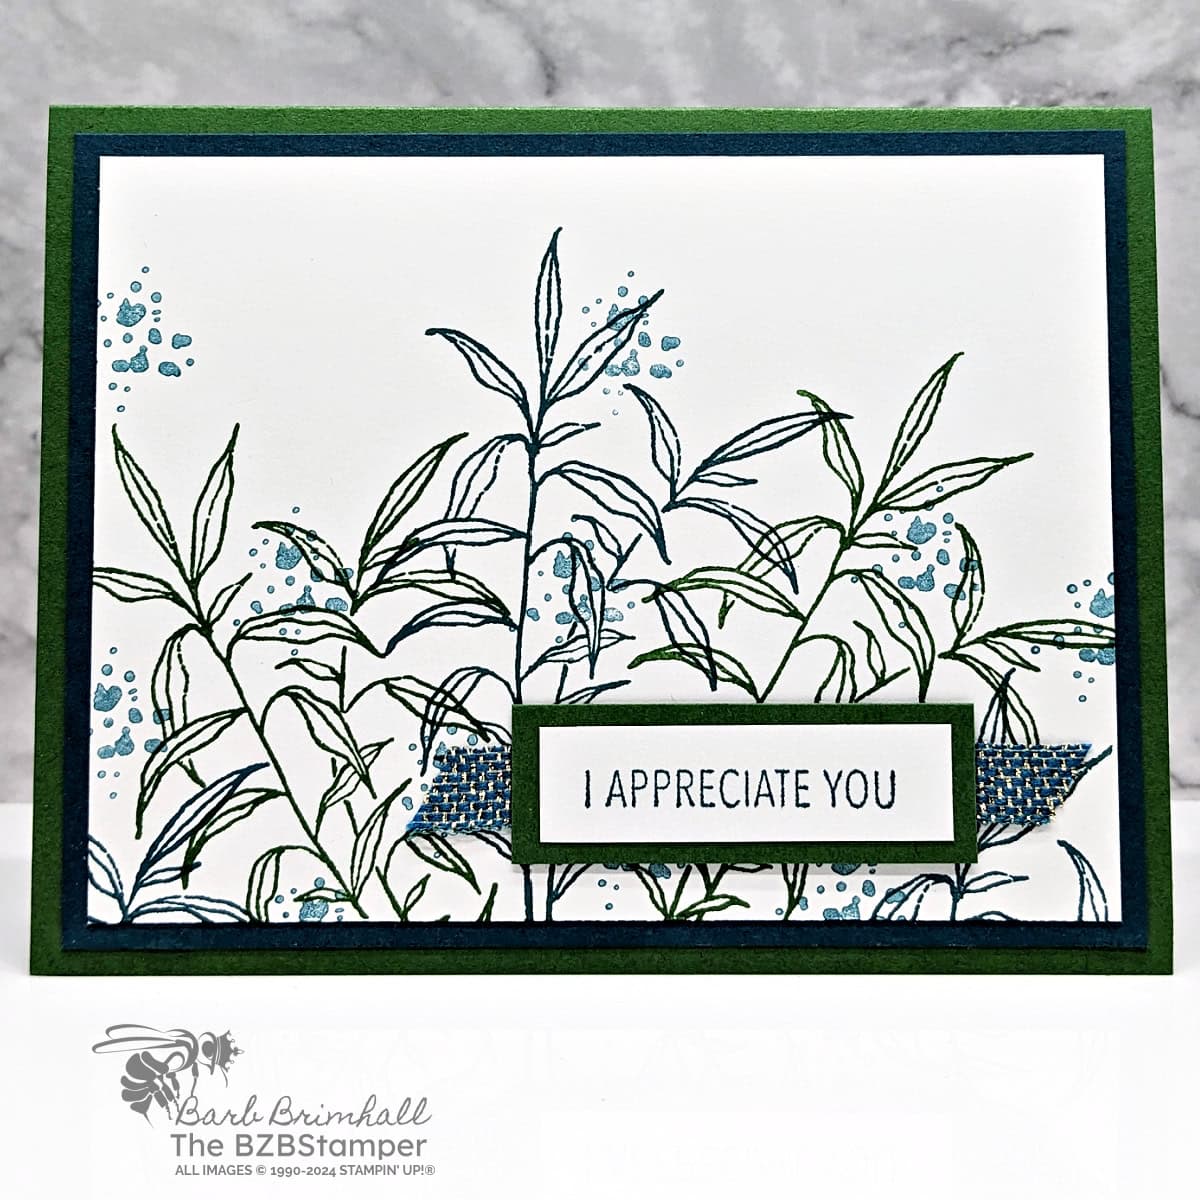
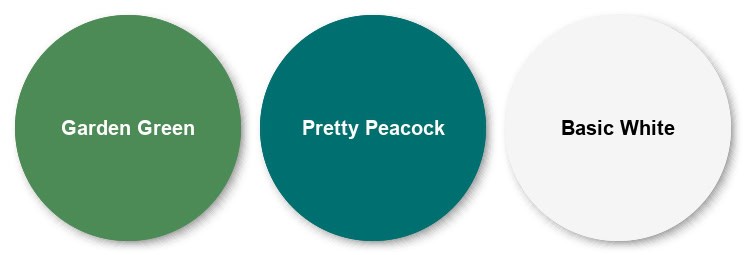
For today’s card, I went with a traditional color scheme of Garden Green, Pretty Peacock and then lightened it up a bit with our crisp Basic White cardstock. If you prefer brighter colors, check out my Color Combination Library which will give you lots of color inspiration. So grab your stamping supplies and let’s get started!
How To Make This Card
Project Skill Level: Busy Bee
Busy Bee projects are designed for the beginner or busy papercrafter. This is a basic cardmaking project that can be achieved by someone who has never made a handmade card before. You can view more Busy Bee cards here.
Cardstock Measurements:
- Garden Green Cardstock: 5-1/2″ x 8-1/2″, scored at 4-1/4″
- Basic White Cardstock: 4″ x 5-1/4″
- Pretty Peacock Cardstock: 4″ x 5-1/4″
- Basic White Cardstock: 3-3/4″ x 5″
- Garden Green Cardstock: 3/4″ x 2-1/4″
- Basic White Cardstock: 1/2″ x 2″


Grab your Free copy
Get 5 Bee-utiful Exclusive
Card Sketches in Your Inbox
Join our newsletter and receive a honey of a package of five quick & simple cards guaranteed to make your creativity buzz! Sign up now and let the goodness flow straight to your inbox!
Step-by-Step Instructions:
- Fold the Garden Green cardstock in half at the score line to create your card base.
- Adhere the 4″ x 5-1/4″ piece of Basic White cardstock inside the card.
- Adhere the 4″ x 5-1/4″ piece of Pretty Peacock cardstock to the front of the card.
- Using the 3-3/4″ piece of Basic White cardstock, stamp the large stem at the bottom of the card using Garden Green ink. Repeat 2 more times at various angles.
- Clean your stamp and stamp the large stem between the other stems using Pretty Peacock ink, angling the stamp as needed.
- Ink up the “speckle” stamp using Pretty Peacock ink, stamp off 2 times on your scratch sheet, and stamp onto the card. Repeat the process as desired.
- Adhere the stamped Basic White cardstock to the front of the card.
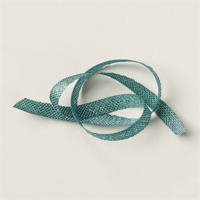
- Cut 3-1/2″ of the Ribbon, angle both ends with your scissors and adhere to the front of the card in towards the lower right corner. (See sample for placement.)
- Using Pretty Peacock ink, stamp the sentiment onto the 1/2″ strip of Basic White cardstock. Adhere to the 3/4″ strip of Garden Green cardstock and adhere the sentiment strip to the center of the Ribbon using Stampin’ Dimensionals to finish.
Thank you so much for stopping by today. I hope you are inspired to create today, whether it is this simple and cute handmade card or another cardmaking project. My goal is to help you carve out some creative joy! If you’d like more detailed directions on how to make this card, feel free to email me. Keep checking back for more projects.

Don’t forget to pin this for later!
