Need a Christmas Card you can make in a snap? Try this one featuring the Merry Snowflakes stamp set by Stampin’ Up!
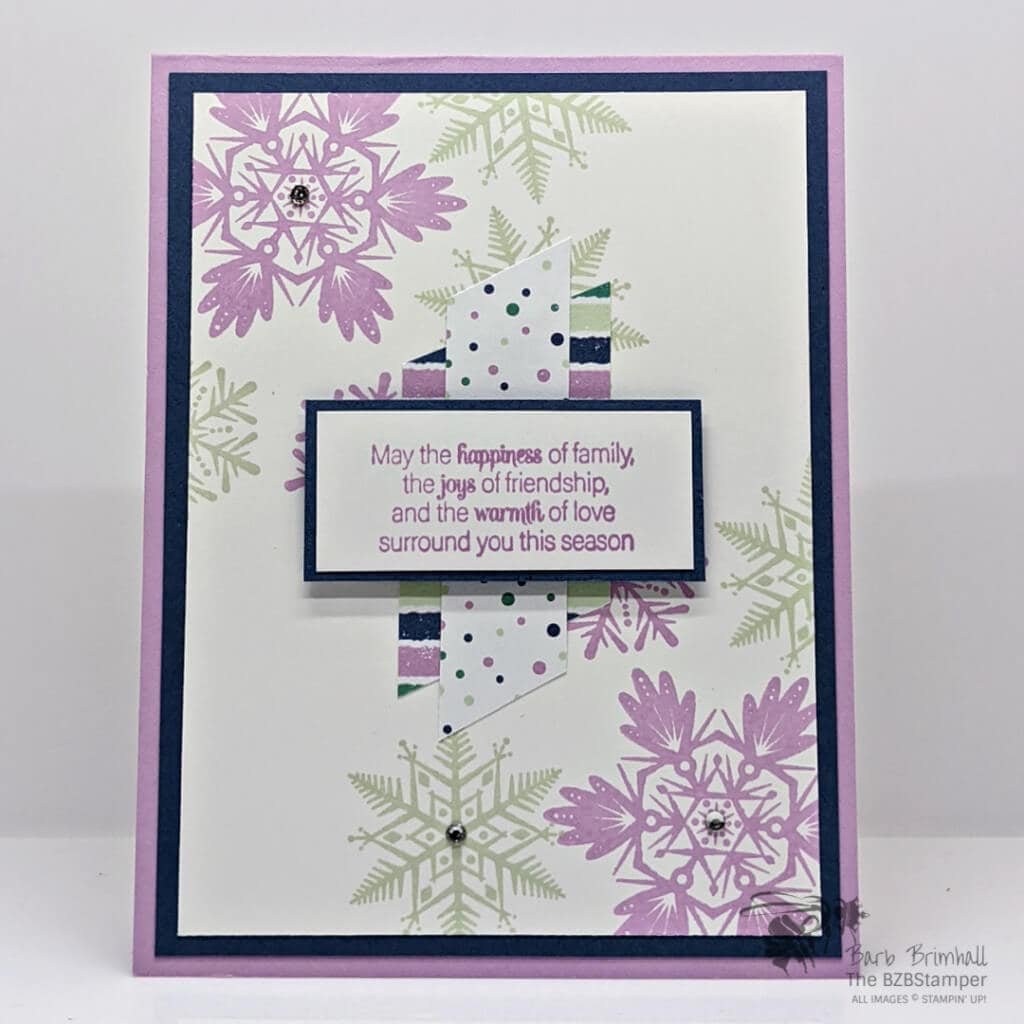
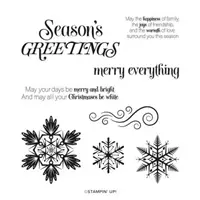
Make the season merry with cards you create using the Merry Snowflakes Stamp Set by Stampin’ Up! It has sentiments for the front of the card, messages for the inside, and enough snowflakes to make wintery and festive.
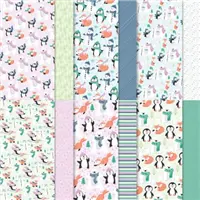
I wanted a quick & easy for for today’s project, so I used a basic card sketch and just added a few scrap strips of Penguin Playmates Designer Paper that were sitting on my stamping table. I used the colors from the paper to create this color combination:
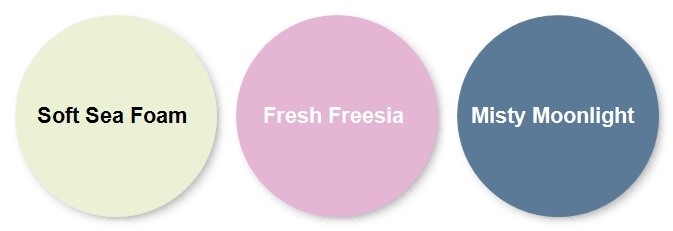
I love how it turned out but if it’s not up your alley, you I have tons of other color combo’s you can chose from my Color Combination Library. Here’s how I made this card:
Supplies Used on this Project
Project Measurements
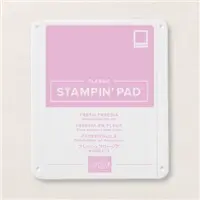
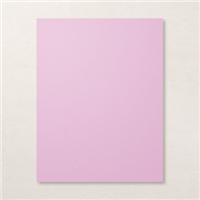
- Fresh Freesia: 5-1/2” x 8-1/2” scored at 4-1/4”
- Misty Moonlight: 4” x 5-1/4” and 1-1/8” x 2-3/8”
- Penguin Playmates: 3/4” x 2-3/4” (polka dots) and 1/4” x 2” (strips x 2)
- Basic White:
- 4” x 5-1/2” (inside base card)
- 3-3/4” x 5”
- 1” x 2-1/4”
Project Instructions
1. Fold the Fresh Freesia cardstock in half at the score line and burnish well with your Bone Folder.
2. Adhere the 4” x 5-1/4” Basic White cardstock inside your card.
3. Adhere the 4” x 5-1/4” Misty Moonlight mat to the card base.
4. Using the 3-3/4” x 5” Basic White cardstock, ink up the big snowflake using Fresh Freesia ink and stamp onto the cardstock. Repeat as desired.
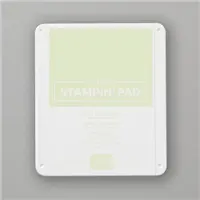
5. Ink the smaller stamp using Soft Sea Foam and stamp onto the Basic White mat; repeat as desired.
6. Adhere the White cardstock onto the base card.
7. Using the 3/4” strip of Polka Dot Designer Paper, use your Paper Snips to angle both ends and adhere to center of white mat.
8. Using both pieces of the 1/4” Striped Designer Paper, use your Paper Snips to angle both ends and adhere to either side of the Polka Dot paper, positioning them with one lower on left side & higher on right side. (See sample for placement.)
9. Stamp the sentiment onto the 1” strip of Basic White cardstock using Fresh Freesia ink. Layer onto the larger strip of Misty Moonlight cardstock and adhere to center of Designer Paper using Stampin’ Dimensionals.
10. Add 3 Rhinestones into the center of 3 random snowflakes as desired to finish.

Pin It
Pin away, my friends, pin away!
- Get a Free Tutorial Every Week!
- Shop 24/7 in your PJ’s
- Queen Bee Rewards – Earn FREE Stamps!
- View the 2024-2025 Annual Catalog
- View NEW Online Products
- Monthly Crafting Kit
Thanks for stopping by today, I hope you enjoyed this papercrafting tutorial. If you have a question or if I can help you with anything, please leave me a comment. I’d love to hear from you!


