Making charming note cards with the Changing Leaves Bundle by Stampin’ Up! is easy with this versatile bundle. The stamp set and coordinating dies allow you to add layers, color, and texture effortlessly, making your note cards truly special and unique.
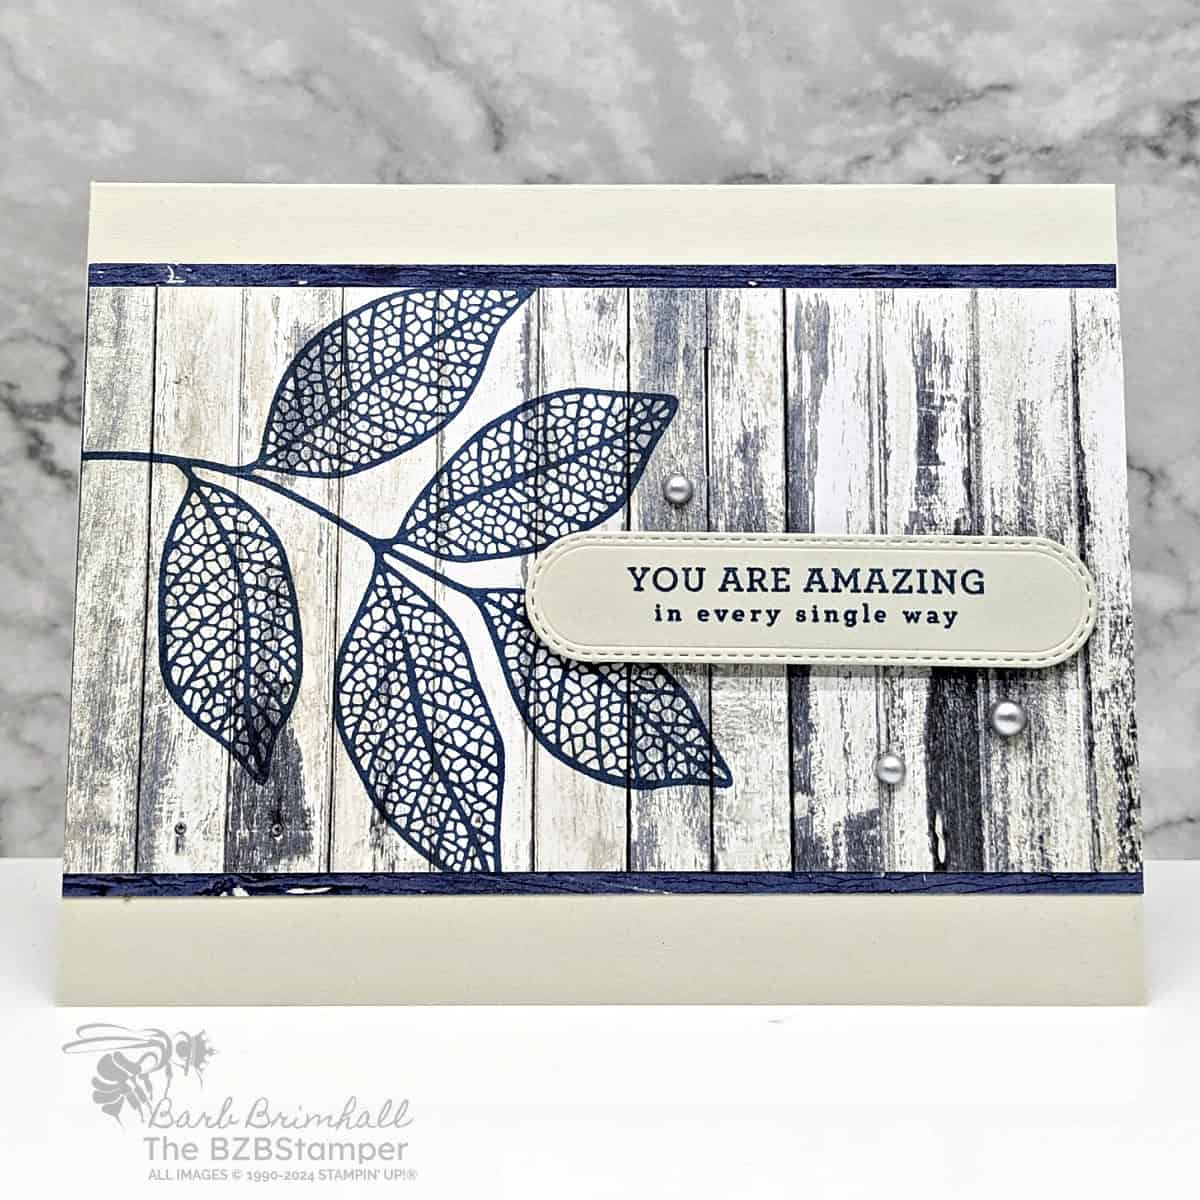
Whether you’re sending a quick hello or a thoughtful message, these note cards will leave a lasting impression. The skeleton leaf images and sentiments in the Changing Leaves Stamp Set provide the perfect blend of elegance and simplicity. You can create a single-color design for a classic look or mix and match different hues for a more vibrant effect. With the Hybrid Embossing Folder, you can add embossed and die-cut details in just a few seconds, giving your cards a professional finish.
Crafting with the Changing Leaves Bundle is not only fun but also rewarding. You get to experiment with different techniques and styles, making each note card unique. Imagine the joy of sending a handmade card that reflects your creativity and thoughtfulness. The Changing Leaves Bundle makes it possible to create note cards that are both beautiful and meaningful. Let’s get started!
How To Make This Card
Project Skill Level: Worker Bee
Worker Bee projects are designed for the crafter who has a bit more time and enjoys creating a handmade card that features a technique or tool. In many cases, a Stampin’ Cut & Emboss Machine is required for die-cutting and/or embossing.
Cardstock Measurements:
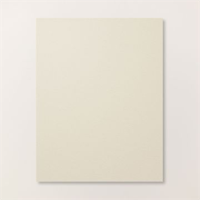
- Basic Beige Cardstock: 5-1/2″ x 8-1/2″, scored at 4-1/4″
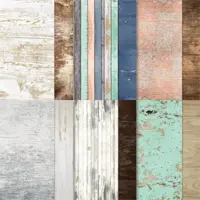
- Country Woods Designer Paper (Blue): 3-1/4″ x 5-1/2″
- Country Woods Designer Paper (Wood): 3″ x 5-1/2″
- Basic Bege Cardstock: 1″ x 4″ (for die-cutting)


Grab your Free copy
Get 5 Bee-utiful Exclusive
Card Sketches in Your Inbox
Join our newsletter and receive a honey of a package of five quick & simple cards guaranteed to make your creativity buzz! Sign up now and let the goodness flow straight to your inbox!
Step-by-Step Instructions:
- Fold the Basic Beige cardstock in half at the score line to create your card base.
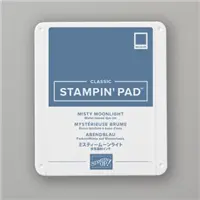
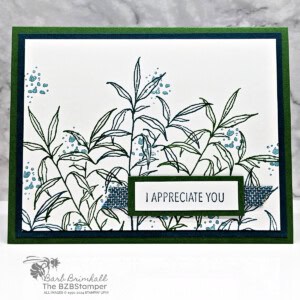
- Using the Misty Moonlight ink pad, stamp the large leaf on the left side of the Country Woods wood-grain paper. Adhere to the larger piece of Country Woods paper and adhere to the front of the card.
- Stamp the sentiment onto the 1″ strip of Basic Beige cardstock using Misty Moonlight ink. Run through the Stampin’ Cut & Emboss Machine using the large stitched label die from the Changning Leves Bundle.
- Adhere the sentiment label to the right side of the card as shown in the sample.
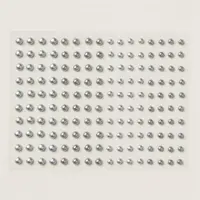
- Adhere 3 of the Smoky Slate pearls in various sizes to the card as desired to finish.
A Tip from Barb
This is a super simple card but it’s rated “Worker Bee” level due to the need for a Cut & Emboss Machine for the sentiment label. If you don’t have the dies or die-cut Machine, simply cut your sentiment label to 3/4″ x 3″ for a similar look. Easy Peasy!
Thank you so much for stopping by today. I hope you are inspired to create today, whether it is this simple and cute handmade card or another cardmaking project. My goal is to help you carve out some creative joy! If you’d like more detailed directions on how to make this card, feel free to email me. Keep checking back for more projects.

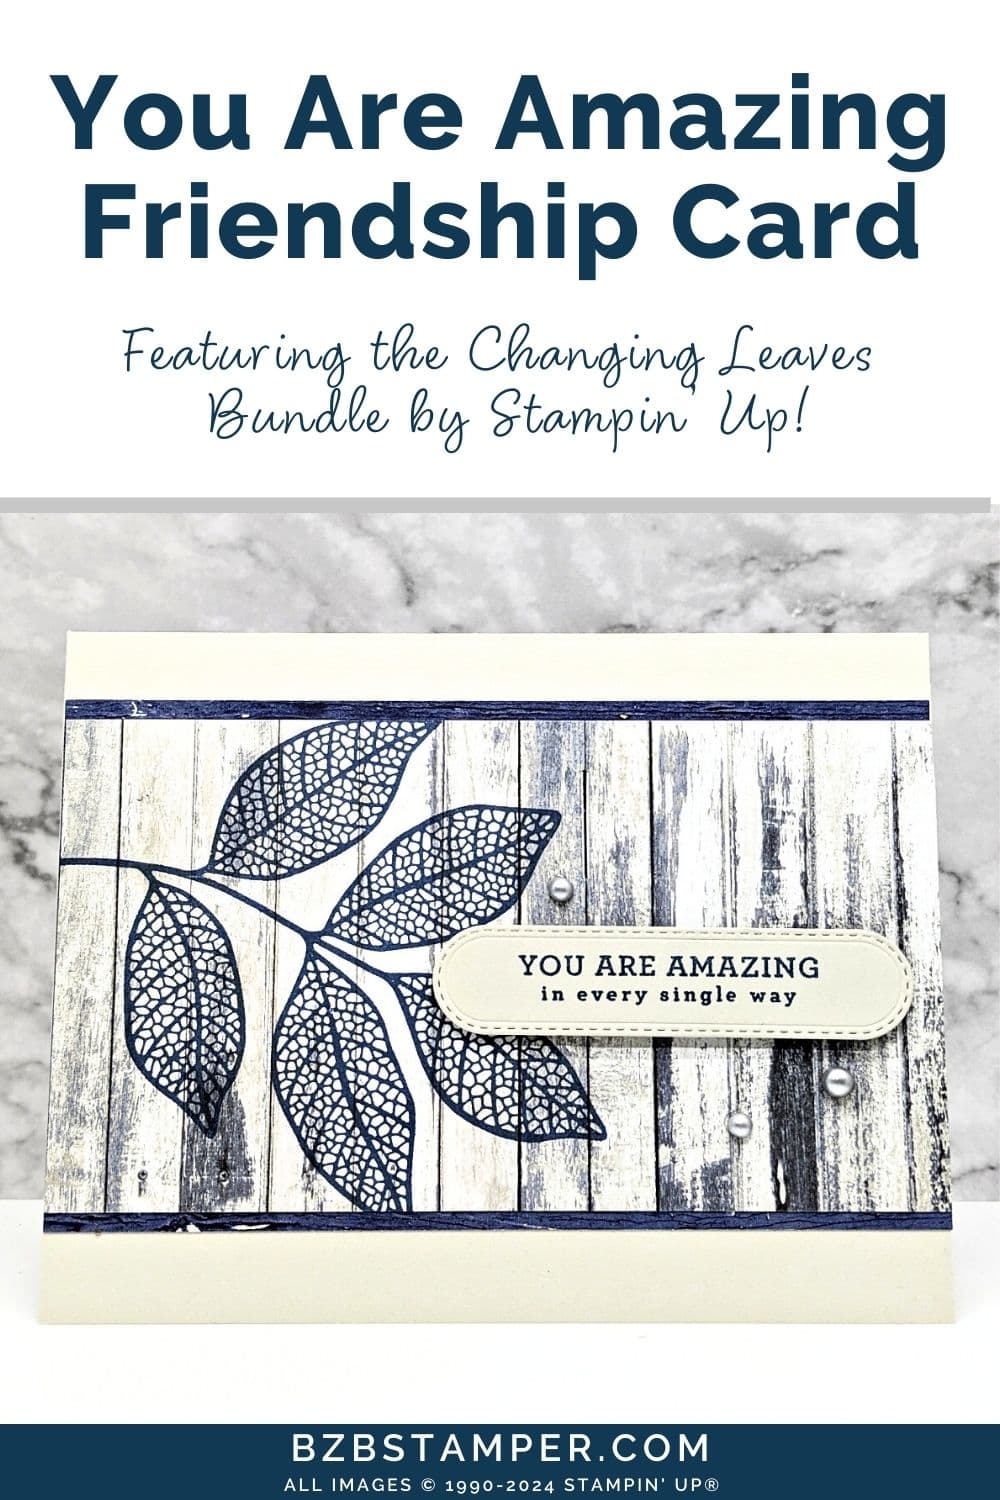
Don’t forget to pin this for later!





I am going to share your sight with all my workshop ladies. They are new at card making and love it. I am finding your easy to create cards a godsend: Pictures, Steps, Supplies, and even Tips.
What more could a beginner want!
Oh my goodness, thank you for your kind words – they made my heart happy! Enjoy and Happy Creating!