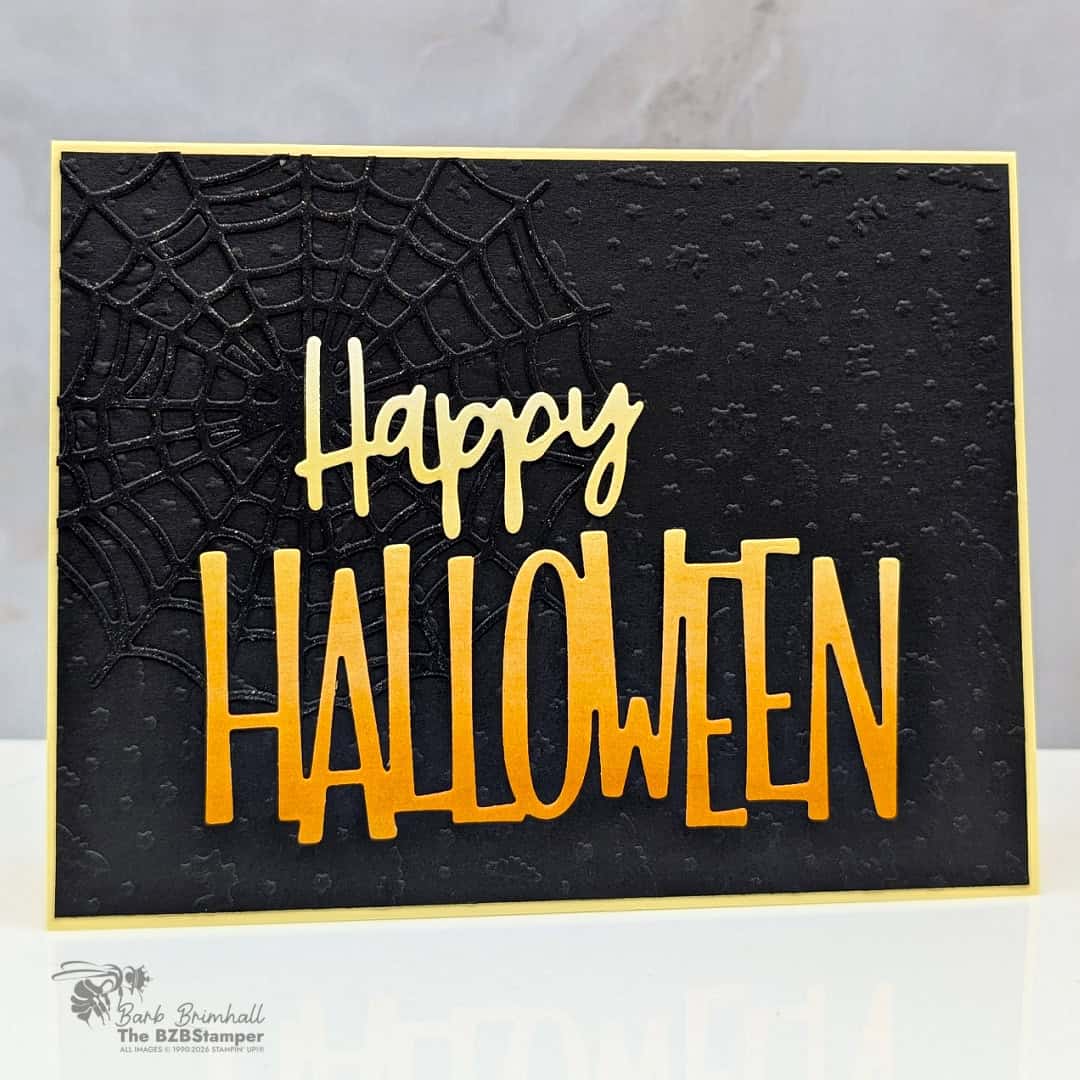
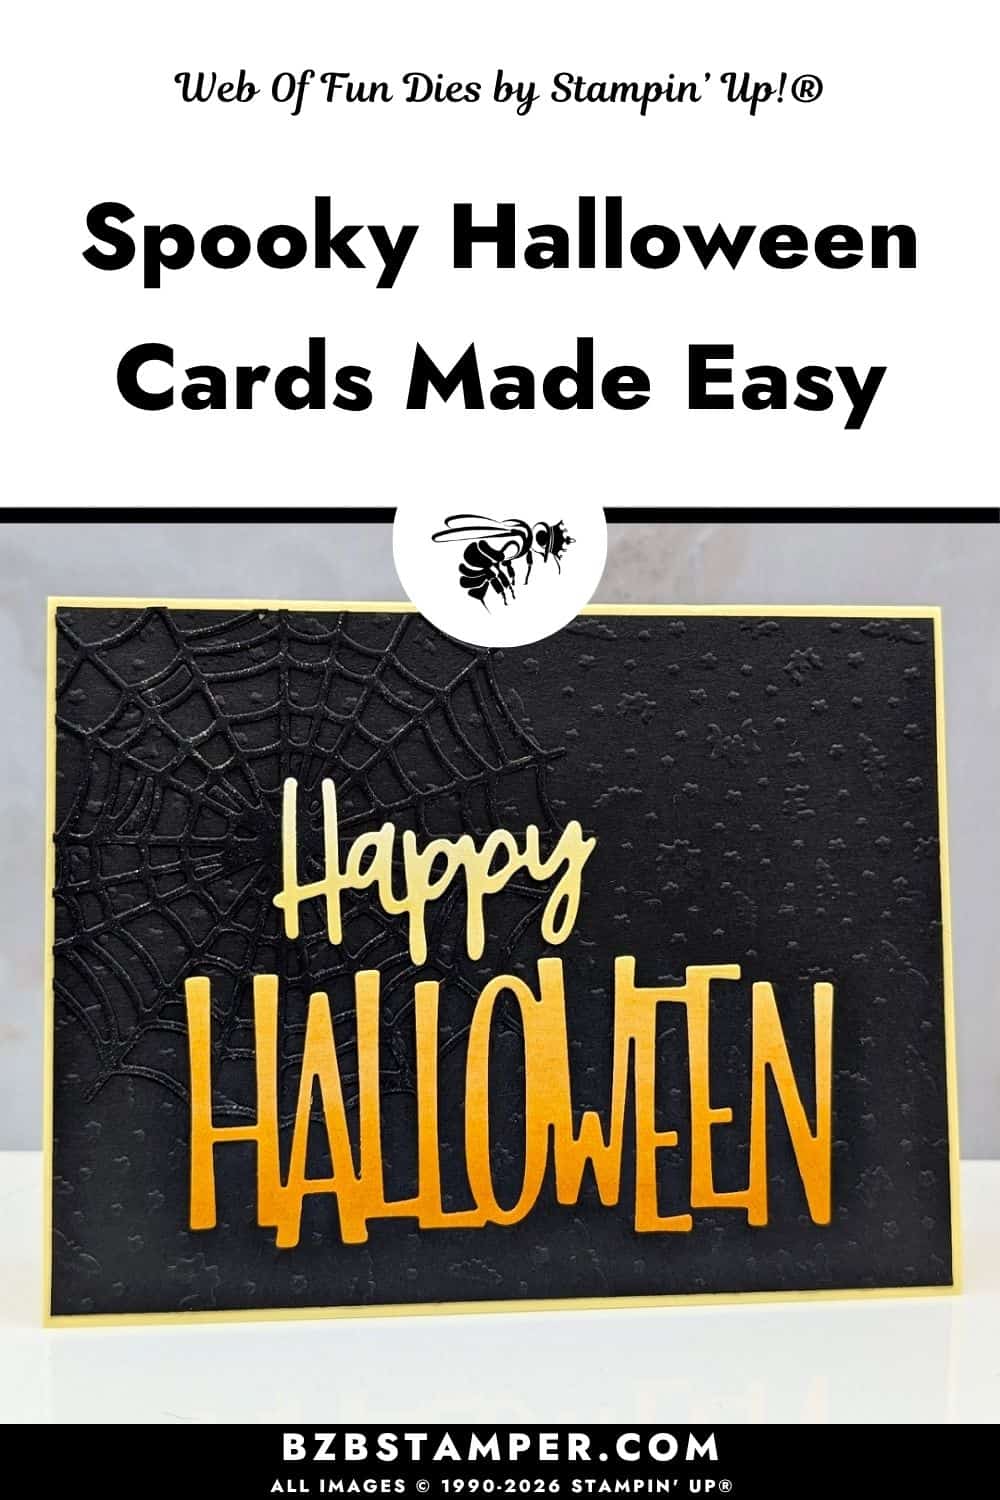
There’s something especially fun about creating Halloween cards, and this spooky Halloween card with the Web of Fun Dies bt Stampin’ Up!® is a fun example of how a few thoughtfully chosen details can make a big impact. This project combines rich texture, bold die-cut sentiments, and a classic Halloween color palette to create a card that’s festive without being overly spooky. Whether you’re sending Halloween greetings to grandchildren, friends, or fellow paper crafters, this design is simple to recreate while still looking polished and impressive. It’s a wonderful reminder that a handful of coordinating products can work together to create something truly memorable.
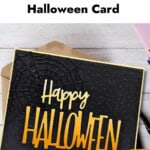
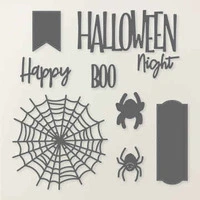
One of my favorite things about this card is the dramatic tone-on-tone texture. By pairing Basic Black cardstock with the Halloween bat pattern from the Seasonal Cheer Mini Embossing Folders, the background becomes full of interest without competing with the focal point. Adding the detailed spiderweb die cut from the Web of Fun Dies creates even more dimension while keeping everything within the same elegant black palette. The result is rich, layered texture that catches the light beautifully and gives the card a sophisticated Halloween feel.
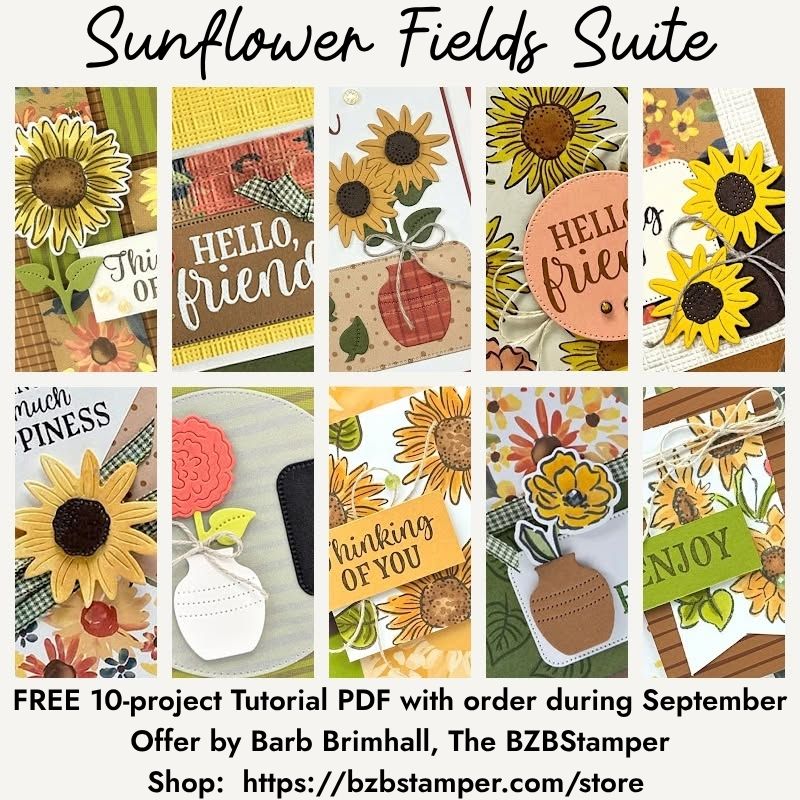
September ordering Bonus
A Bonus for You!
Any order you place in September includes a free 10-project tutorial featuring the Sunflower Fields Suite that you can use with any Bundle in your stamp stash.
It’s filled with cozy, step-by-step card ideas to spark your creativity when your order arrives — so you’re not staring at supplies wondering where to start.
The bold die-cut greeting is what really brings the design to life. Cutting the oversized Happy Halloween sentiment in bright Pumpkin Pie instantly draws your eye to the center of the card. Layering the Lemon Lolly “Happy” above the larger greeting adds another pop of contrast while tying the soft border into the overall design. Even though the layout is clean and uncluttered, the combination of layered die cuts creates plenty of visual interest and makes the greeting the unmistakable star of the project.
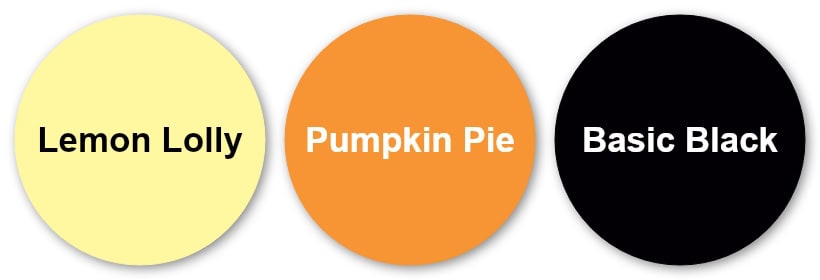
The color combination of Lemon Lolly, Pumpkin Pie, and Basic Black works beautifully because each color plays a different role. Basic Black creates a dramatic backdrop that allows the textures and die cuts to shine. Pumpkin Pie adds the warmth and energy we naturally associate with Halloween, while Lemon Lolly softens the overall look with a gentle glow that keeps the design from feeling too dark or heavy. Together, these three colors create a fresh take on traditional Halloween crafting that’s both playful and elegant.
Another reason I enjoyed creating this card is how quickly it comes together. The Web of Fun Dies make it easy to cut intricate Halloween elements with clean, crisp edges, while the coordinating Seasonal Cheer Mini Embossing Folders add instant texture in just one pass through your Stampin’ Cut & Emboss Machine. It’s a great reminder that you don’t need lots of layers or complicated techniques to create a card that looks detailed and thoughtfully designed.
How To Make This Card
You’ll find the full supply list and step-by-step instructions below.
Spooky Halloween Cards with the Web of Fun Dies
Supplies Needed
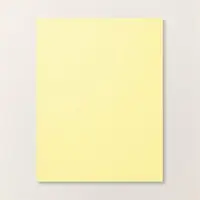
- Lemon Lolly Cardstock: 5-1/2" x 8-1/2" (scored at 4-1/4")
- Basic White Cardstock: 4" x 5-1/4" (inside card)
- Basic Black Cardstock: 4-1/8" x 5-3/8"
- Basic Black Cardstock: 4" x 4" (for die-cutting)
- Basic White Cardstock: 3-1/2" x 4-1/2" (for die-cutting)
Instructions
- Fold the Lemon Lolly cardstock in half at the score line to create your card base.
- Adhere the 4" x 5-1/4" piece of Basic White cardstock inside the card and decorate as desired.
- Run the 4-1/8" x 5-3/8" piece of Basic Black cardstock through the Stampin' Cut & Emboss Machine using the Halloween Seasonal Cheer Mini Embossing Folder. You'll need to emboss on the left side, then run through again and emboss on the right side.
- Run the 4" x 4" piece of Basic Black cardstock through the Stampin' Cut & Emboss Machine and die-cut the large web. Apply Wink of Stella to the entire web and then adhere to the top left corner of the Black Cardstock from the previous step. Trim off any part of the web that hangs over using scissors; adhere to the front of the card.
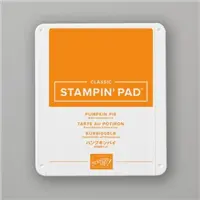
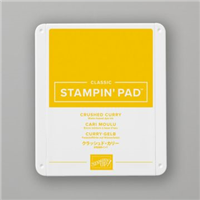
- Place the 3-1/2" x 4-1/2" piece of Basic White cardstock with the cardstock in landscape orientation on scrap paper. Using a Blending Brush, start by sponging Crushed Curry ink lightly at the top of the cardstock and continue two-thirds of the way down the cardstock, sponging progressively darker by adding more ink. On the bottom third of the cardstock, sponge Pumpkin Pie ink, adding the most ink at the bottom of the cardstock to create an ombre effect.
- Line up the "happy" and "halloween" dies on the Basic White cardstock so that the "happy" is in the yellow ombre area and the "Halloween" is in the orange ombre area. Run through the Stampin' Cut & Emboss Machine to die-cut.
- Adhere the die-cuts onto the card front as shown in the sample to finish.
Notes
I also love the versatility of the Seasonal Cheer Mini Embossing Folders. While this project showcases the Halloween bat pattern, the same set includes embossing folders for autumn leaves and Christmas candy canes, making it a wonderful addition to your crafting supplies throughout the entire holiday season. It’s always nice to invest in products that can be used across multiple occasions, giving you even more creative possibilities from a single set – especially when our Stampin’ Cut & Emboss Machine make them so easy to use!
Whether you love Halloween or simply enjoy creating seasonal cards, this project is a fun way to celebrate the season with texture, color, and eye-catching die-cut details. I hope it inspires you to pull out your favorite Halloween supplies, experiment with layered backgrounds, and create a card that will bring a smile to someone’s face. After all, every handmade card is a little surprise waiting to brighten someone’s day.
Love this color combo? Pin it for later!
Supplies Used:








One more little perk while you’re shopping. Each month there’s a Product of the Month you can add for just $5 when your order reaches $75. It’s a fun surprise that’s not in the catalog and only available while supplies last. Click To Learn More
If you enjoy simple, cozy cardmaking like this, you’d love the creative support we share inside the Creative Living Room. If you have questions about today’s tutorial, please email me for detailed steps. Inspire your craft with more ideas—join me over on Pinterest!
Grab your Free copy
Get 5 Bee-utiful Exclusive
Card Sketches in Your Inbox
Join our newsletter and receive a honey of a package of five quick & simple cards guaranteed to make your creativity buzz! Sign up now and let the goodness flow straight to your inbox!