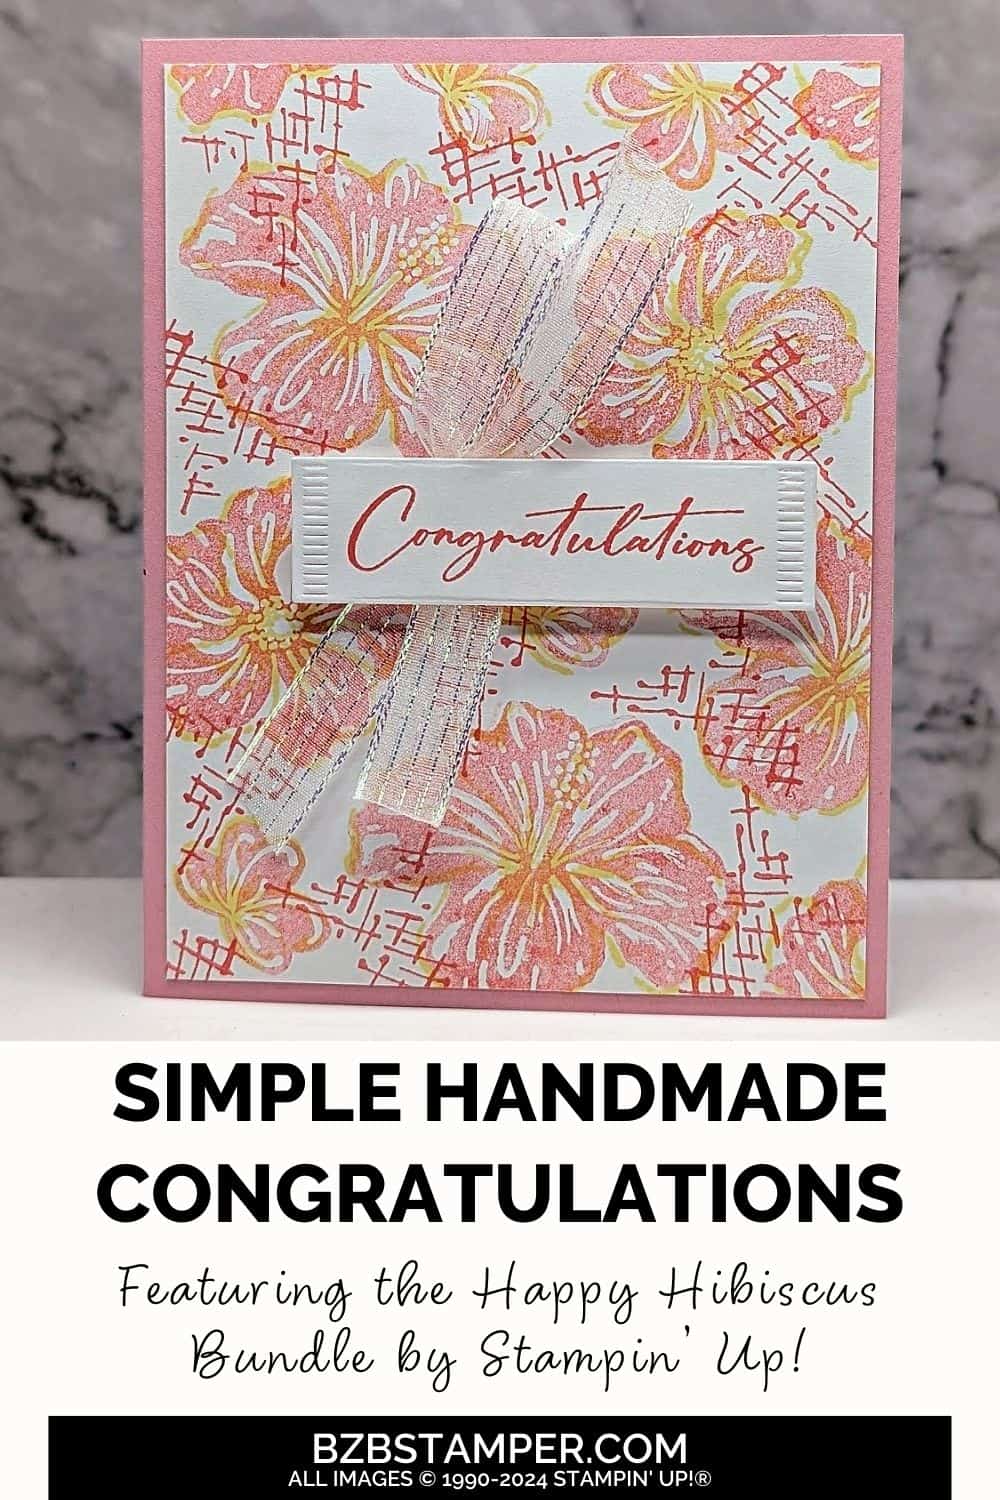
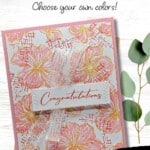
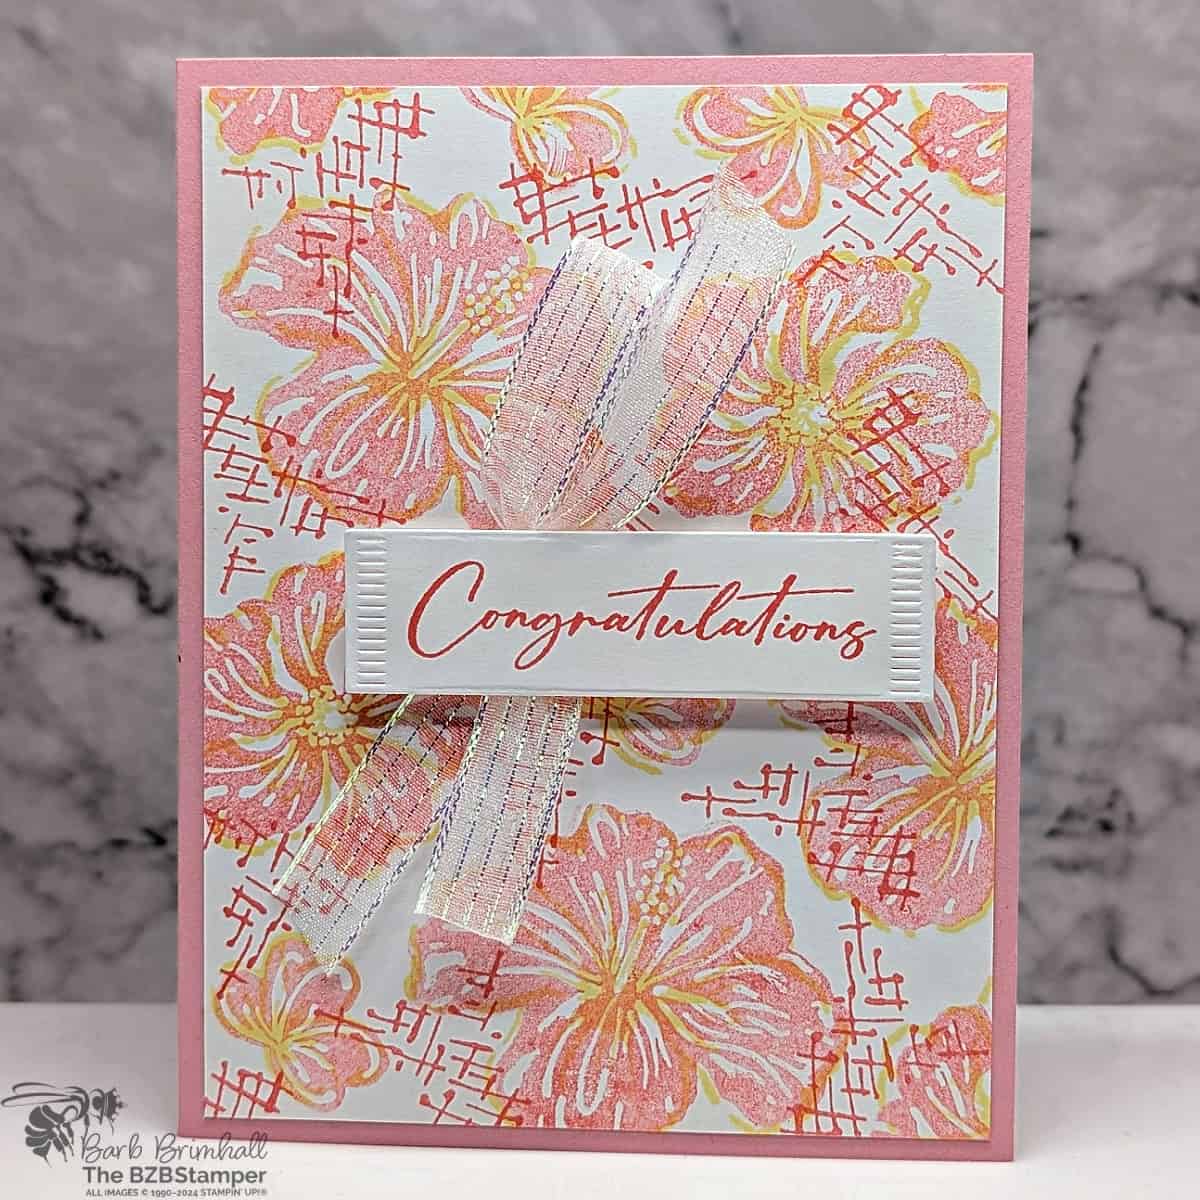
It’s so easy to make this whimsical Congratulations Card with the Happy Hibiscus Bundle by Stampin’ Up! This Bundle is the perfect project to add a touch of tropical elegance to your next handmade card. By using soft pastel tones, it’s easy to captures the delicate charm of hibiscus flowers, creating a heartfelt way to celebrate special milestones.
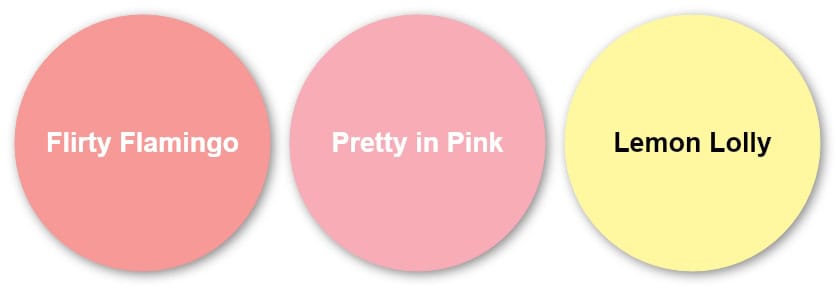
For this card, I went with soft subtle colors that I felt enhanced the tropical feel. But if you prefer a bright color combination, make sure you check out my Color Combination Library, which is sure to have a color palette you’ll love!
With its unique blend of coordinating stamps, dies, and a hybrid embossing folder, this Bundle is a crafter’s dream for making cards that stand out. Whether you’re a fan of detailed designs or prefer a more minimalist approach, these stamps ensure your card will be both visually appealing and easy to craft. Let’s explore how you can use this bundle to craft a charming congratulations card that is sure to leave a lasting impression.
How To Make This Card
Project Skill Level: Worker Bee
Worker Bee projects are designed for the crafter who has a bit more time and enjoys creating a handmade card that features a technique or tool. In many cases, a Stampin’ Cut & Emboss Machine is required for die-cutting and/or embossing.
Cardstock Measurements:
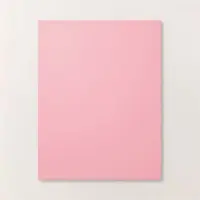
- Pretty in Pink Cardstock: 5-1/2″ x 8-1/2″, scored at 4-1/4″
- Basic White Cardstock: 4″ x 5-1/4″ (2 pieces)
- Basic White Cardstock: 1″ x 3″ (for die-cutting)


Grab your Free copy
Get 5 Bee-utiful Exclusive
Card Sketches in Your Inbox
Join our newsletter and receive a honey of a package of five quick & simple cards guaranteed to make your creativity buzz! Sign up now and let the goodness flow straight to your inbox!
Step-by-Step Instructions:
- Fold the Pretty ink Pink cardstock at the score line to create your card base.
- Adhere one of the 4″ x 5-1/4″ pieces of Basic White cardstock inside your card.
- Using the other piece of 4″ x 5-1/4″ Basic White cardstock, ink up the largest bold Hibiscus flower using Flirty Flamingo ink. Stamp off once on your scratch paper and then stamp onto the Basic White cardstock. Ink up the smaller bold Hibiscus flower using Flirty Flamingo ink; stamp off once on your scratch paper and then stamp onto the Basic White cardstock. Repeat until the entire Basic White cardstock is filled, using each of the stamps alternatively.
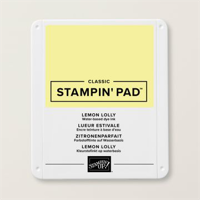
- Using out two outline stamps that coordinate with Bold floral stamps using in the previous step, stamp the outline stamps over the bold image stamps using Lemon Lolly ink. Repeat until all the flowers have been stamped, reinking your stamps with Lemon Lolly ink each time.
- Using the cross-hatch stamp, ink with Flirty Flamingo ink and fill any white space as needed, re-inking your stamp each time. Adhere the Basic White cardstock to the Pretty in Pink card base using adhesive.
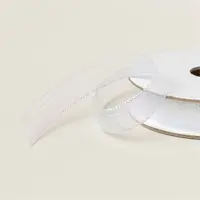
- Tie a large bow using at least 20″ of the Iridescent Striped Twin and adhere to center of the card (see sample for placement) using adhesive in the center.
- Using the 1″ strip of Basic White cardstock, stamp the sentiment in the center of the cardstock using Flirty Flamingo ink. Run through the Cut & Emboss Machine and die-cut using the rectangle sentiment die from the Happy Hibiscus Bundle Dies.
- Adhere the sentiment tag over the bow using Stampin’ Dimensionals to finish.
A Tip from Barb
This is actually a very simple card to create, but I chose to designate it as a Worker Bee card because of the label created by the Happy Hibiscus Dies.
If you don’t have the Dies, simple cut your Basic White Sentiment strip to 3/4″ x 2-3/4″ and you’ll be good to go! Easy Peasy!
I appreciate you dropping by! My mission is to inspire you with card tutorials that are as fun to make as they are to give. If you’re curious about the specifics of crafting today’s design, just send me an email. Want more papercrafting ideas? Join my Facebook Community today.

Don’t forget to pin this for later!
