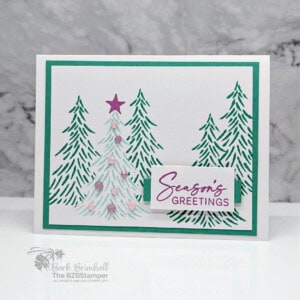
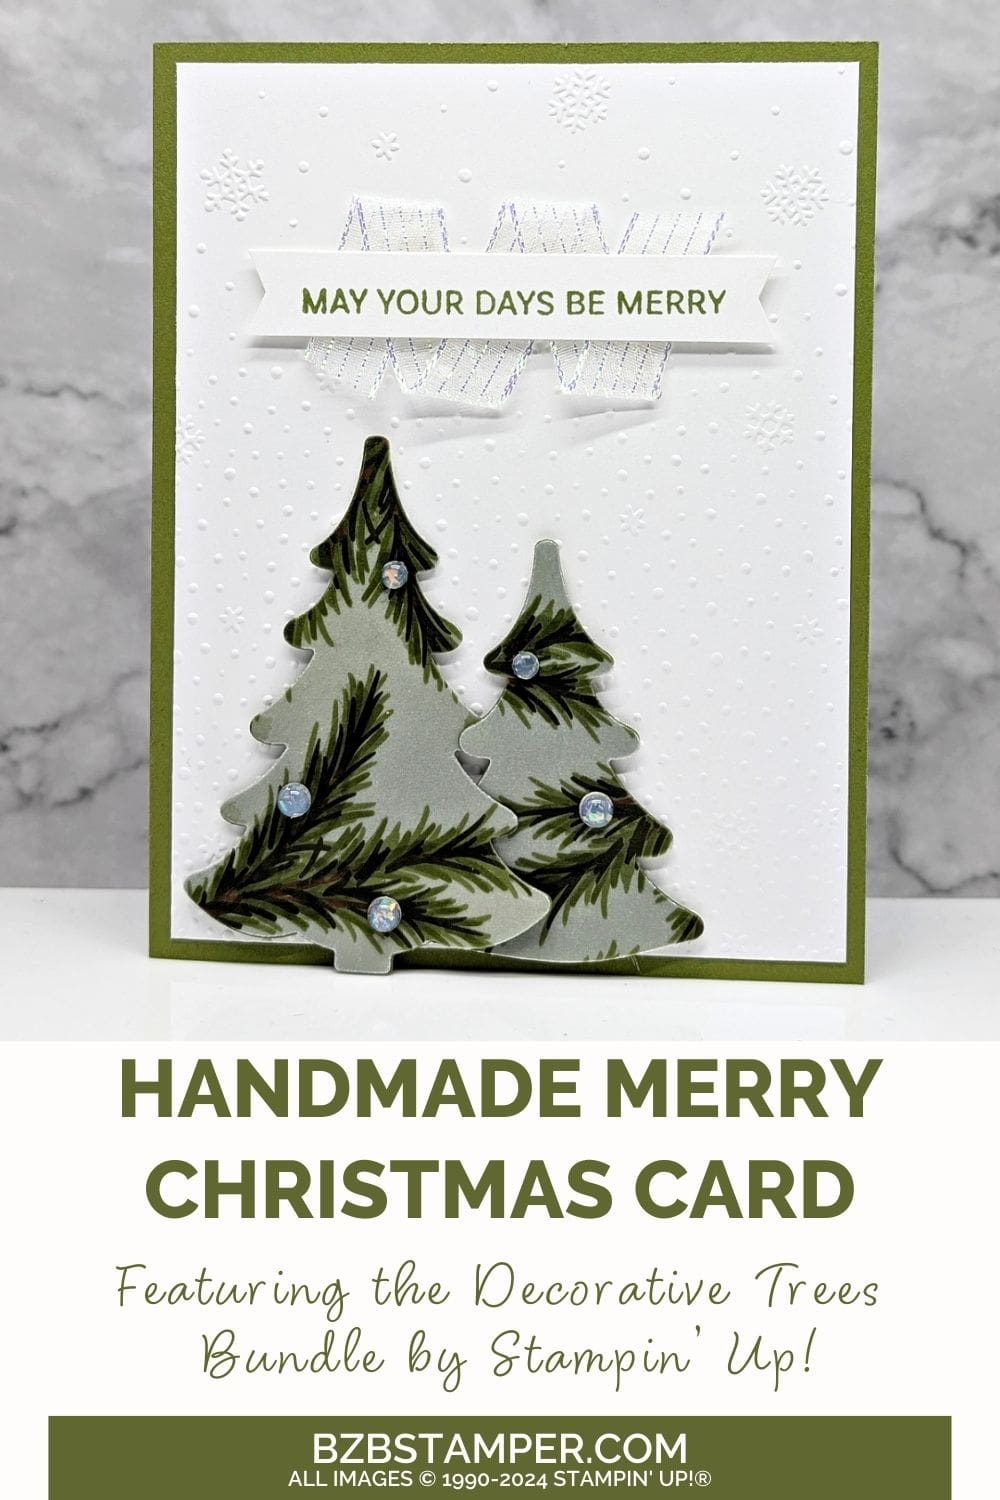
May Your Days Be Merry with the Decorative Trees Bundle by Stampin’ Up! Creating heartfelt, handmade holiday cards is a wonderful way to spread cheer and this card is a beautiful project to try. Featuring an embossed background with the Snowflake Sky Embossing Folder and elegant layers of Graceful Greenery Vellum, this card captures the magic of the season. The Decorative Trees Bundle offers endless creative possibilities, making it easy to craft a card that is both sophisticated and festive.
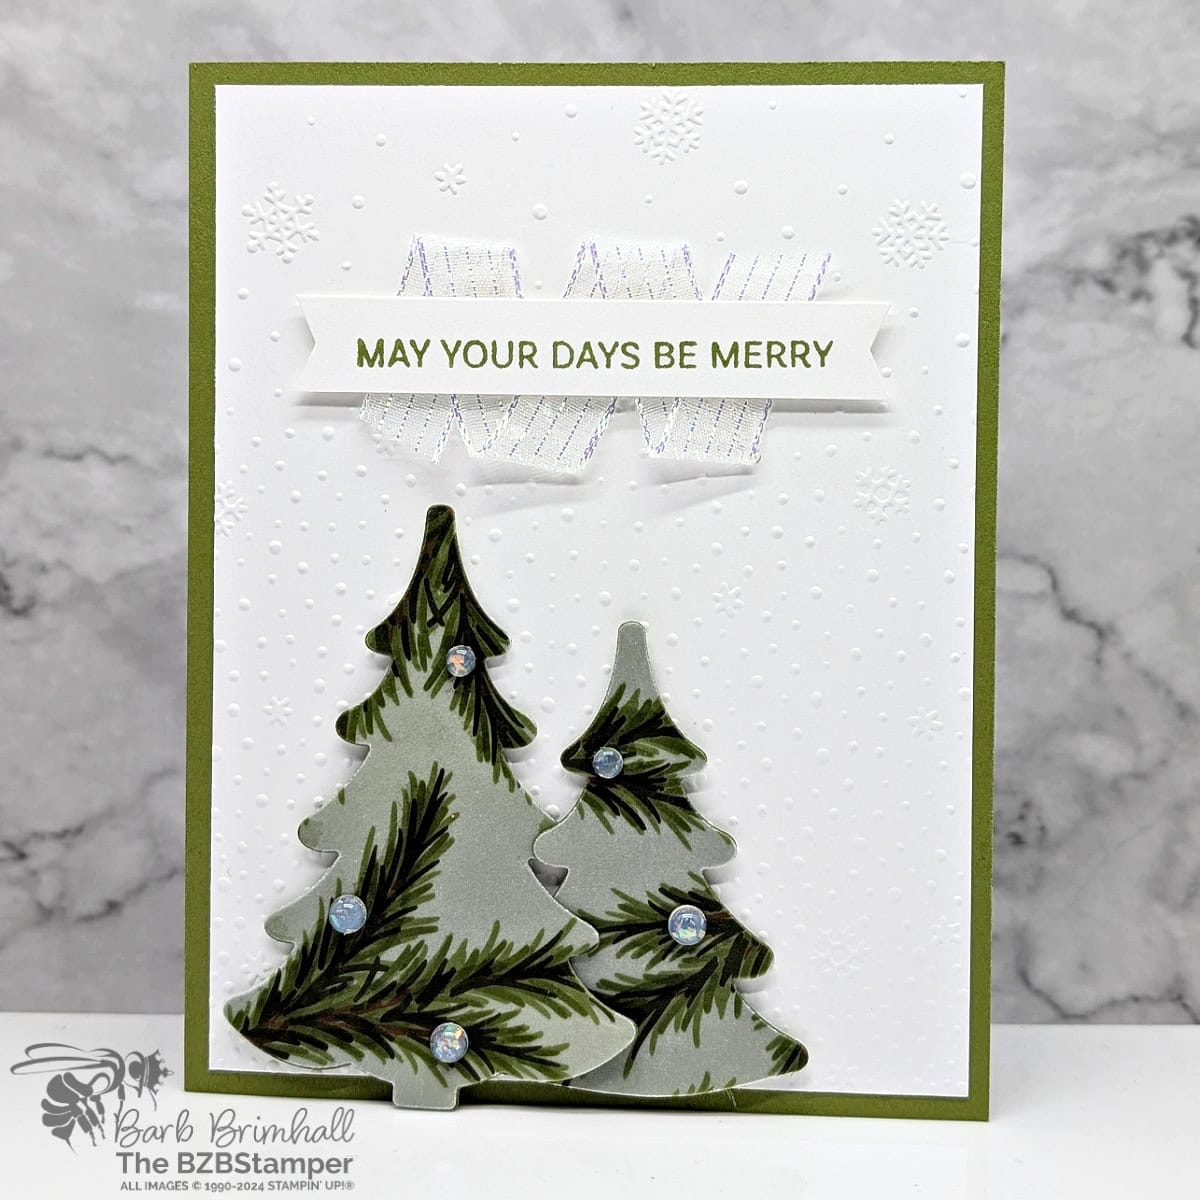
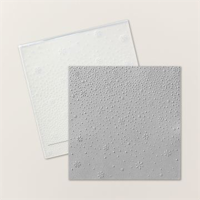
To start, emboss your card base with the Snowflake Sky Embossing Folder to add texture and create a wintery backdrop. The embossed snowflakes lend a sense of depth and sparkle, setting the stage for your design. Next, cut out a few trees from the Decorative Trees Dies using coordinating cardstock. Layer these trees on top of the embossed background, creating a forest-like effect that draws the eye. Adding a layer of Graceful Greenery Vellum to the trees brings a soft, ethereal touch that beautifully complements the festive theme.
The final touch is stamping and placing the sentiment “May Your Days Be Merry” on the card front. This heartfelt phrase ties everything together, making it perfect for sending warm holiday wishes to friends and loved ones. A few carefully placed embellishments, like small rhinestones or glitter accents, can add just the right amount of sparkle. Whether you’re new to cardmaking or a seasoned pro, this project offers a perfect blend of elegance and simplicity.
How To Make This Card
Project Skill Level: Worker Bee
Worker Bee projects are designed for the crafter who has a bit more time and enjoys creating a handmade card that features a technique or tool. In many cases, a Stampin’ Cut & Emboss Machine is required for die-cutting and/or embossing.
Cardstock Measurements:
- Old Olive Cardstock: 5-1/2″ x 8-1/2″, scored at 4-1/4″
- Basic White Cardstock: 4″ x 5-1/4″ (2 pieces)
- Old Olive Cardstock: 4″ x 4″ (for die-cutting)
- Graceful Greenery Vellum: 4″ x 4″ (for die-cutting)
- Basic White Cardstock: 1/2″ x 3″


Grab your Free copy
Get 5 Bee-utiful Exclusive
Card Sketches in Your Inbox
Join our newsletter and receive a honey of a package of five quick & simple cards guaranteed to make your creativity buzz! Sign up now and let the goodness flow straight to your inbox!
Step-by-Step Instructions:
- Fold the Old Olive cardstock in half at the score line to create your card base.
- Adhere one of the 4″ x 5-1/4″ pieces of Basic White cardstock inside the card.
- Using the other piece of 4″ x 5-1/4″ Basic White cardstock, run through the Cut & Emboss Machine using the Snowflake Sky 3D Embossing Folder. Adhere to the front of the card.
- Run the 4″ square of Old Olive cardstock through the Cut & Emboss Machine and cut out the Bold Tree Die from the Decorative Tree Bundle Dies two times. Set aside.
- Run the 4″ square of Graceful Greenery Vellum through the Cut & Emboss Machine and cut out the Bold Tree Die from the Decorative Tree Bundle Dies two times.
- Adhere the Graceful Greenery Vellum trees to the Old Olive Cardstock trees using small dots of glue behind the green images so that the dots of glue can’t be seen. Layer to the front of the card as shown in the sample using Stampin’ Dimensionals.
- Stamp the sentiment onto the 1/2″ strip of Basic White cardstock using Old Olive ink.
- Snip both ends of the sentiment strip using scissors to create a “flag notch” on each side.
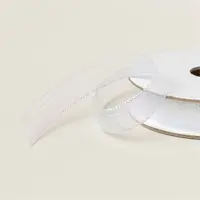
- Cut 5″ of the ribbon and adhere in a zig-zag pattern to the back of the sentiment strip; trim ends as needed.
- Adhere the Sentiment strip/ribbon to the top of the card as shown in the sample using Stampin’ Dimensionals.
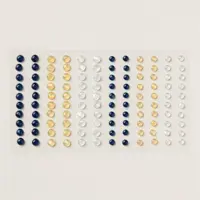
- To finish, add several of the Clear Opal Rounds to the trees as desired.
A Tip from Barb
To create an even more sense of staggered height with the trees, I trimmed the bottom of the second tree to cut off the stem and rounded it more with my scissors. This is not necessary and is totally optional.
Thanks for joining me in today’s crafting session! I’m passionate about helping you create versatile cards for any celebration, designed to be quick yet impressive. For additional guidance on today’s tutorial, feel free to email me. Stay connected! Follow my Facebook Community for more crafting tips and updates.

Don’t forget to pin this for later!
Supplies Used On This Project:
Price: $10.00


