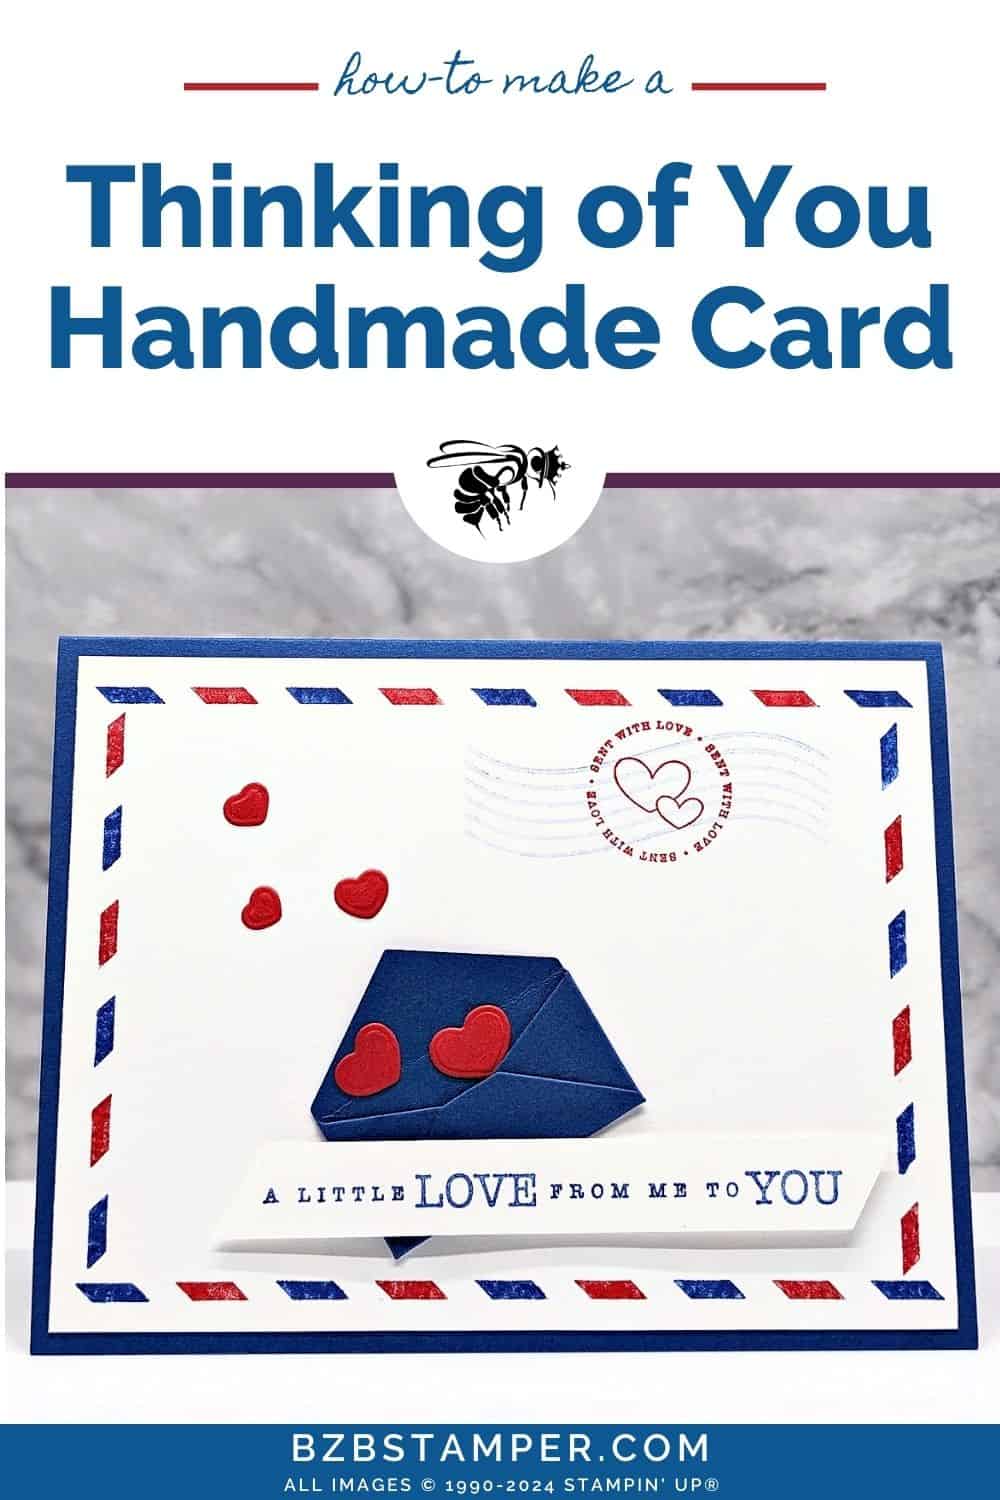
Thinking of You Card with the Sending Love Bundle
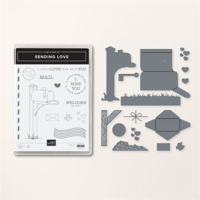
Create this fun Thinking of You card with the Sending Love Bundle by Stampin’ Up! With its charming stamps and dies, the Sending Love Bundle is perfect for crafting cards that let your loved ones know they’re in your thoughts.
Whether it’s a simple message or a more elaborate design, this bundle provides all the tools you need to create mail-themed cards, packages, and paper crafts to send to all your friends and family.
Create snail-mail-themed cards with the Sent with Love sentiment, cute mailbox, and adorable letter stamps. Or use the hearts and dashed line to add a border or fun detail to your gift tags or packaging. However you choose to use this set, each stamp will help you create fun postal cards for any friend—near or far!
How To Make This Card
Project Skill Level: Worker Bee
Worker Bee projects are designed for the crafter who has a bit more time and enjoys creating a handmade card that features a technique or tool. In many cases, a Stampin’ Cut & Emboss Machine is required for die-cutting and/or embossing.
Cardstock Measurements:
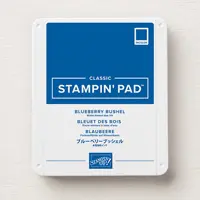
- Blueberry Bushel Cardstock: 5-1/2” x 8-1/2”, scored at 4-1/4”
- Basic White Cardstock: 4” x 5-1/4” (2 pieces)
- Real Red Cardstock: 2” x 2” (for die-cutting)
- Blueberry Bushel Cardstock: 3” x 3” (for die-cutting)
- Basic White Cardstock: 1/2” x 4”


Grab your Free copy
Get 5 Bee-utiful Exclusive
Card Sketches in Your Inbox
Join our newsletter and receive a honey of a package of five quick & simple cards guaranteed to make your creativity buzz! Sign up now and let the goodness flow straight to your inbox!
Step-by-Step Instructions:
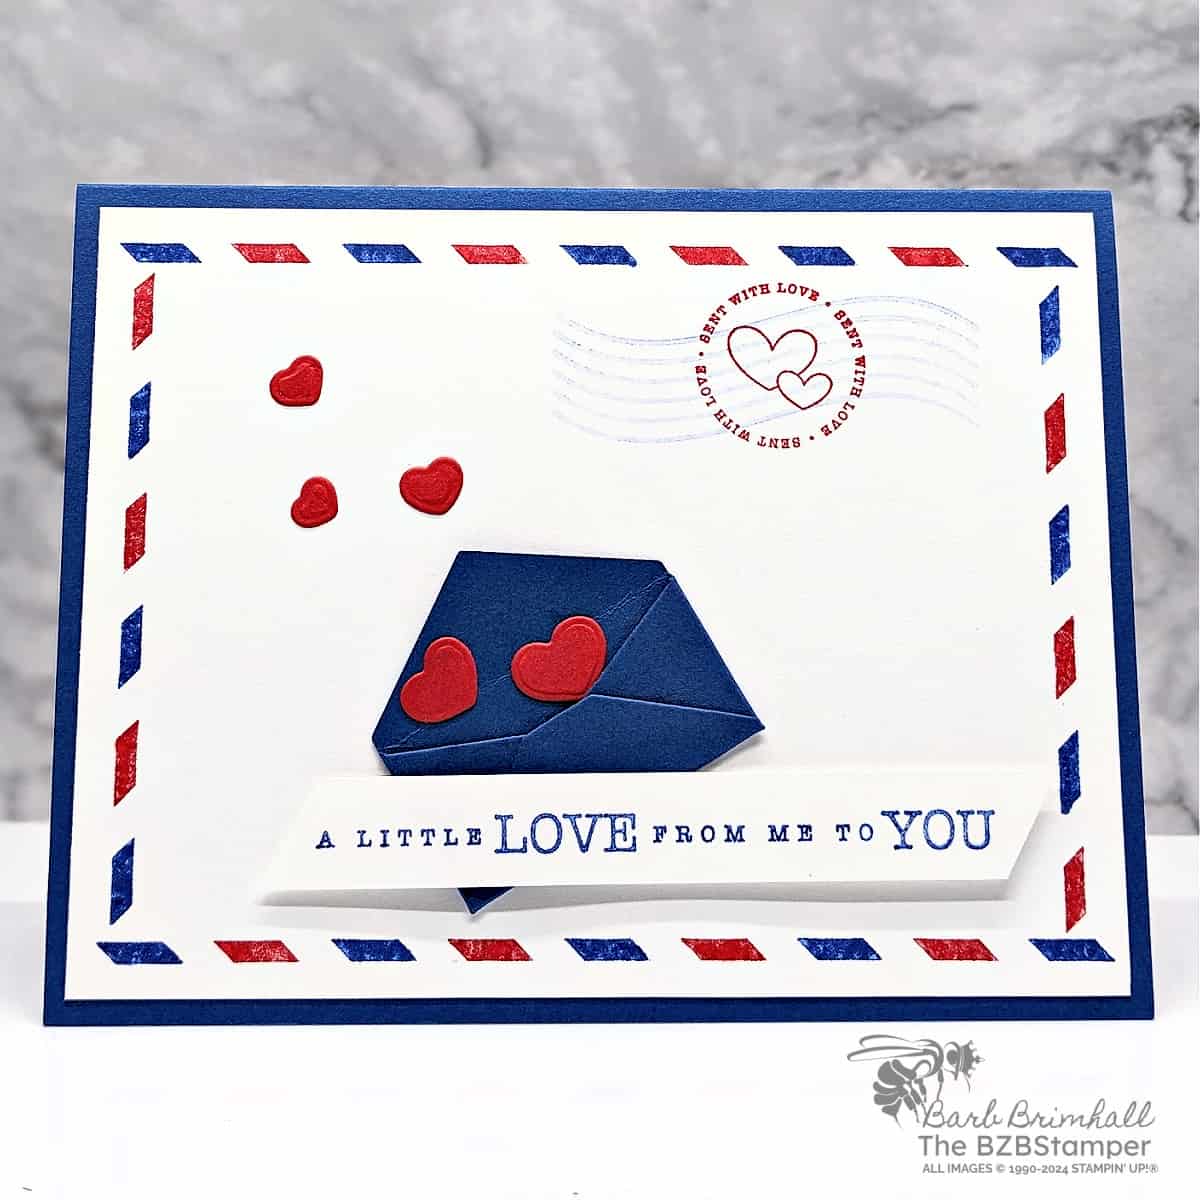
- Fold the 5-1/2” x 8-1/2” piece of Blueberry Bushel cardstock in half at the score line to create the card base. Adhere one of the 4” x 5-1/4” pieces of Basic White cardstock inside the card.
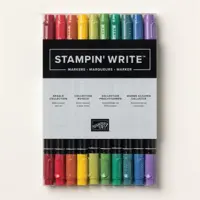
- Using the Real Red Stampin’ Write Marker from the Regals Collection, color every other rectangle on the long border stamp. Using the Blueberry Bushel Stampin’ Write Marker, color the remaining rectangle images. Huff on the stamp to remoisten the ink and stamp on the top of the remaining piece of 4” x 5-1/4” Basic White cardstock. Clean stamp and repeat by stamping on the bottom of the White cardstock.
- Clean the border stamp from the previous step and repeat for each side, this time only coloring in 6 of the lines.
- Ink the “postage wave” image using Blueberry Bushel ink and tap off several times on your scrap paper then stamp in the upper right corner. Stamp the circle heart image using Real Red ink. Adhere the White cardstock to the front of the card.
- Using the scraps of Real Red and Blueberry Bushel cardstock, run through the Cut & Emboss Machine and cut out the hearts and envelope using the sending Love dies. Assemble the envelope and adhere it and the hearts to the front of the card as shown in the sample.
- Stamp the sentiment onto the 1/2” strip of Basic White cardstock using Blueberry Bushel ink. Use scissors to trim both ends at an angle and adhere to front of card so that it overlaps the envelope to finish.
A Tip from Barb
To create the border around the card, you’ll want to use Stampin’ Write markers to color in each of the dashes. If you don’t have markers, you can use small pieces of washi tape to mask off every other dash, then ink the stamp with the ink pad color of your choice; remove the Washi Tape, huff on the stamp and stamp. Clean your stamp, then start the process over again by putting Washi Tape on the dashes that were inked last time and ink with the ink pad color of your choice. Remember to remove the Washi Tape carefully before stamping over the previous image. This is a more difficult way to get that look but it will work with ink pads instead of Markers.
Thank you so much for stopping by! I hope you feel inspired to create and that you also feel you have all the info you need to make this card with these instructions. If you aren’t sure about something or would like more detailed directions on how to make this card, feel free to email me. I’m here to help!

Don’t forget to pin this for later!
