Handmade Thinking Of You Card Tutorial
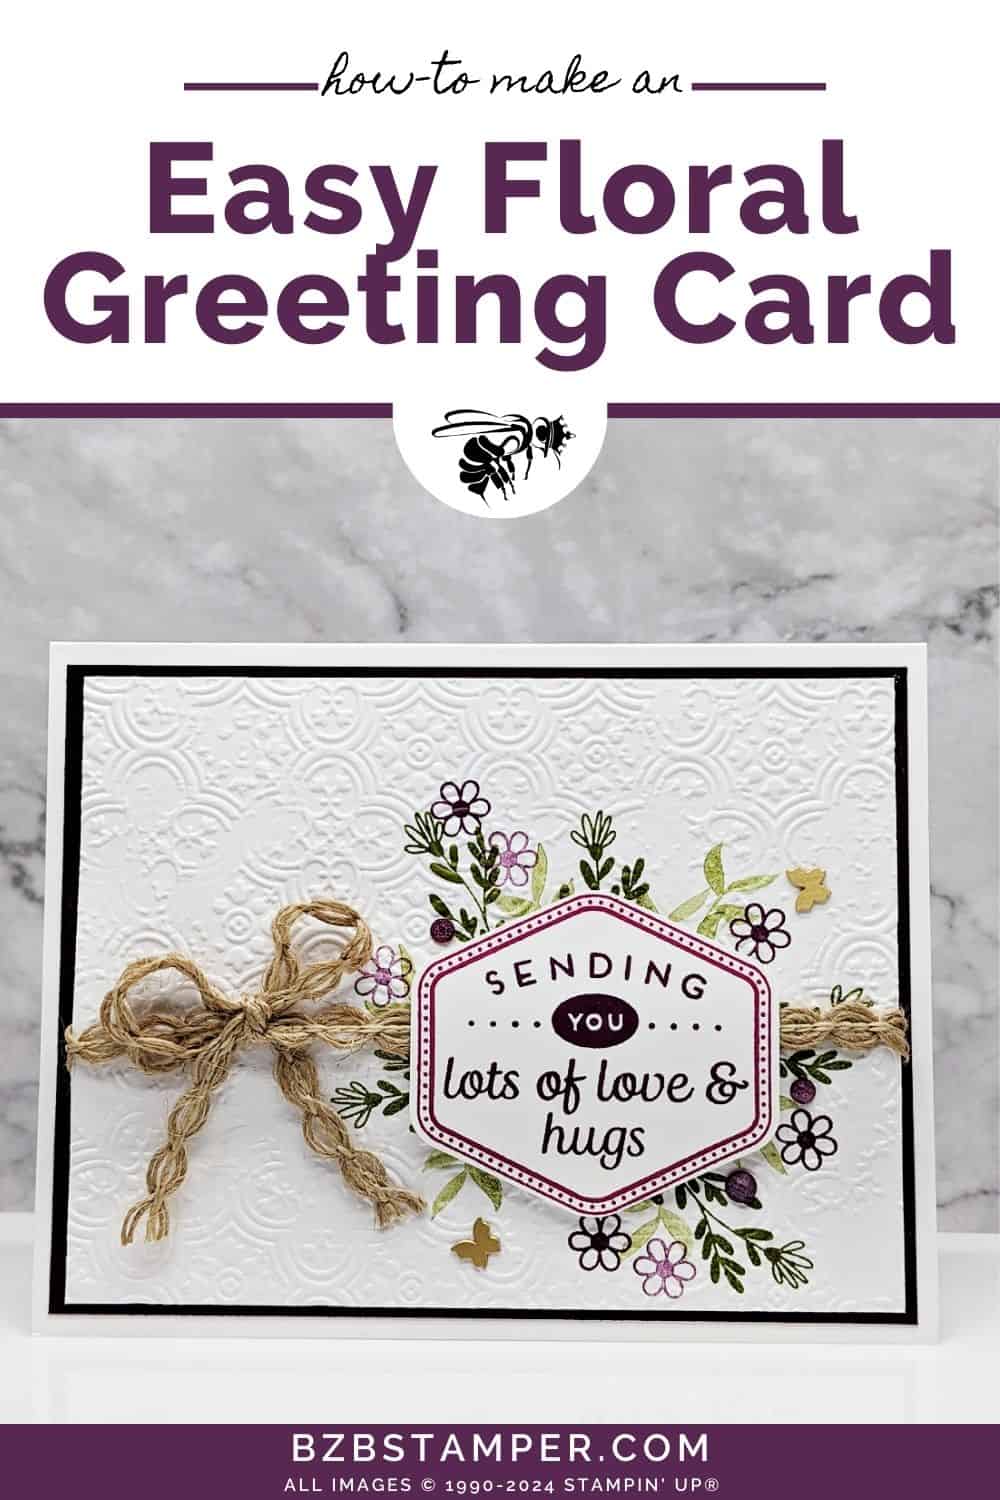
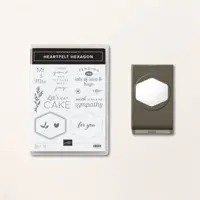
This handmade Thinking Of You card tutorial features the Heartfelt Hexagon Bundle by Stampin’ Up! In a world bustling with busy schedules and digital communication, taking a moment to craft a handmade Thinking of You card can be a deeply personal and touching gesture.
The Heartfelt Hexagon Bundle offers you the tools to create these meaningful tokens of affection and thoughtfulness. In this blog post, I’ll guide you through the steps of making a Thinking of You card that not only looks beautiful but also conveys your heartfelt sentiments. Whether it’s for a friend who’s been on your mind, a family member you miss, or simply to brighten someone’s day, these cards are sure to leave a lasting impression.
How To Make This Card
Project Skill Level: Worker Bee
Worker Bee projects are designed for the crafter who has a bit more time and enjoys creating a handmade card that features a technique or tool. In many cases, a Stampin’ Cut & Emboss Machine is required for die-cutting and/or embossing.
Cardstock Measurements:
- Basic White Cardstock: 5-1/2” x 8-1/2”, scored at 4-1/4”
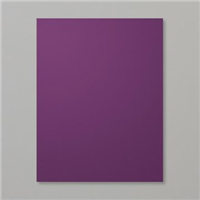
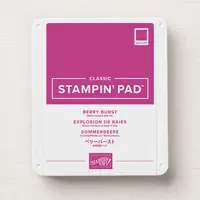
- Berry Burst Cardstock: 4” x 5-1/4”
- Basic White Cardstock: 3-3/4” x 5”
- Basic White Cardstock: 3” x 3”


Grab your Free copy
Get 5 Bee-utiful Exclusive
Card Sketches in Your Inbox
Join our newsletter and receive a honey of a package of five quick & simple cards guaranteed to make your creativity buzz! Sign up now and let the goodness flow straight to your inbox!
Step-by-Step Instructions:
- Fold the Basic White Cardstock in half to create your base card.
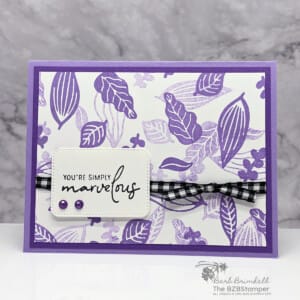
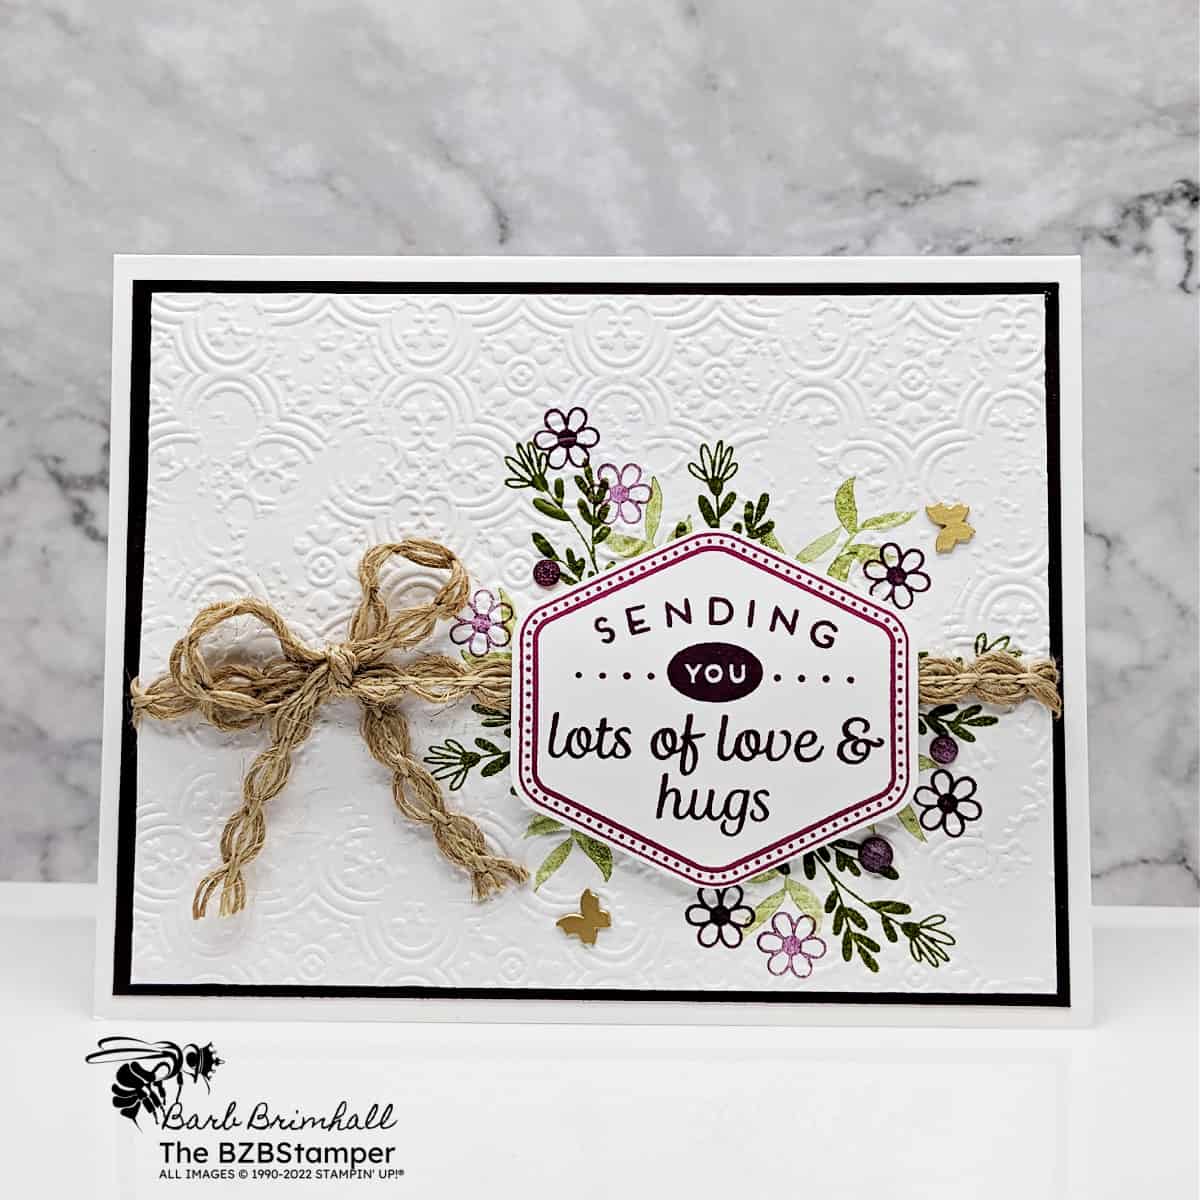
- Using the large foliage image and Mossy Meadow ink, stamp in a circle on the right side of the 3-3/4” x 5” piece of Basic White cardstock. Ink up the small leaf stamp using Mossy Meadow ink, stamp off on your scratch sheet, and stamp in between the larger stamps. Repeat as desired.
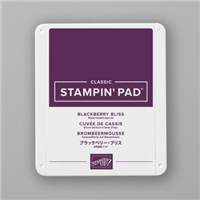
- Ink up the small flower stamp and stamp several times using Blackberry Bliss ink. Clean stamp and stamp flowers again using Berry Burst ink.
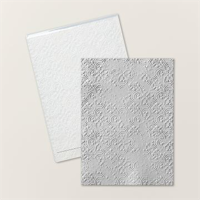
- Run the stamped cardstock through the Cut & Emboss Machine using the Distressed Tile folder.
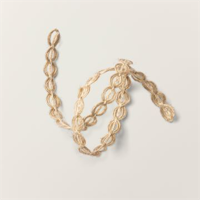
- Cut 15” – 18” of the Natural Trim and wrap around the embossed White cardstock mat. Tie into a bow on the left side and trim ends as needed. Adhere the White cardstock to the Blackberry Bliss mat and then adhere to the card front.
- Stamp the border image using Berry Burst ink onto the 3” x 3” piece of Basic White cardstock. Stamp the sentiment inside the border using Blackberry Bliss ink.
- Punch out the sentiment using the Hexagon Punch that comes in the Bundle and adhere to the center of the foliage using Stampin’ Dimensionals.
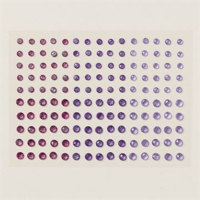
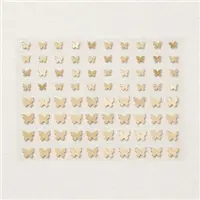
- To finish, add the Purple Fine Shimmer Gems and Brushed Brass Butterflies as desired onto the card front.
A Tip from Barb
There are so many little touches on this card that make it a favorite of mine. The Hexagon Punch makes quick work of the sentiment, but if you don’t have that punch, simply fussy cut out the sentiment with scissors. Easy Peasy!
Thank you so much for stopping by today. I hope you are inspired to create today, whether it is this simple and cute handmade card or another cardmaking project. My goal is to help you carve out some creative joy! If you’d like more detailed directions on how to make this card, feel free to email me. Keep checking back for more projects.

Don’t forget to pin this for later!
