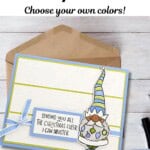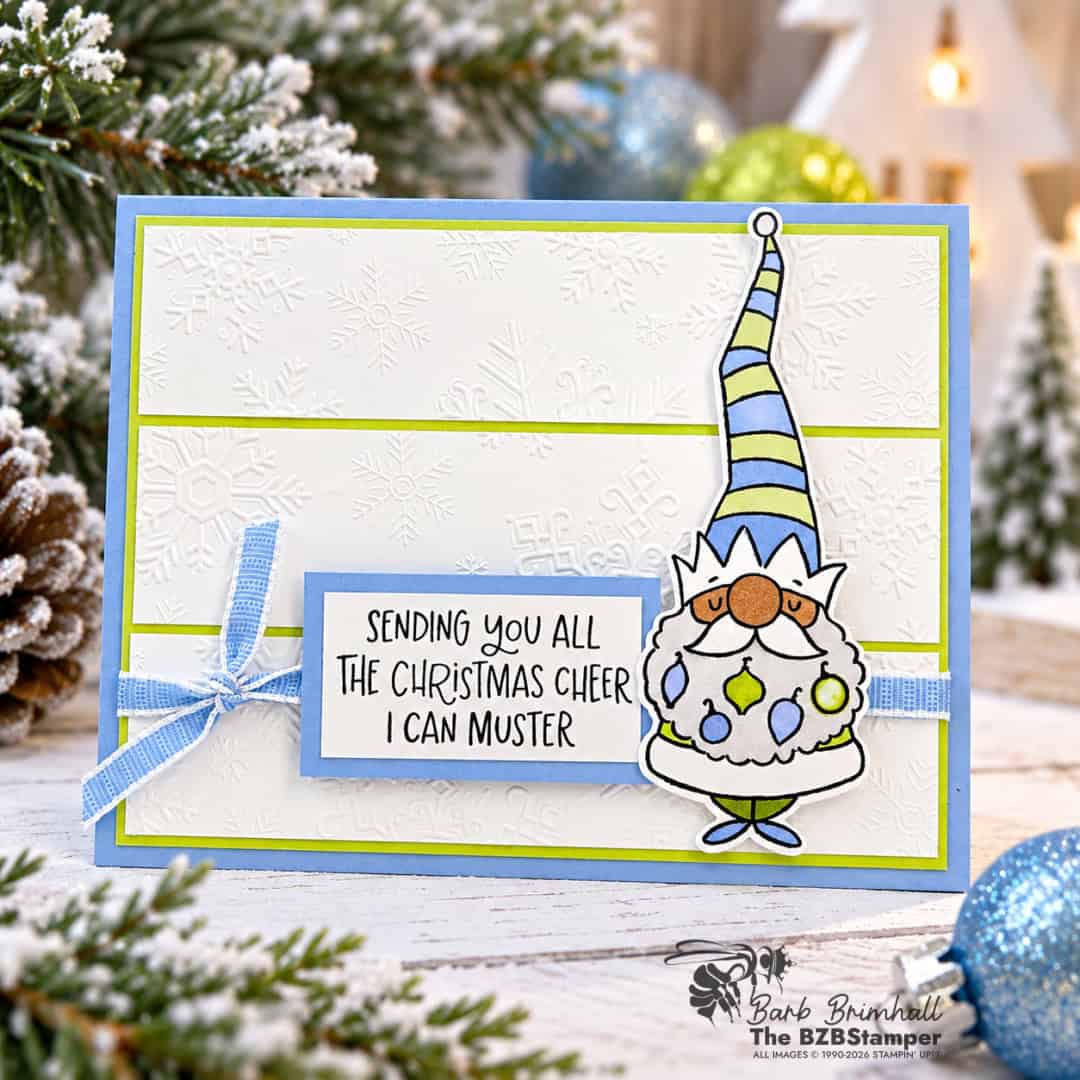
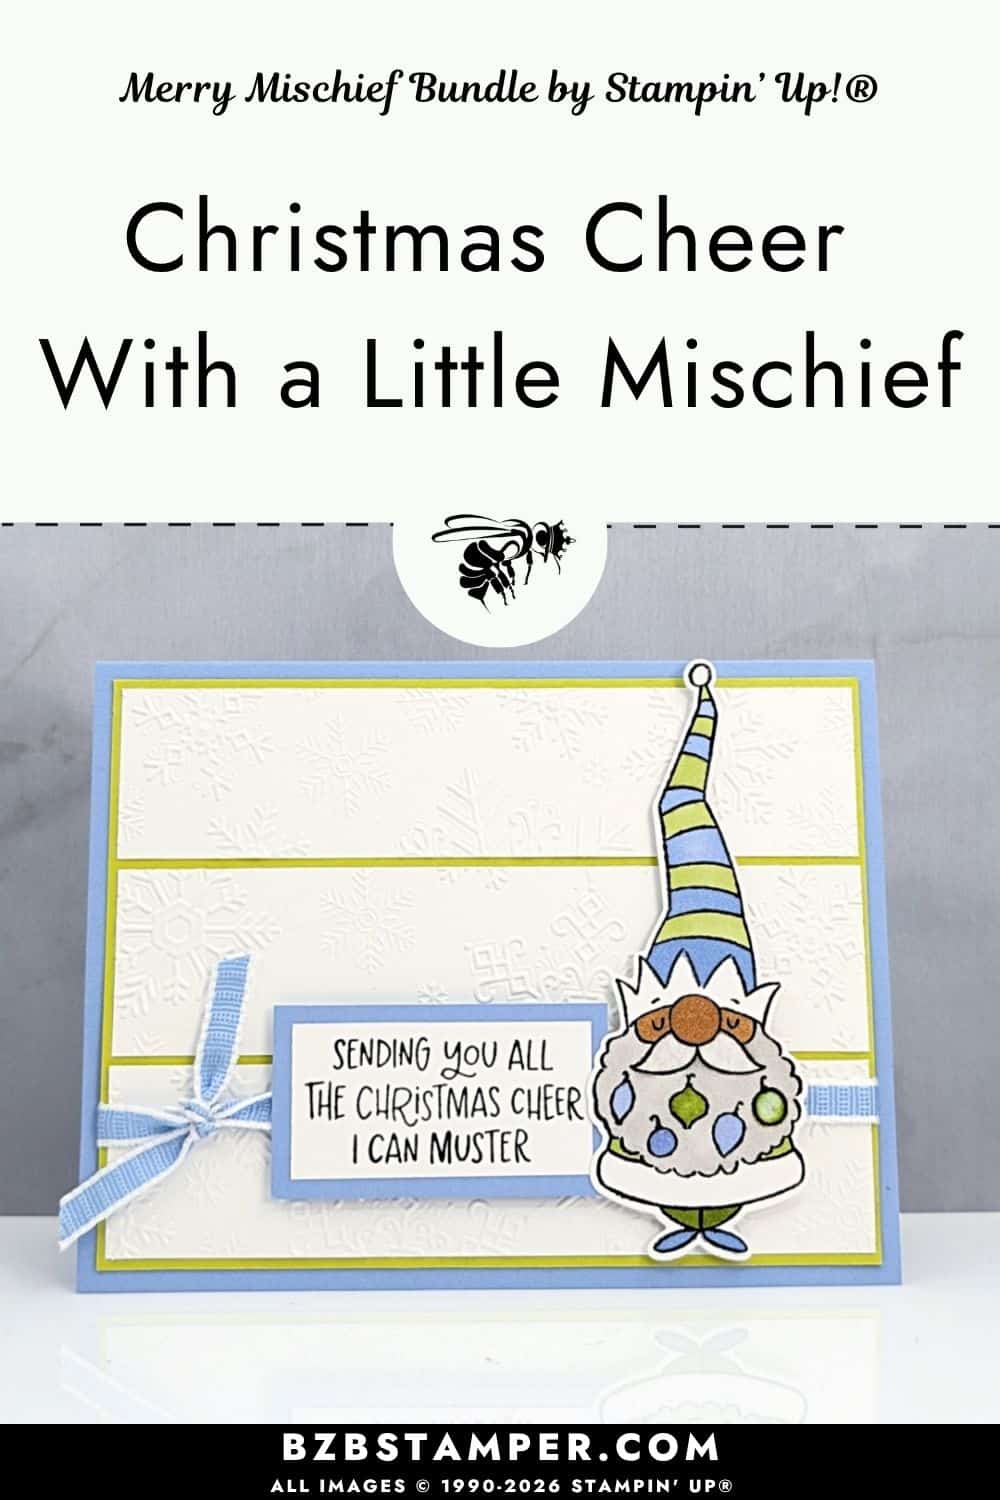
Some days, you just have to laugh, and I think this little gnome understands that perfectly! If you’ve been wondering how to make a funny gnome Christmas card, the Stampin’ Up! Merry Mischief Bundle is a fun way to add a little humor to your holiday greetings.
Between his ridiculously tall striped hat, the Christmas ornaments hanging from his beard, and that greeting that says “Sending you all the Christmas cheer I can muster,” how could you not smile?
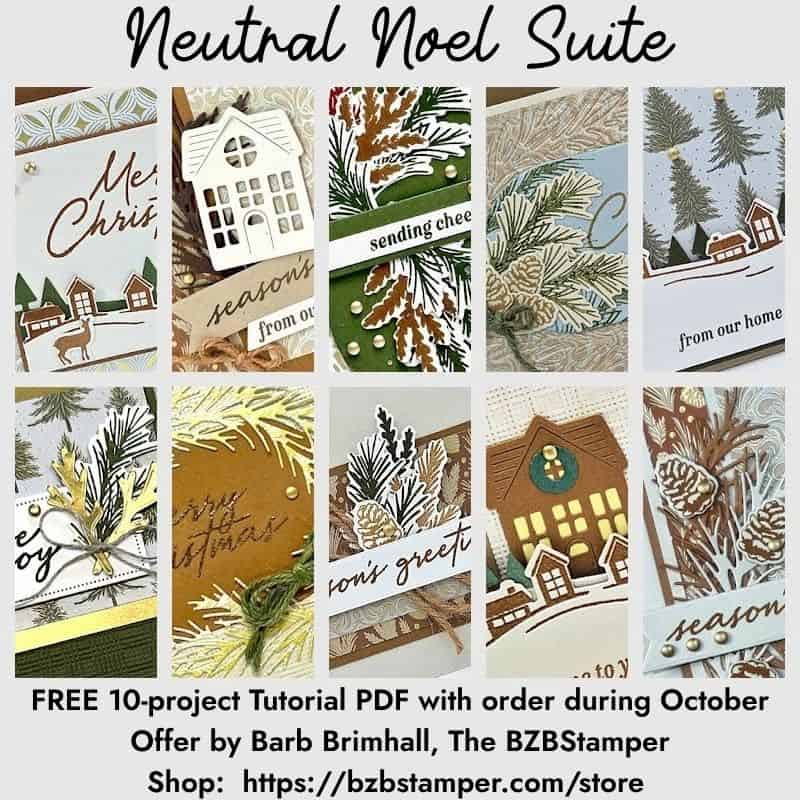
october ordering Bonus
A Bonus for You!
Any order you place in October includes a free 10-project tutorial featuring the Neutral Noel Suite that you can use with any Bundle in your stamp stash.
It’s filled with cozy, step-by-step card ideas to spark your creativity when your order arrives — so you’re not staring at supplies wondering where to start.
I think the best part of this card is that the gnome doesn’t take himself too seriously. That tall, striped hat immediately catches your eye, and the little ornaments tucked into his beard make him even more entertaining. But it’s the greeting that really brings everything together.
“Sending you all the Christmas cheer I can muster.”
Doesn’t that sound like something we could all relate to by the middle of December?
I used the Merry Mischief Bundle to create the gnome and paired him with a snowflake-embossed background. The snowflakes add plenty of winter interest without competing with the stamped image. I also added a little blue ribbon and bow to soften the design and bring another touch of color across the card.
It’s playful, a little unexpected, and definitely not your ordinary Christmas card!
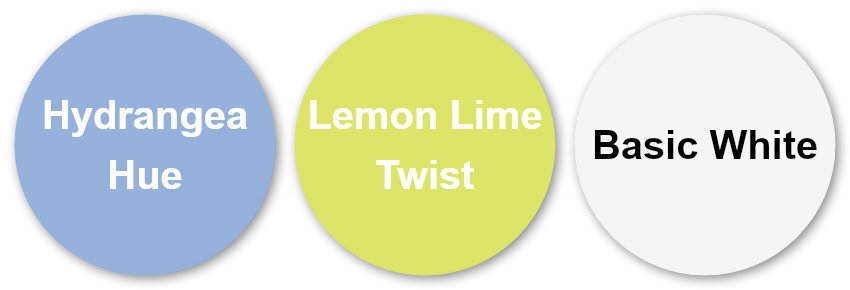
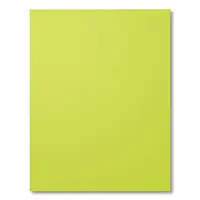
I also decided to skip traditional Christmas colors for this one. Sometimes it’s fun to shake things up a little! For this card, I used Hydrangea Hue, Lemon Lime Twist, and Basic White.
Hydrangea Hue is such a pretty, soft blue. It reminds me of a clear winter sky and gives the card a cool, wintry feeling. Lemon Lime Twist brings the fun! That bright, cheerful green adds just enough energy to keep the card from feeling too serious.
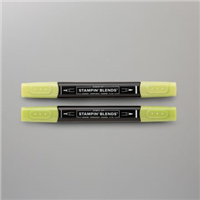
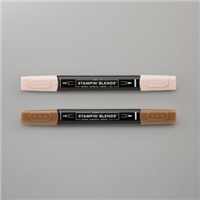
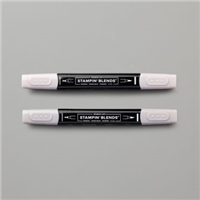
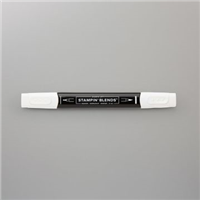
And Basic White gives everything room to breathe. It makes the snowflake embossing stand out while allowing the colorful gnome to take center stage. And coloring Mr. Gnome is easy with our Stampin’ Blends, Stampin’ Up!’s version of alcohol markers. You can learn more about the Blends here.
What makes this combination work is the contrast between the softer blue and that lively green. They aren’t the first colors you might think of for Christmas, but together they feel fresh and cheerful. It’s a nice reminder that Christmas cards don’t always have to be red and green!
How To Make This Card
You’ll find the full supply list and step-by-step instructions below.
How to Make a Funny Gnome Christmas Card
Supplies Needed
- Hydrangea Hue Cardstock: 5-1/2" x 8-1/2" (Scored at 4-1/4")
- Basic White Cardstock: 4" x 5-1/4" (inside card)
- Lemon Lime Twist Cardstock: 4" x 5-1/4"
- Basic White Cardstock: 1-1/4" x 5" (3 pieces)
- Hydrangea Hue Cardstock: 1-1/4" x 2-1/4"
- Basic White Cardstock: 1" x 2" (sentiment)
- Basic White Cardstock: 2" x 4-1/2" (Gnome)
Instructions
- Fold the Hydrangea Hue cardstock in half at the score line to create card base.
- Adhere the 4" x 5-1/4" Basic White cardstock inside the card; decorate as desired.
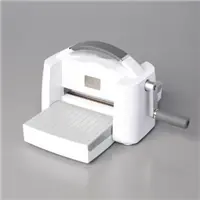
- Run the 3 pieces of 1-1/4" x 5" Basic White cardstock through the Stampin' Cut & Emboss Machine using the Dreamy Snowflakes Hybrid Embossing Folder. Adhere to the Lemon Lime Twist cardstock. Tip: I added the top and bottom pieces first, then the middle piece.
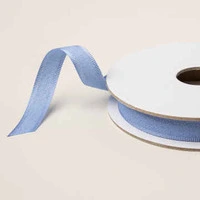
- Wrap the Hydrangea Hue Ribbon around the Lemon Lime Twist cardstock and tie into a knot or bow on the left side. Adhere to the cardstock to the front of the card.
- Stamp the sentiment onto the 1" x 2" Basic White cardstock using Black ink. Adhere to the 1-1/4" x 2-1/4" Hydrangea Hue cardstock and then adhere to the front of the card, just to the right of the knot/bow, using Stampin' Dimensionals.
- Stamp the Gnome onto the 2" x 4-1/2" piece of Basic White cardstock using Black ink. Color in using the Stampin' Blends. Note: I used the Color Lifter to remove some of the Gray Granite ink from the mustache.
- Die-cut the Gnome using the Merry Mischief Die from the Bundle. adhere to the front of the card using Stampin' Dimensionals so that he slightly overlaps the sentiment.
Notes
This card has a few more steps than some of my quick-and-easy designs, but those extra details are what make it special. The snowflake-embossed panels create texture across the background, while the narrow Lemon Lime Twist layers add a bright little border.
The greeting has its own layered panel, helping it stand out against the white background. And, of course, there’s that gnome! Between his striped hat, colorful ornaments, and all the little details in his beard, he’s the star of the show. I especially like how the ribbon stretches across the card and ties everything together.
It’s the kind of project that’s fun to work on when you have a little extra crafting time and want to make something with personality. We all have someone on our Christmas card list who would appreciate a card like this.
Maybe it’s your sister who always makes you laugh, a friend who loves a little sarcasm, or someone who’s had a challenging year and could use a moment of silliness. Imagine them opening the envelope, seeing that gnome, and reading “Sending you all the Christmas cheer I can muster.”
I bet they’d laugh!
And sometimes, making someone laugh is one of the nicest gifts we can give. That’s what I love about handmade cards. We get to enjoy making them, and then we get to send a little happiness out into the world.
Love this color combo? Pin it for later!
Supplies Used:






One more little perk while you’re shopping. Each month there’s a Product of the Month you can add for just $5 when your order reaches $75. It’s a fun surprise that’s not in the catalog and only available while supplies last. Click To Learn More
If you enjoy simple, cozy cardmaking like this, you’d love the creative support we share inside the Creative Living Room. If you have questions about today’s tutorial, please email me for detailed steps. Inspire your craft with more ideas—join me over on Pinterest!
Grab your Free copy
Get 5 Bee-utiful Exclusive
Card Sketches in Your Inbox
Join our newsletter and receive a honey of a package of five quick & simple cards guaranteed to make your creativity buzz! Sign up now and let the goodness flow straight to your inbox!