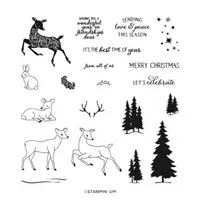
This 5 Minute Handmade Christmas Card is perfect for anyone who needs to make a lot of holiday cards. Using the The Peaceful Deer Stamp Set by Stampin’ Up! and some luscious embellishments, no one will know this card was so easy & quick to make!
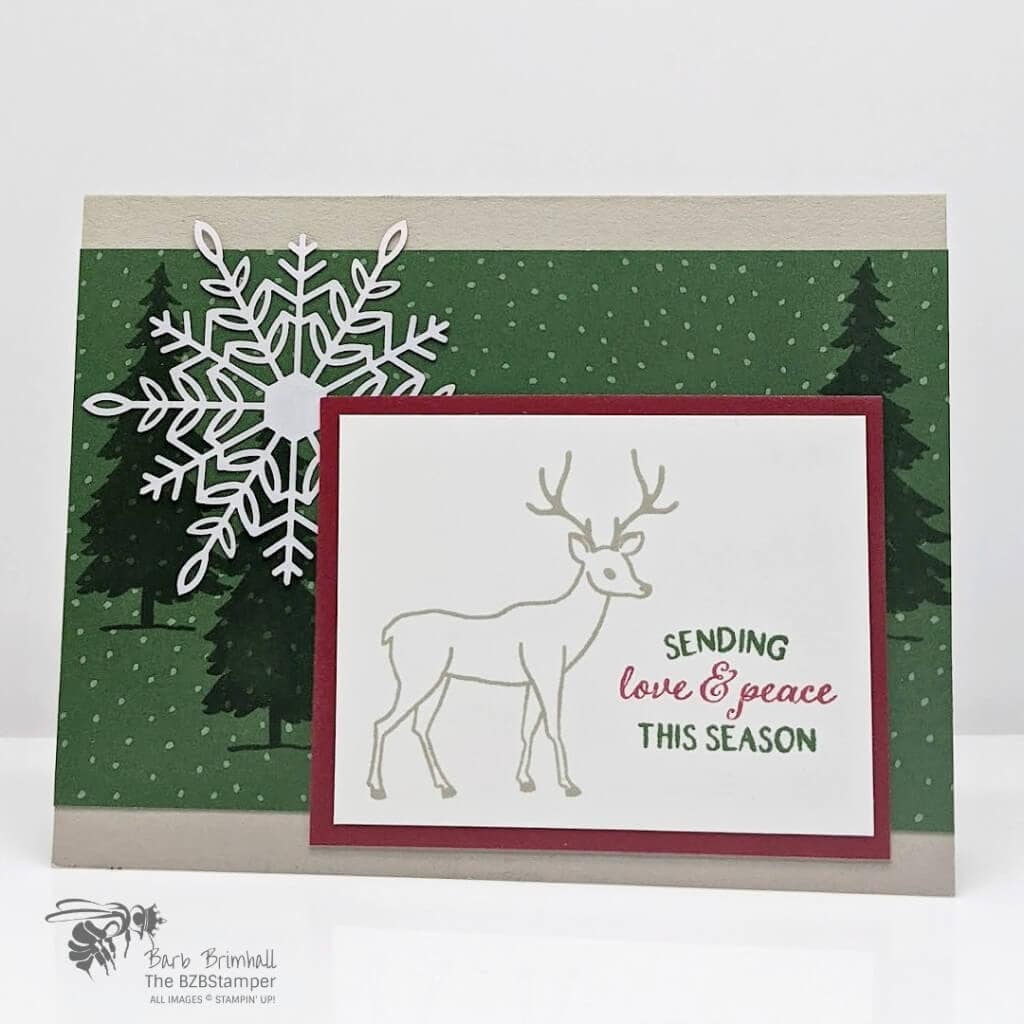
If you plan on mass-producing your Christmas Cards this year, I hope you’ll give the Peaceful Deer stamp set a look.
With it’s nature-filled images, you can build a scene with deer, trees, and more. Add snowflakes to make it a wintry tableau. Then choose from Christmas and friendship greetings to complete your project. Quick and easy!
To create this card, I took Card Sketch #10 from my Card Sketch Library, and turned it from a Portrait design to a Landscape design. To add a bit of depth to the patterned paper layer, I stamped some of the trees from the stamp set.
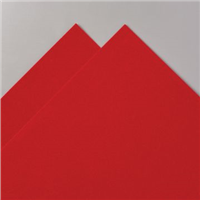
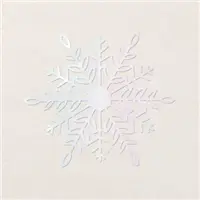
Then to take the card up a big notch, I used one of our iridescent foil Wonderful Snowflakes embellishments and then layered the stamped mat to a piece of Red Velvet Paper. In person, it’s such an elegant card!
If you’d like to duplicate this card, make sure you download the written instructions via the link below. Happy Creating!
Supplies Used on this Project
Project Measurements
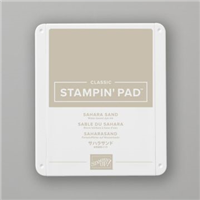
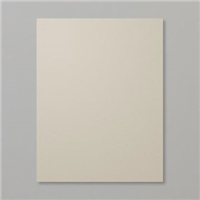
- Sahara Sand: 5-1/2” x 8-1/2”, scored at 4-1/4”
- Basic White: 4” x 5-1/4” and 2-1/2” x 3-1/4”
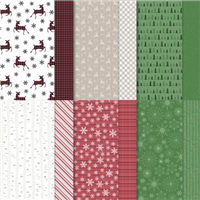
- Peaceful Prints Paper: 3-1/2” x 5-1/2”
- Red Velvet Paper: 2-3/4” x 3-1/2”
Project Instructions
1. Fold the Sahara Sand cardstock in half at the score line and burnish with Bone Folder for a good crease.
2. Adhere the 4” x 5-1/4” Basic White cardstock inside the card.
3. Using the Garden Green ink pad, stamp the trees randomly onto the Peaceful Prints Designer Paper. Adhere the Paper to the center of the base card.
4. On the 2-1/2” x 3-1/4” Basic White cardstock, stamp the deer in Sahara Sand ink on the left side.
5. Using scotch tape or Washi Tape, cover the “sending” and “this season” portions of the Sentiment Stamp. Ink with Real Red ink. REMOVE tape. Now using the edge of your Garden Green ink pad to ink the uninked parts (“sending” and “this season”) of the stamp. HUFF on your stamp and then stamp onto the white cartdstock, to the right of the deer. Note: to simplify this card, simple stamp the entire sentiment in Real Red OR Garden Green ink.
6. Adhere the White cardstock to the Red Velvet Paper using Liquid Adhesive; let dry (about 30 seconds.)7. Adhere one of the Wonderful Snowflakes embellishments to the upper left corner of the card using a dot of glue in the center of the snowflake. Adhere the piece from Step #6 onto the card so that it slightly covers the snowflake.

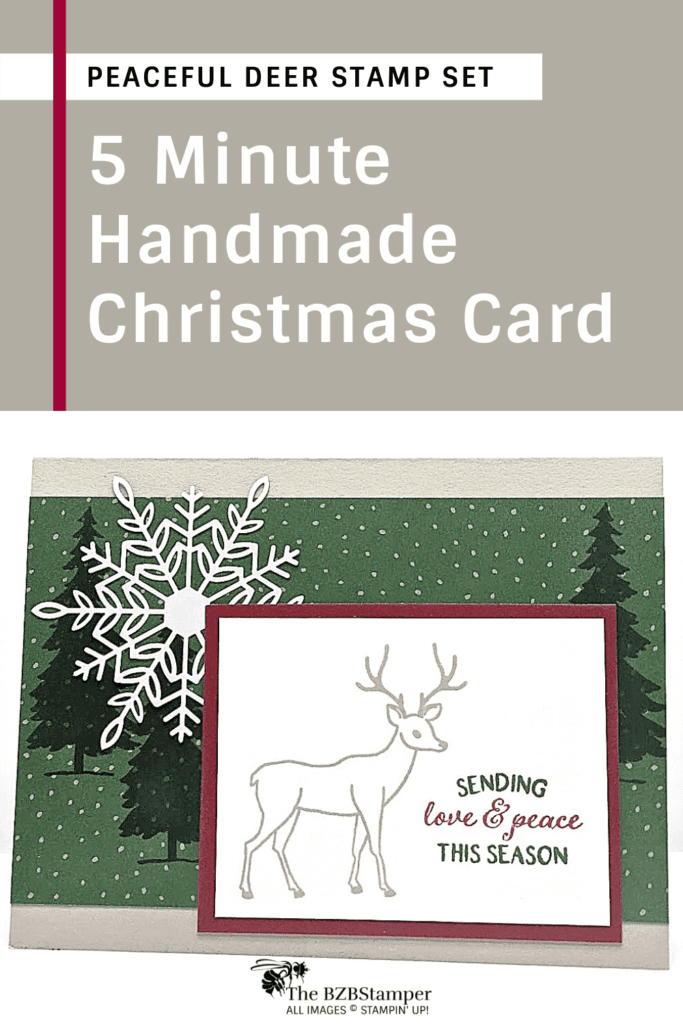
Like It? Pin It!
Be sure to pin this project to your card making boards on Pinterest if you like this project
- Get a Free Tutorial Every Week!
- Shop 24/7 in your PJ’s
- Queen Bee Rewards – Earn FREE Stamps!
- View the 2024-2025 Annual Catalog
- View NEW Online Products
- Monthly Crafting Kit
Thank you so much for stopping by and checking out this papercrafting tutorial. I hope you are inspired to create and send cards. I love sharing how to make cards here on the BZBStamper blog and I can’t thank you enough for all of your support!


