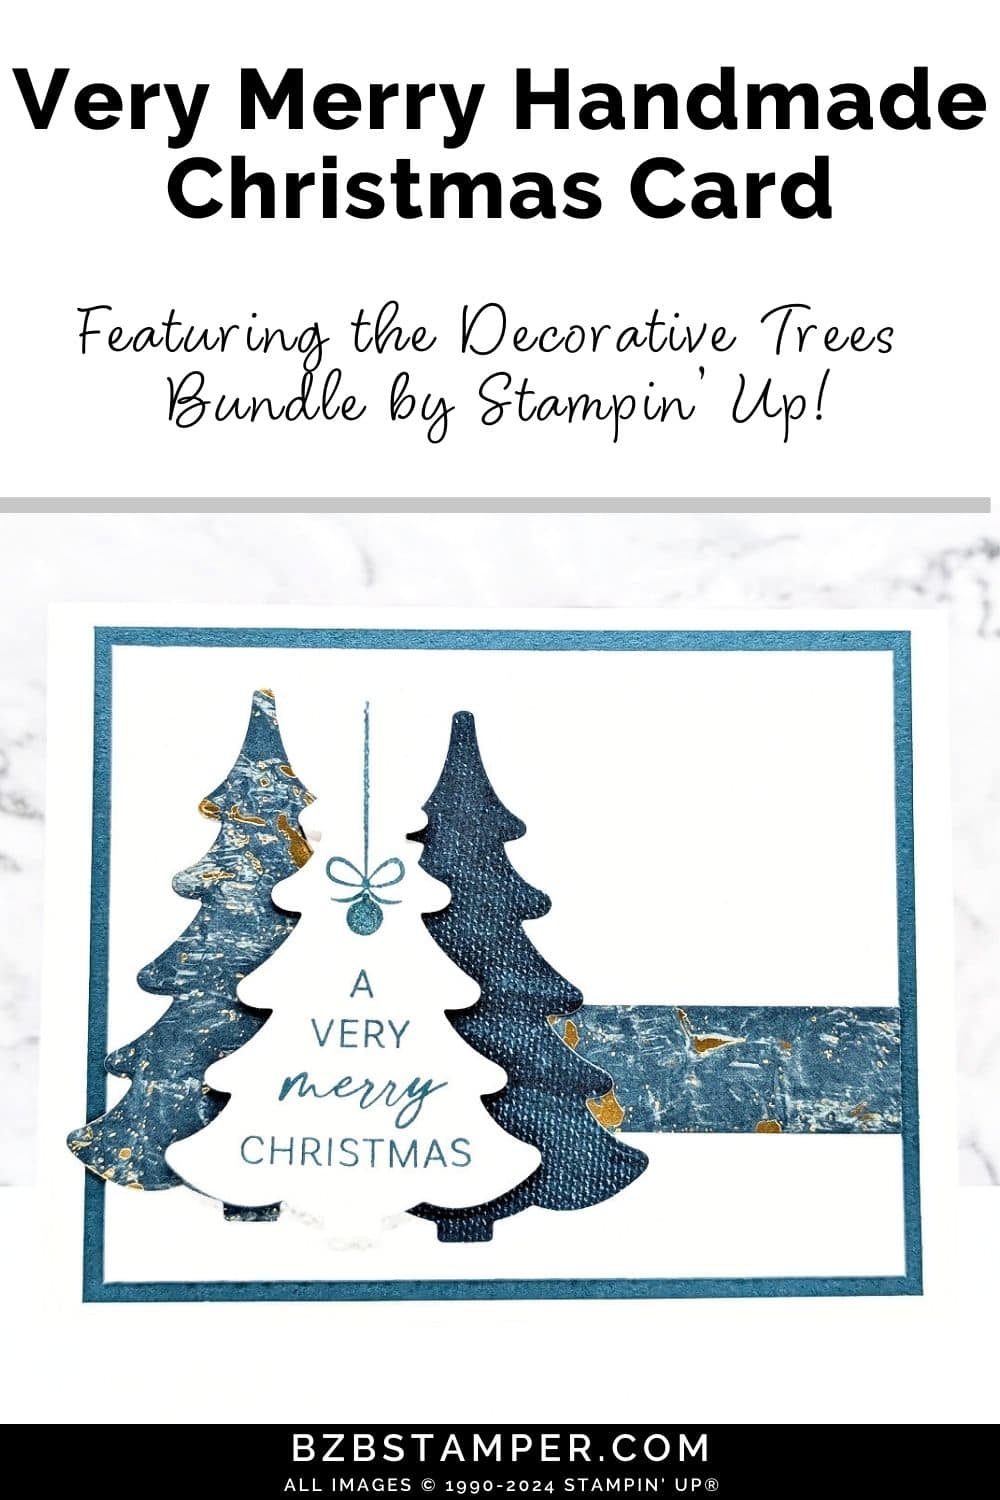
If you’re looking to craft a festive card, this Very Merry Christmas card with Decorative Trees Bundle by Stampin’ Up! is just the project for you! Featuring three die-cut trees from the Decorative Trees Dies, combined with the beautiful Season of Elegance Designer Paper, this card is simple yet stunning. The elegant paper adds a luxurious touch, while the die-cut trees bring dimension to your design.
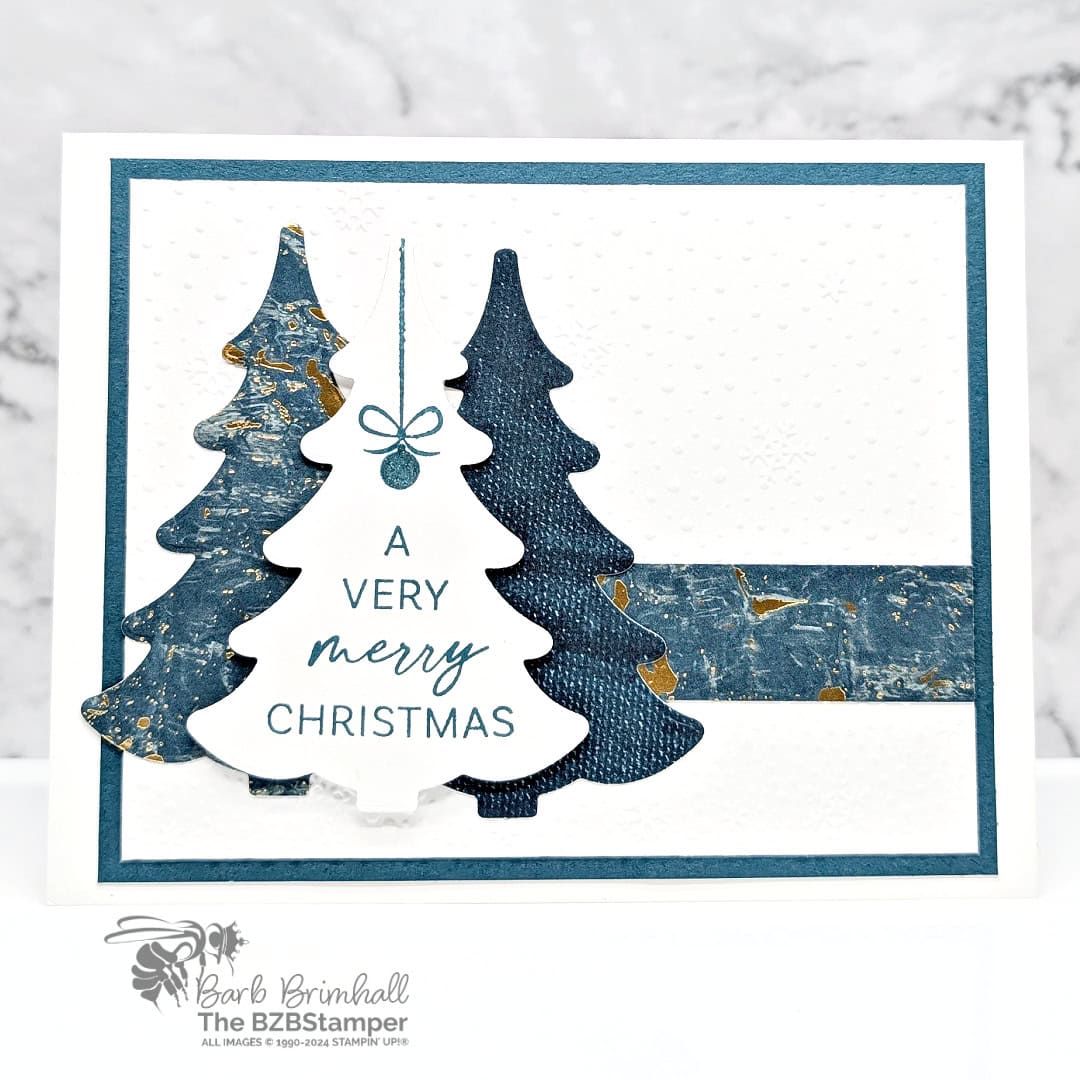
Start by selecting your favorite patterns from the Season of Elegance Designer Paper and use the Decorative Trees Dies to cut out three trees. In my case, I used the Pretty Peacock paper. These will be the focal point of your card. Arrange them on your card base for a balanced look, then add the “A Very Merry Christmas” sentiment to tie the whole design together.
This project is perfect for both beginner and seasoned cardmakers, offering a beautiful handmade card with just a few simple steps. Spread some holiday cheer with this personalized Christmas card that’s sure to impress!
How To Make This Card
Project Skill Level: Worker Bee
Worker Bee projects are designed for the crafter who has a bit more time and enjoys creating a handmade card that features a technique or tool. In many cases, a Stampin’ Cut & Emboss Machine is required for die-cutting and/or embossing.
Cardstock Measurements:
- Basic White Cardstock: 5-1/2” x 8-1/2” scored at 4-1/4”
- Pretty Peacock Cardstock: 4” x 5”
- Basic White Cardstock: 3-3/4” x 4-3/4”
- Season of Elegance Paper (Peacock): 3/4” x 4-3/4”
- Season of Elegance Paper (Peacock): 2-1/2” x 7” (for die-cutting)
- Basic White Cardstock: 2-1/2” x 3-1/2” (for die-cutting)


Grab your Free copy
Get 5 Bee-utiful Exclusive
Card Sketches in Your Inbox
Join our newsletter and receive a honey of a package of five quick & simple cards guaranteed to make your creativity buzz! Sign up now and let the goodness flow straight to your inbox!
Step-by-Step Instructions:
- Fold the Basic White Cardstock in half at the score line to create your base card.
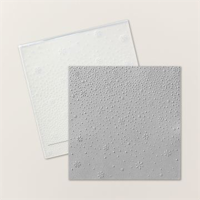
- Run the 3-3/4” x 4-3/4” Basic White Cardstock through the Cut & Emboss Machine using the Snowflake Sky 3D Embossing Folder. Adhere the 3/4” strip of Season of Elegance Paper to the bottom of the embossed cardstock, about 3/4” up from bottom.
- Adhere the embossed Basic White cardstock to the 4” x 5” piece of Pretty Peacock cardstock and adhere to front of the card.
- Run the 2-1/2” x 7” piece of the Pretty Peacock Season of Elegance paper through Cut & Emboss Machine and cut 1 of the large bold tree from gold side; flip the paper and run through again cutting a second tree from the “plain” side.
- Adhere both trees to the left side of the card front leaving about 1/2” in between both trees.
- Run the 2-1/2” x 3-1/2” piece of Basic White cardstock through Cut & Emboss Machine & cut out large tree die. Stamp sentiment at bottom of tree using same ink. Add Wink of Stella to ornament; adhere the tree between the 2 trees on the card front using Stampin’ Dimensionals to finish.
Thank you so much for stopping by and checking out this papercrafting tutorial. I hope you are inspired to create and send cards. If you’d like more detailed directions on how to make this card, feel free to email me. I love sharing how to make cards here on the BZBStamper blog, and I can’t thank you enough for all of your support!

Don’t forget to pin this for later!
