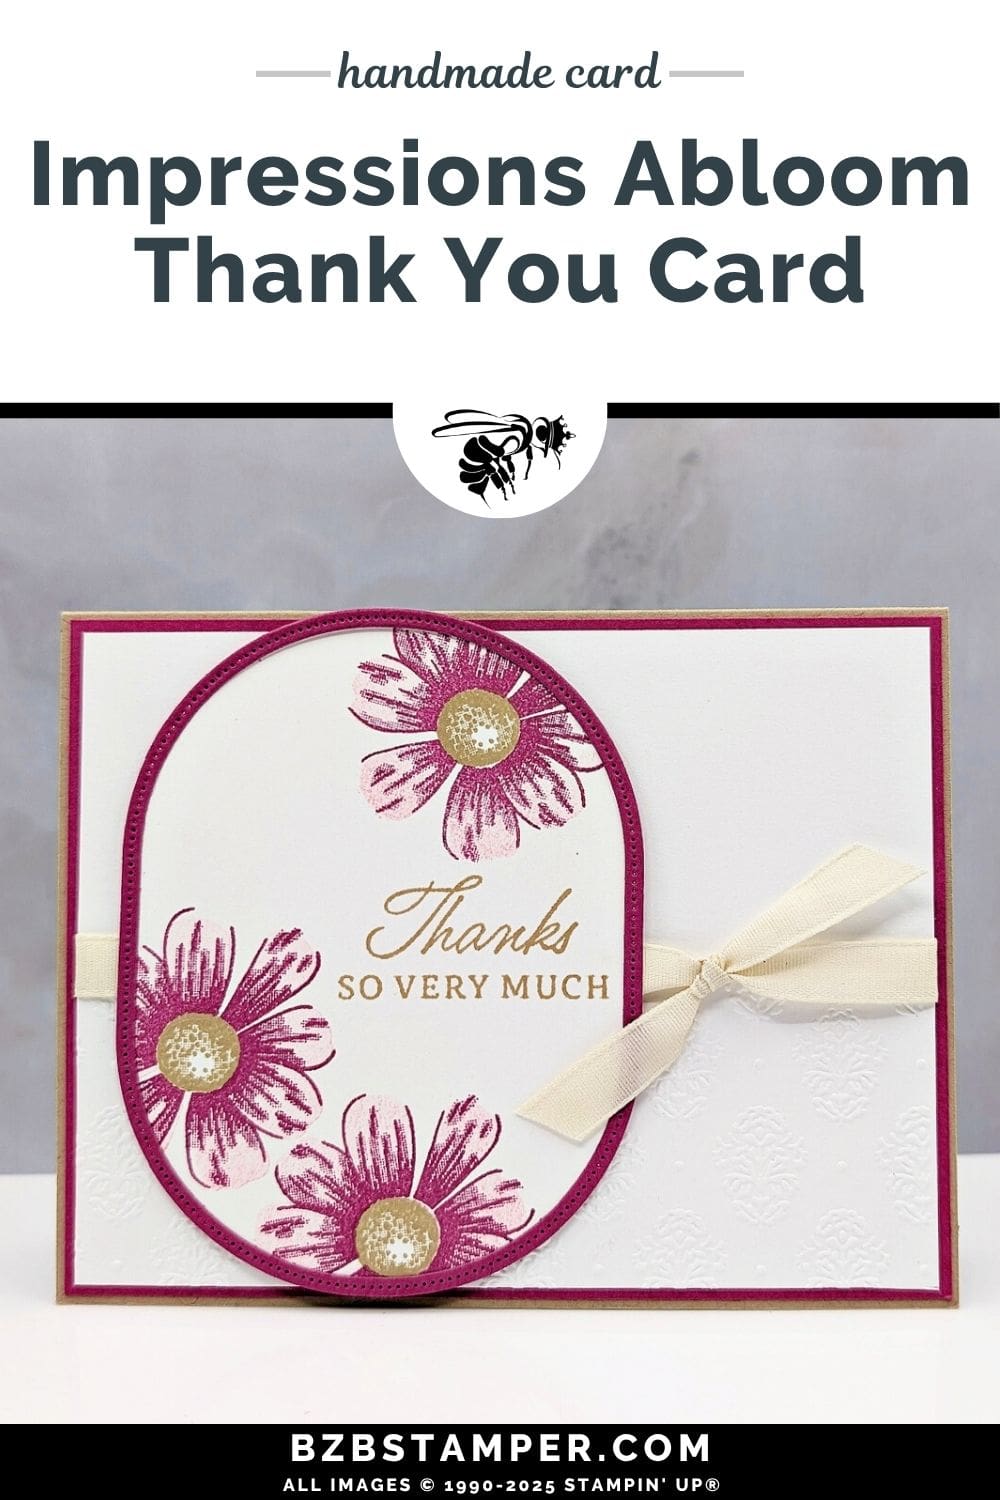
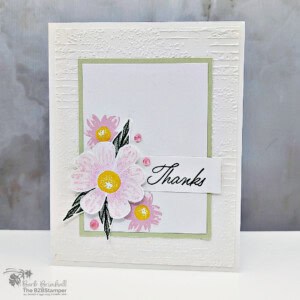
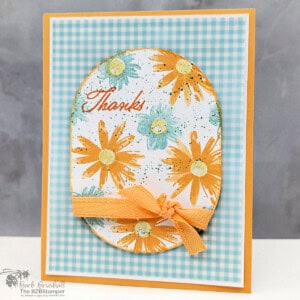
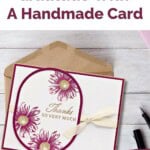
Sometimes you want a card that feels polished and heartfelt—but still comes together without a lot of fuss. This Elegant Thank You Card with the Impressions Abloom Bundle by Stampin’ Up!® delivers exactly that. With a warm Crumb Cake base, rich Berry Burst florals, and that soft damask texture in the background, this card has a timeless charm that works for anyone you want to appreciate in style.
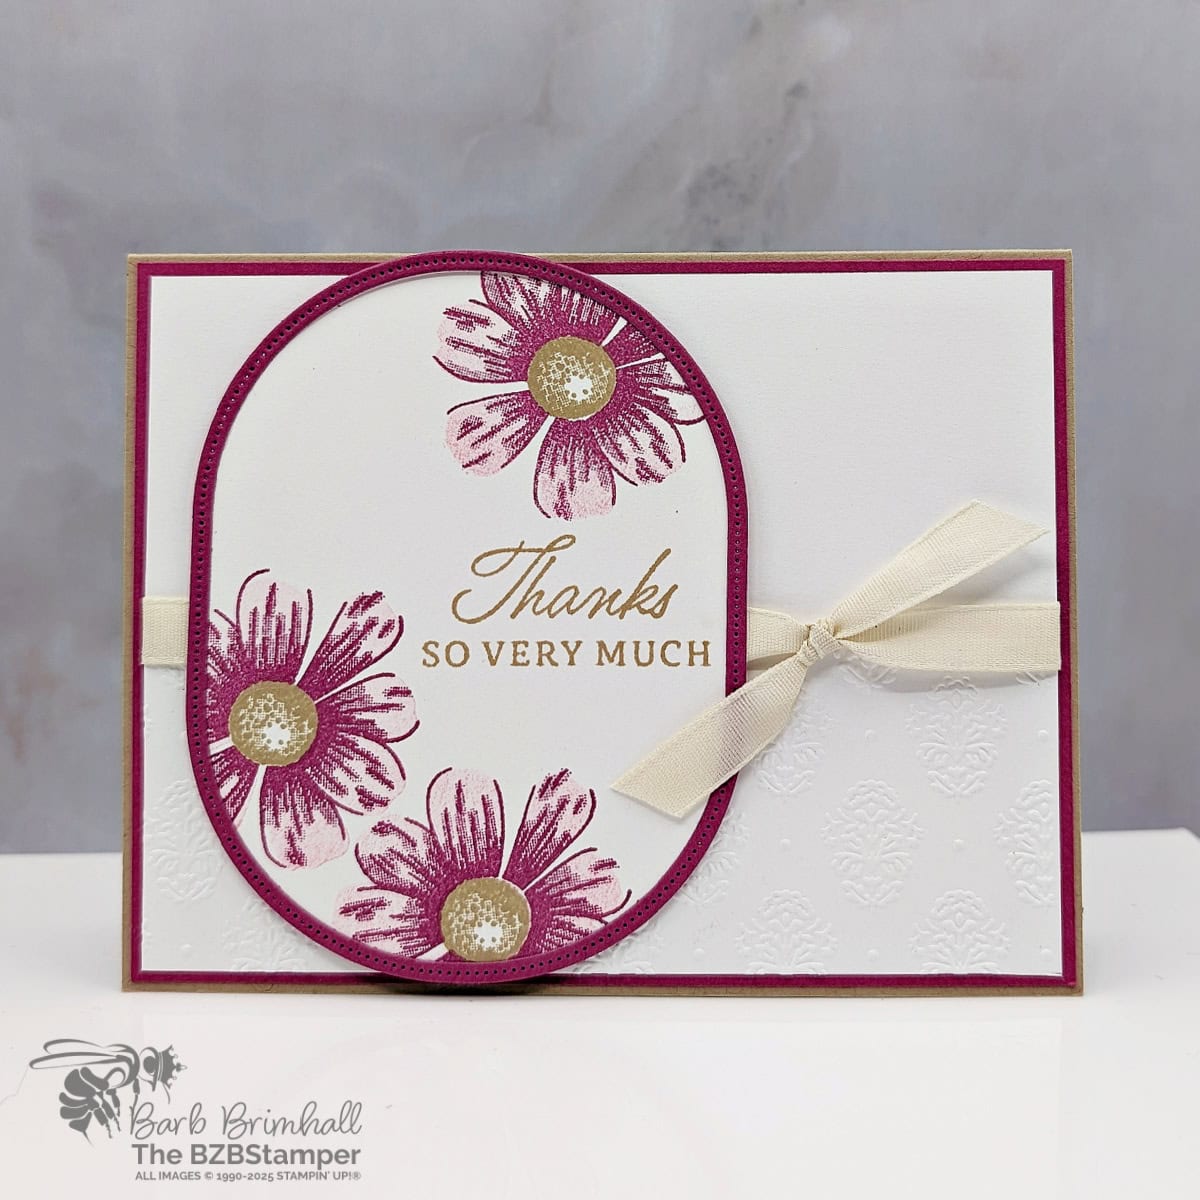
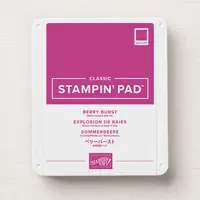
The real star here is the two-step stamping technique in the Impressions Abloom Stamp Set. It’s designed to layer florals effortlessly, and that shows up beautifully in the Berry Burst flowers stamped around the sentiment. Each flower has a bold outer layer and a soft center, which I stamped in Crumb Cake for a natural contrast. The “Thanks So Very Much” sentiment pairs classic script with all-caps clarity—perfect for when you really mean it.
This card was designed to be simple enough for a newer stamper to try, but it includes a few elevated touches to make it feel extra special. I started by embossing a piece of Basic White cardstock with the Damask Designs Embossing Folder to add quiet texture to the background. It’s one of those small steps that makes a big impact!
The focal panel was die-cut into a soft oval shaped die and framed with a thin Berry Burst border, then popped up on Stampin’ Dimensionals to give it a little lift. I tied everything together with a piece of Basic Beige Classic Ribbon, knotted neatly on the side for a final polished touch.
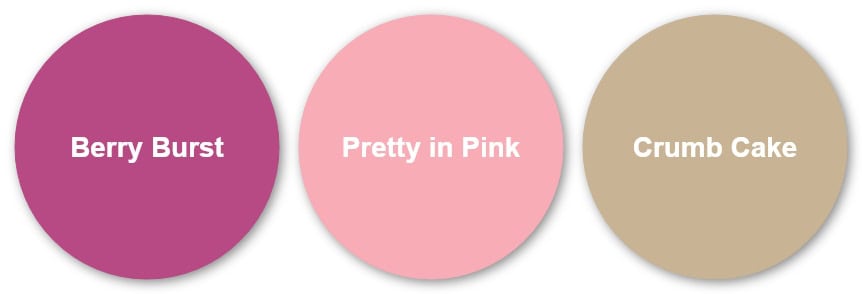
This design is easy to replicate with other colors, too. Try Pretty Peacock and Lost Lagoon for a moodier look, or Flirty Flamingo and So Saffron for something light and cheerful. You can swap out the sentiment to make it work for birthdays, sympathy cards, or even a “thinking of you.” Make sure you check out my Color Combination Library for more inspiration.
The best part? You don’t need a ton of supplies. This project uses one stamp set, a couple of ink pads, one embossing folder, and a simple ribbon. It’s a reminder that with just a few thoughtful elements, you can create something that feels refined, heartfelt, and ready to be mailed.
If you loved this look, be sure to check out the full tutorial with measurements, step-by-step instructions, and alternate color ideas. And don’t forget to pin this post so you can find it again when you need a go-to thank-you card!
How To Make This Card
Project Skill Level: Worker Bee
Worker Bee projects are designed for the crafter who has a bit more time and enjoys creating a handmade card that features a technique or tool. In many cases, a Stampin’ Cut & Emboss Machine is required for die-cutting and/or embossing.
Cardstock Measurements:
- Crumb Cake Cardstock: 5-1/2″ x 8-1/2″, scored at 4-1/4″
- Basic White Cardstock: 4″ x 5-1/4″ (2 pieces)
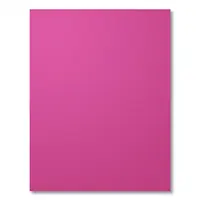
- Berry Burst Cardstock: 4-1/8″ x 5-3/8″
- Berry Burst Cardstock: 3-1/2″ x 4-1/4″ (for die-cutting)
- Basic White Cardstock: 3-1/2″ x 4-1/4″ (for die-cutting)


Grab your Free copy
Get 5 Bee-utiful Exclusive
Card Sketches in Your Inbox
Join our newsletter and receive a honey of a package of five quick & simple cards guaranteed to make your creativity buzz! Sign up now and let the goodness flow straight to your inbox!
Step-by-Step Instructions:
- Fold the Crumb Cake cardstock in half at the score line.
- Adhere one of the 4″ x 5-1/4″ pieces of Basic White cardstock to the inside of the card.
- Run the other piece of 4″ x 5-1/4″ Basic White cardstock through the Stampin Cut & Emboss Machine using the Damask Designs 3D Embossing Folder; emboss on the bottom half of the cardstock.
- Wrap 12″ of the Basic Beige 3/8″ Classic Ribbon around the Basic White cardstock and tie into a bow on the right side. Adhere the Basic White cardstock to the 4-1/8″ x
5-3/8″ Berry Burst cardstock and then adhere to the front of the card. - Using the 3-1/2″ x 4-1/4″ Basic White cardstock, stamp the sentiment onto the right side of the cardstock using Crumb Cake ink. Stamp the large ouline flower randomly on the cardstock using the Berry Burst ink.
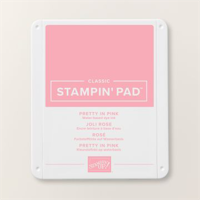
- Ink up the bold flower using Pretty in Pink ink and stamp inside the Berry Burst flower.
- Ink up the circle stamp using Crumb Cake ink and stamp inside the flowers.
- Run the Basic White cardstock through the Cut & Emboss Machine and die-cut using the smaller Oval frame. Run the 3-1/2″ x 4-1/4″ Berry Burst cardstock through the Cut & Emboss Machine and die-cut the larger bold oval frame. Adhere the White Oval to the Berry Burst Oval and adhere to the card using Stampin’ Dimensionals to finish.
A Tip from Barb
When embossing just the bottom half of the Basic White mat, don’t worry if it’s not totally straight – you’ll be covering the top of the embossed area with the Beige Ribbon!
I appreciate you dropping by! My mission is to inspire you with card tutorials that are as fun to make as they are to give. If you’re curious about the specifics of crafting today’s design, just send me an email. Want more papercrafting ideas? Join my Facebook Community today.

Don’t forget to pin this for later!
