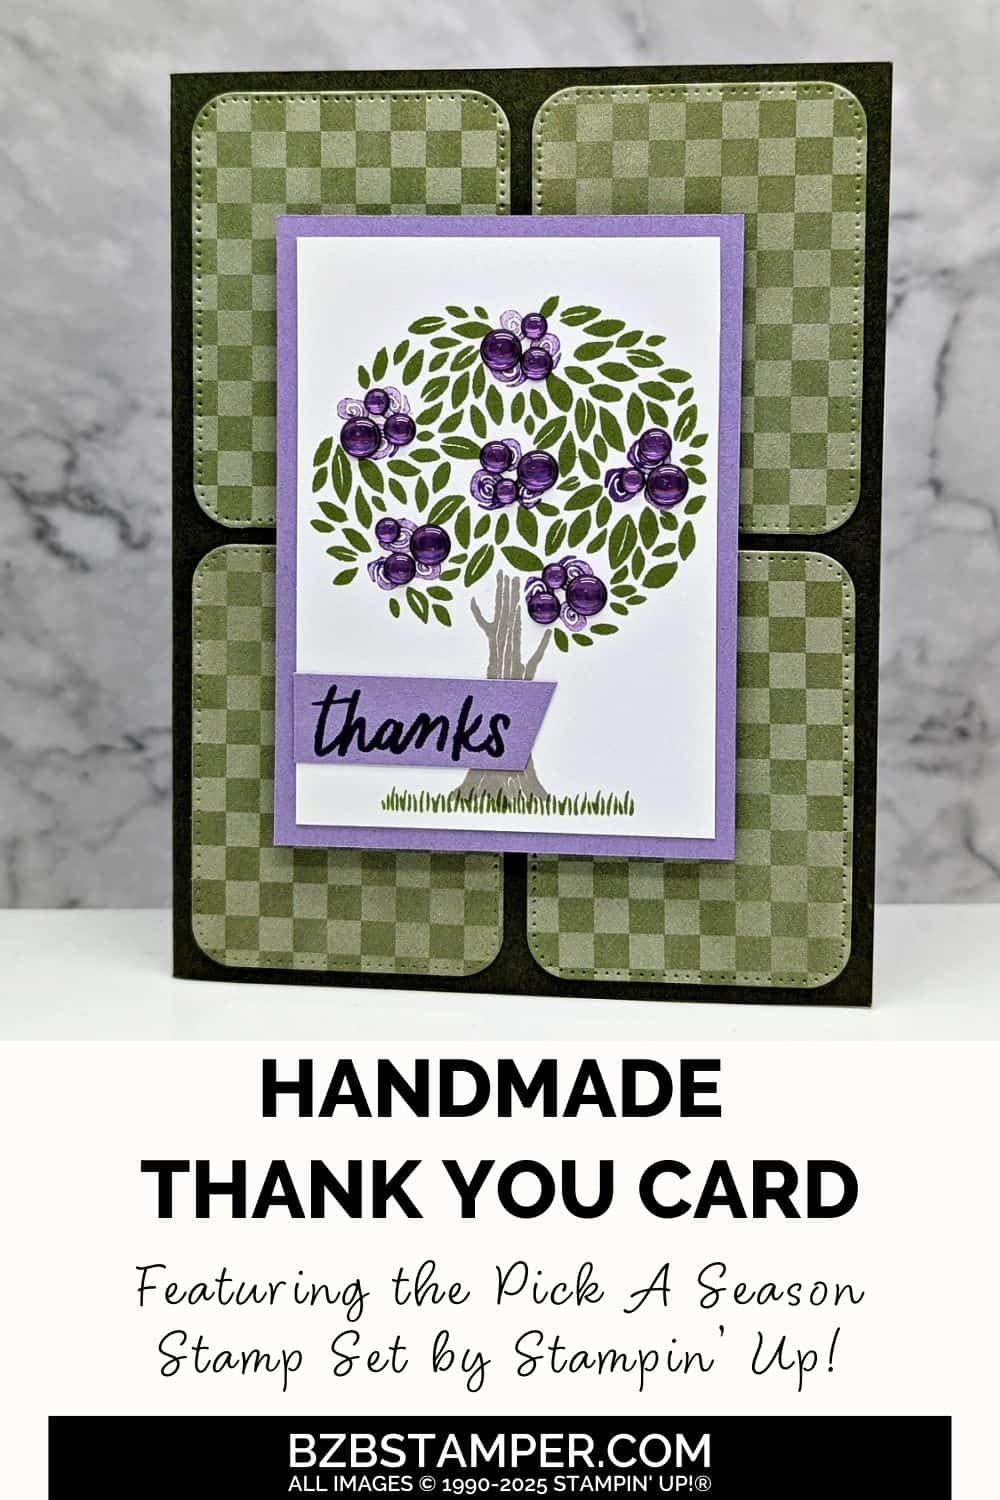
Creating a Thank You Card using the Pick A Season Stamp Set by Stampin’ Up! is a fun and meaningful way to share your gratitude. This versatile stamp set is a game-changer, giving you the tools to craft cards for any season or occasion. From vibrant leaves to delicate hearts, the Pick A Season Stamp Set makes it easy to add a personal and seasonal touch to your thank you cards.
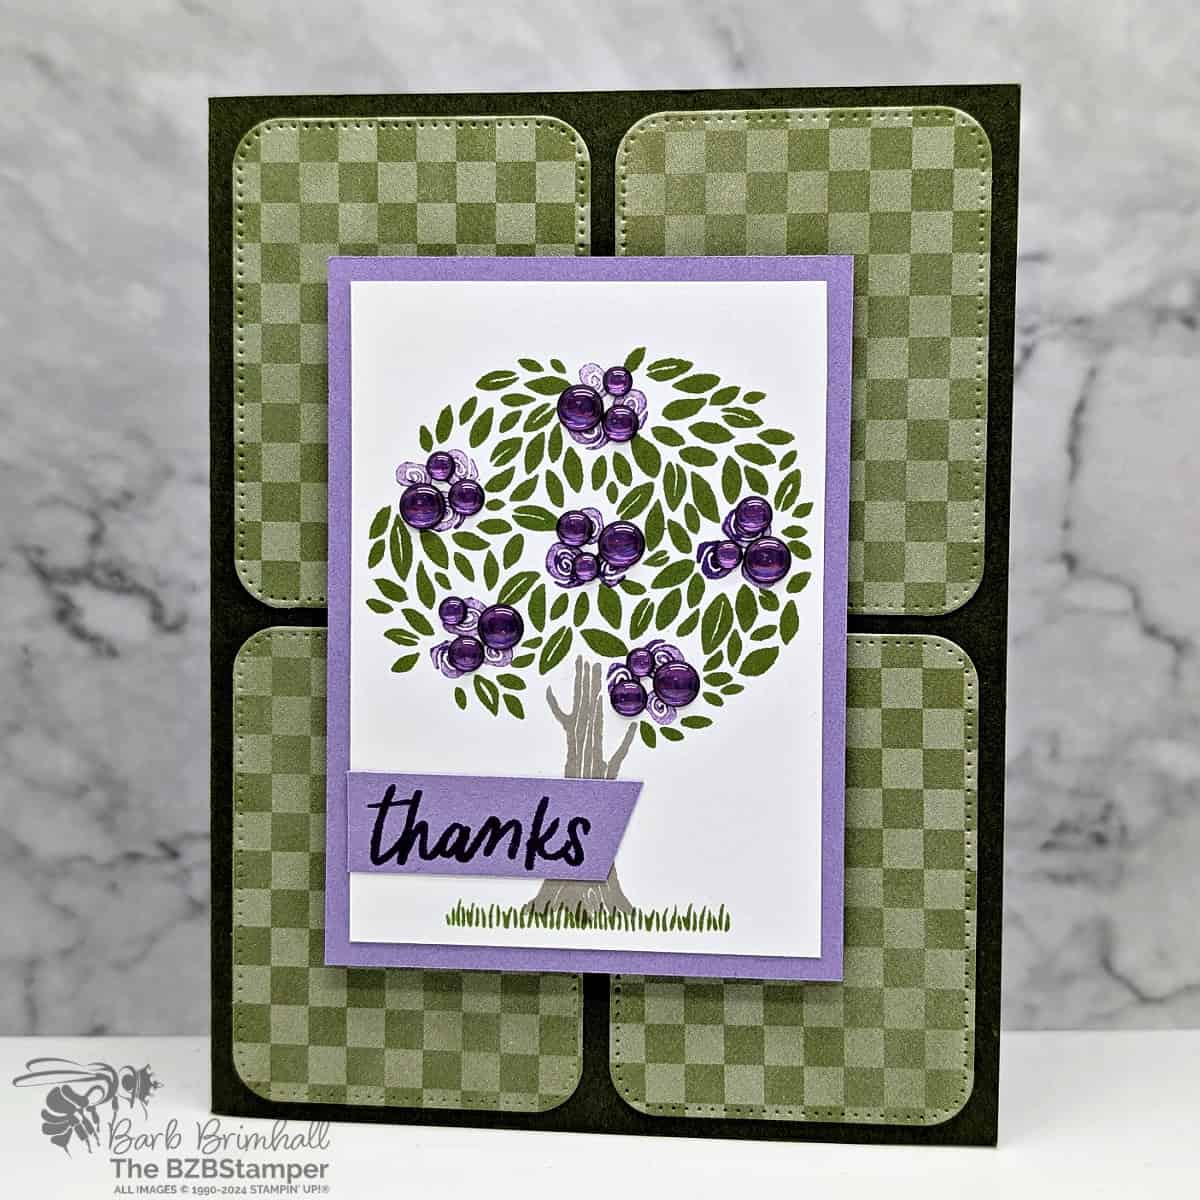
For today’s project, we’re focusing on creating a simple yet beautiful thank you card that showcases the charm of this set. With its mix-and-match images and Two-Step Stampin’ feature, you can layer textures and colors effortlessly, creating cards that look both polished and heartfelt. Plus, the clear photopolymer stamps ensure your designs are perfectly aligned every time.
And here’s the best part: the Pick A Season Stamp Set is part of the 2025 Sale-A-Bration promotion. That means you can earn this stamp set for free with a $60 order during January and February. It’s the perfect excuse to stock up on your favorite crafting supplies while scoring a stamp set that will become a go-to for all your cardmaking projects. Ready to make a thank you card that will wow your friends and family? Let’s dive in!
How To Make This Card
Project Skill Level: Worker Bee
Worker Bee projects are designed for the crafter who has a bit more time and enjoys creating a handmade card that features a technique or tool. In many cases, a Stampin’ Cut & Emboss Machine is required for die-cutting and/or embossing.
Cardstock Measurements:
- Mossy Meadow Cardstock: 5-1/2″ x 8-1/2″, scored at 4-1/4″
- Basic White Cardstock: 4″ x 5-1/4″
- Timeless Plaid Designer Paper: 4″ x 6″ (for die-cutting)
- Highland Heather Cardstock: 2-3/4″ x 3-3/4″
- Basic White Cardstock: 2-1/2″ x 3-1/2″
- Highland Heather Cardstock: 1/2″ x 1-1/2″


Grab your Free copy
Get 5 Bee-utiful Exclusive
Card Sketches in Your Inbox
Join our newsletter and receive a honey of a package of five quick & simple cards guaranteed to make your creativity buzz! Sign up now and let the goodness flow straight to your inbox!
Step-by-Step Instructions:
- Fold the Mossy Meadow cardstock in half at the score line.
- Adhere the 4″ x 5-1/4″ piece of Basic White cardstock inside the card.
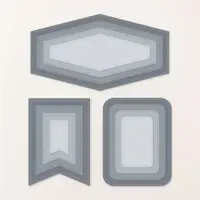
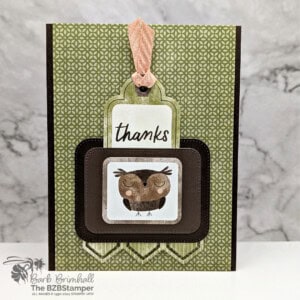
- Run the Timeless Plaid paper through the Stampin’ Cut & Emboss Machine and die cut four of the Nested Essentials Dies (1-7/8″ x 2-5/8″) Adhere to the front of the card as shown in the sample.
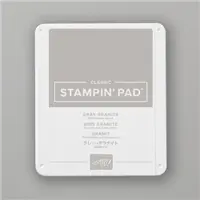
- Stamp the leaves/branches at the top of the 2-1/2″ X 3-1/2″ Basic White cardstock using Old Olive ink. Stamp the tree trunk below the branches using Gray Granite ink. Stamp the Grass below the tree trunk 2 times using Old Olive ink.
- Adhere the stamped Basic White cardstock to the 1/4″ larger mat of Highland Heather cardstock. Adhere to the front of the card using Stampin’ Dimensionals.
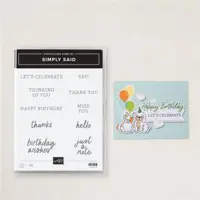
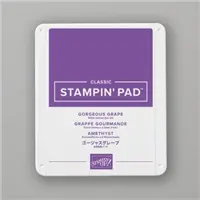
- Stamp the sentiment onto the 1/2″ strip of Highland Heather cardstock using Gorgeous Grape ink. Use scissors to angle cut the right side and adhere to the card as shown in the sample.
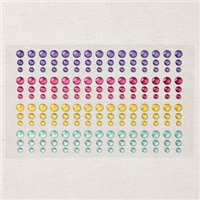
- To finish, adhere 1 each of the small, medium and large Gorgeous Grape Glossy dots into the “circle” on the branches. Repeat 5 more times until all the circles are filled.
I appreciate you dropping by! My mission is to inspire you with card tutorials that are as fun to make as they are to give. If you’re curious about the specifics of crafting today’s design, just send me an email. Want more papercrafting ideas? Join my Facebook Community today.

Don’t forget to pin this for later!
