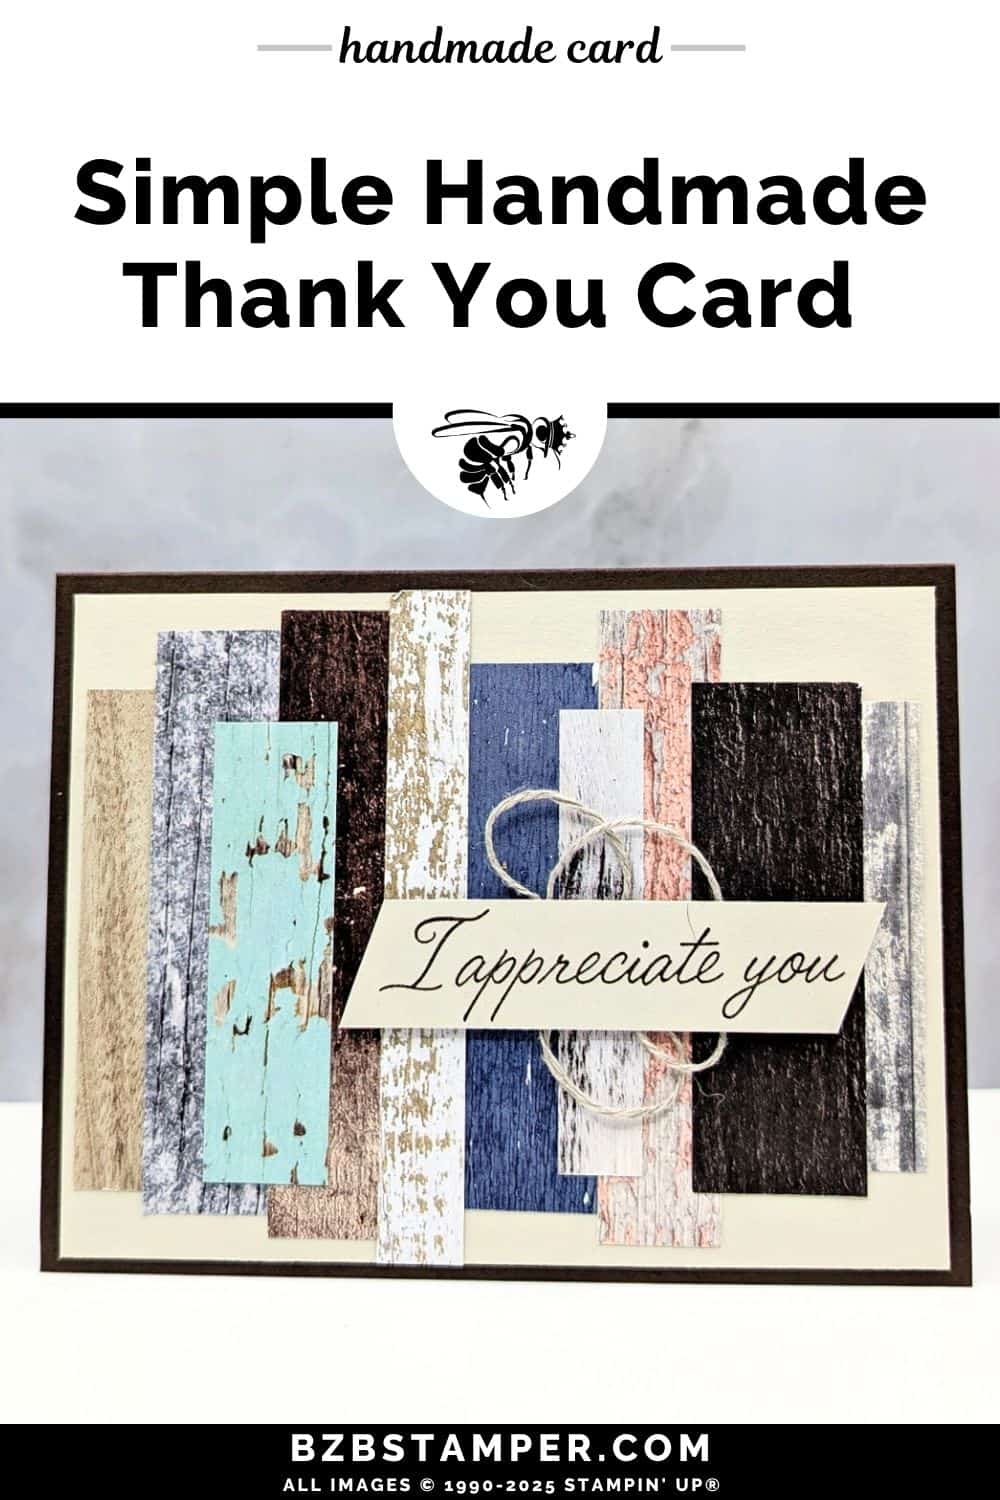
There’s something so satisfying about sending a handmade thank you card—and even more so when it’s quick, easy, and turns out this pretty! Whether you’re new to cardmaking or just looking for a simple project to ease into your creativity, this easy Thank You card using the Country Woods Paper by Stampin’ Up!® is the perfect place to start.
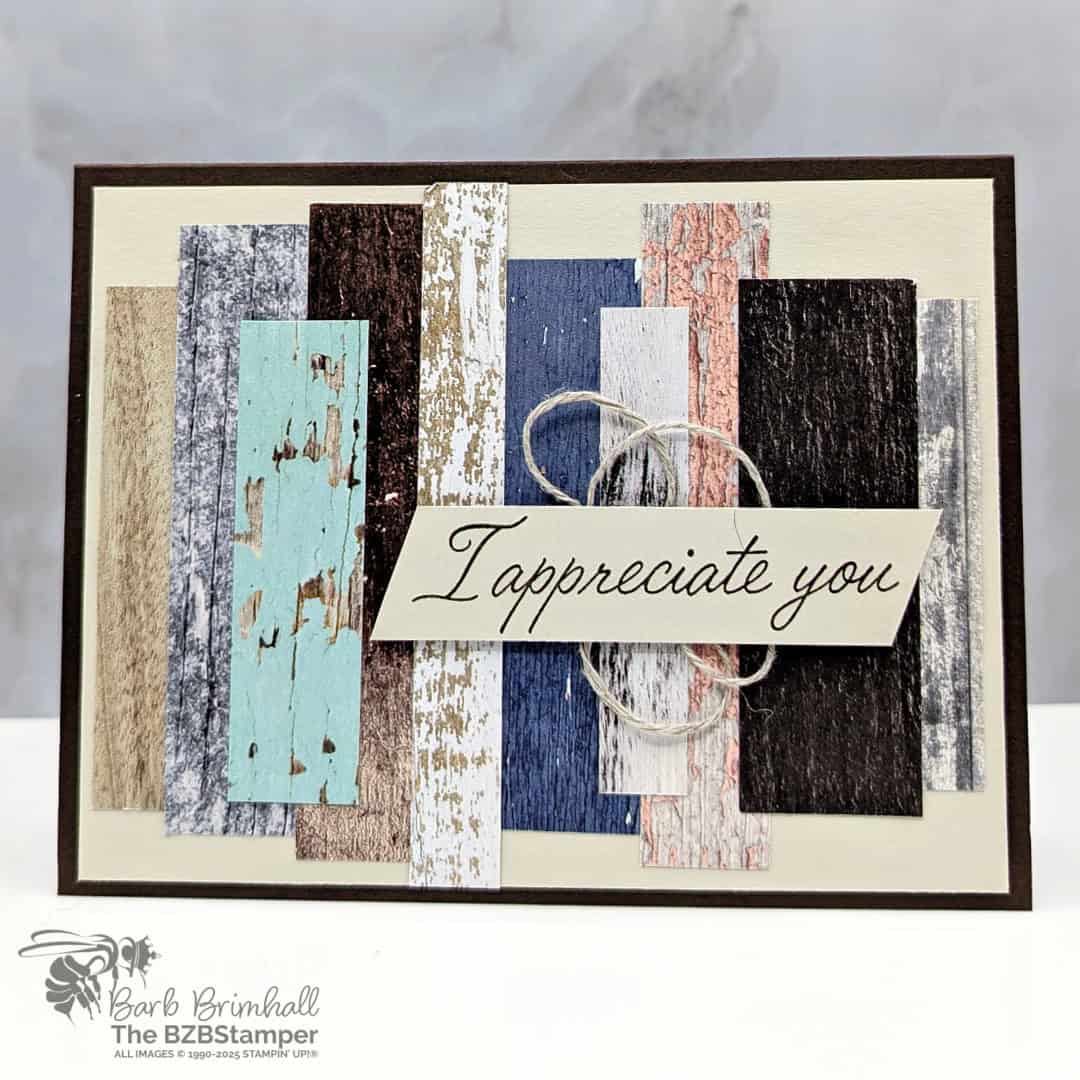
The beauty of this design is in its simplicity. You don’t need fancy tools, intricate techniques, or a room full of supplies. All you need are a few strips of patterned paper, a neutral background, and a sentiment that says it all: “I appreciate you.” It’s a wonderful reminder that crafting doesn’t have to be complicated to be meaningful.
This card is perfect for the beginner crafter who just wants to dip their toe in to cardmaking without feeling overwhelmed. If you don’t own a die-cut machine (yet), or are just carving out time during a busy week to make something thoughtful for a friend, this project delivers a creative win in under 15 minutes.
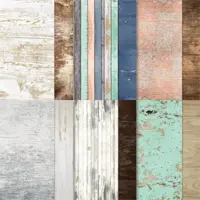
To make this card, I started with a base of Early Espresso cardstock, then layered on a soft and calming piece of Basic Beige. From there, I chose several rustic patterns from the Country Woods Designer Paper and cut them into strips, layering them for a textured, reclaimed-wood look. It’s warm, cozy, and timeless. A simple stamped sentiment on a narrow strip of cardstock and a bit of linen thread were all I needed to finish it off.
The final result? A heartfelt, handmade thank you card that’s beginner-approved—but still polished enough to impress.
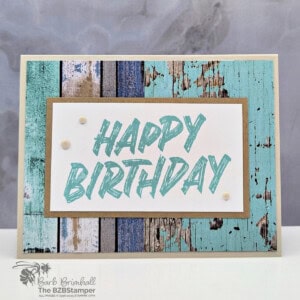
If you’re just starting out or want to create a stash of easy cards to have on hand, this layout is a must-try. It’s easy to replicate, fun to personalize with different papers, and works for nearly any occasion—especially when you want to show a little extra appreciation.
How To Make This Card
Project Skill Level: Busy Bee
Busy Bee projects are designed for the beginner or busy papercrafter. This is a basic cardmaking project that can be achieved by someone who has never made a handmade card before. You can view more Busy Bee cards here.
Cardstock Measurements:
- Early Espresso Cardstock: 5-1/2″ x 8-1/2″, scored at 4-1/4″
- Basic Beige Cardstock: 4″ x 5-1/4″ (2 pieces)
- Basic Beige Cardstock: 3/4″ x 3-1/4″
- Country Woods Designer Series Paper in different patterns:
- 1/2″ x 2-3/4″ (2)
- 1/2″ x 3″
- 1/2″ x 4″
- 3/4″ x 2-3/4″
- 3/4″ x 3-1/4″
- 3/4″ x 3-1/2″
- 3/4″ x 3-3/4″ (2)
- 1″ x 3″


Grab your Free copy
Get 5 Bee-utiful Exclusive
Card Sketches in Your Inbox
Join our newsletter and receive a honey of a package of five quick & simple cards guaranteed to make your creativity buzz! Sign up now and let the goodness flow straight to your inbox!
Step-by-Step Instructions:
- Fold the Early Espresso cardstock in half at the score line to create your base card.
- Adhere one of the 4″ x 5-1/4″ pieces of Basic Beige cardstock on the inside of the card; adhere the other piece on the outside of the card front.
- Start adhering different pieces of the Country Woods Designer Paper to the front of your card. There is no wrong or right way, but I do find it easier to start with one piece 1/8″ over from the left side of the Basic Beige Mat and then a second piece 1/8″ over from the right side of the mat. Then just start filling in!
- Stamp the sentiment onto the 3/4″ x 3-1/4″ piece of Basic Beige cardstock using Early Espresso ink. Use scissors to angle both ends of the paper.
- Wrap about 8″ of the Linen Thread into a messy ball and adhere to the back of the sentiment strip using Stampin’ Dimensionals.
- Remove the liners from the Dimensionals and adhere the sentiment to the front of the card as desired to finish.
A Tip from Barb
This is the perfect card sketch for whenever you have some pretty paper, especially scraps!, that you’d like to use. Just cut your paper into varying length and start gluing them down on your card front. There is no wrong or right way, so just have fun!
Thanks for stopping by for today’s card tutorial!
My goal is to help you make quick & easy greeting cards for all occasions. If you’d like more detailed directions on how to make this card, feel free to email me. I hope you’ll join me again for more card-making ideas!

Don’t forget to pin this for later!
