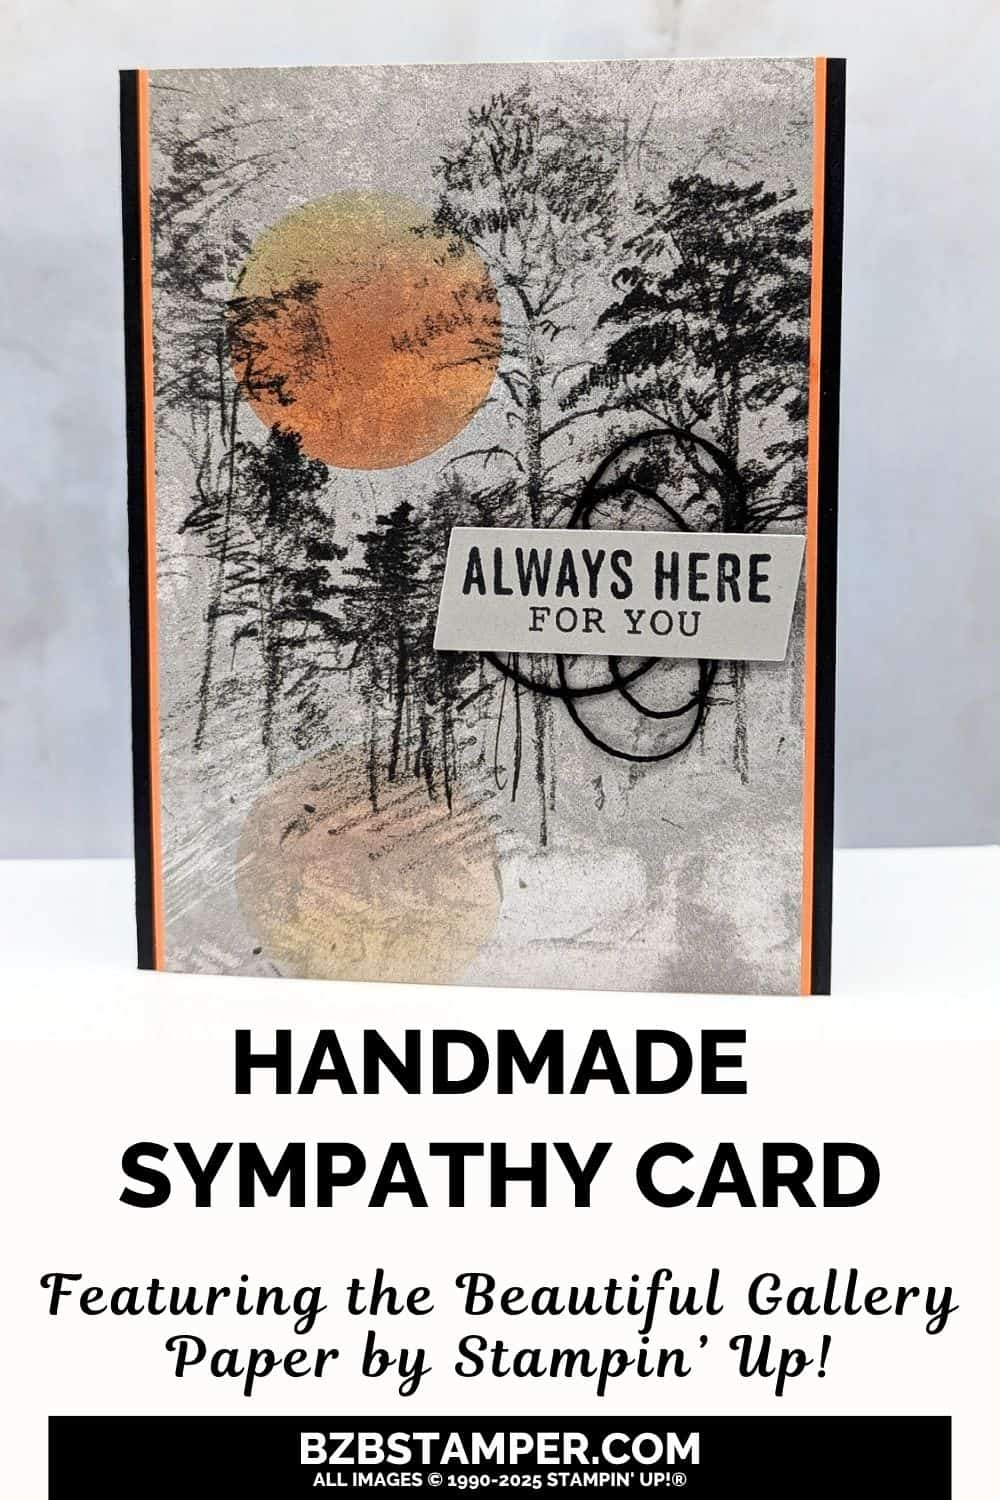
Sympathy cards are never easy to make, but they’re some of the most meaningful cards we send. This Sympathy Card Using the Beautiful Gallery Paper is a quiet and beautiful way to say, “I’m thinking of you.” With soft textures, moody tones, and a gentle sentiment, it brings comfort in a season when words often fall short.
When someone you love is grieving, it’s natural to want to do something—to show you care, even when you can’t fix the hurt. That’s what I love about this card. It doesn’t shout. It doesn’t overwhelm. It simply says, I’m here.
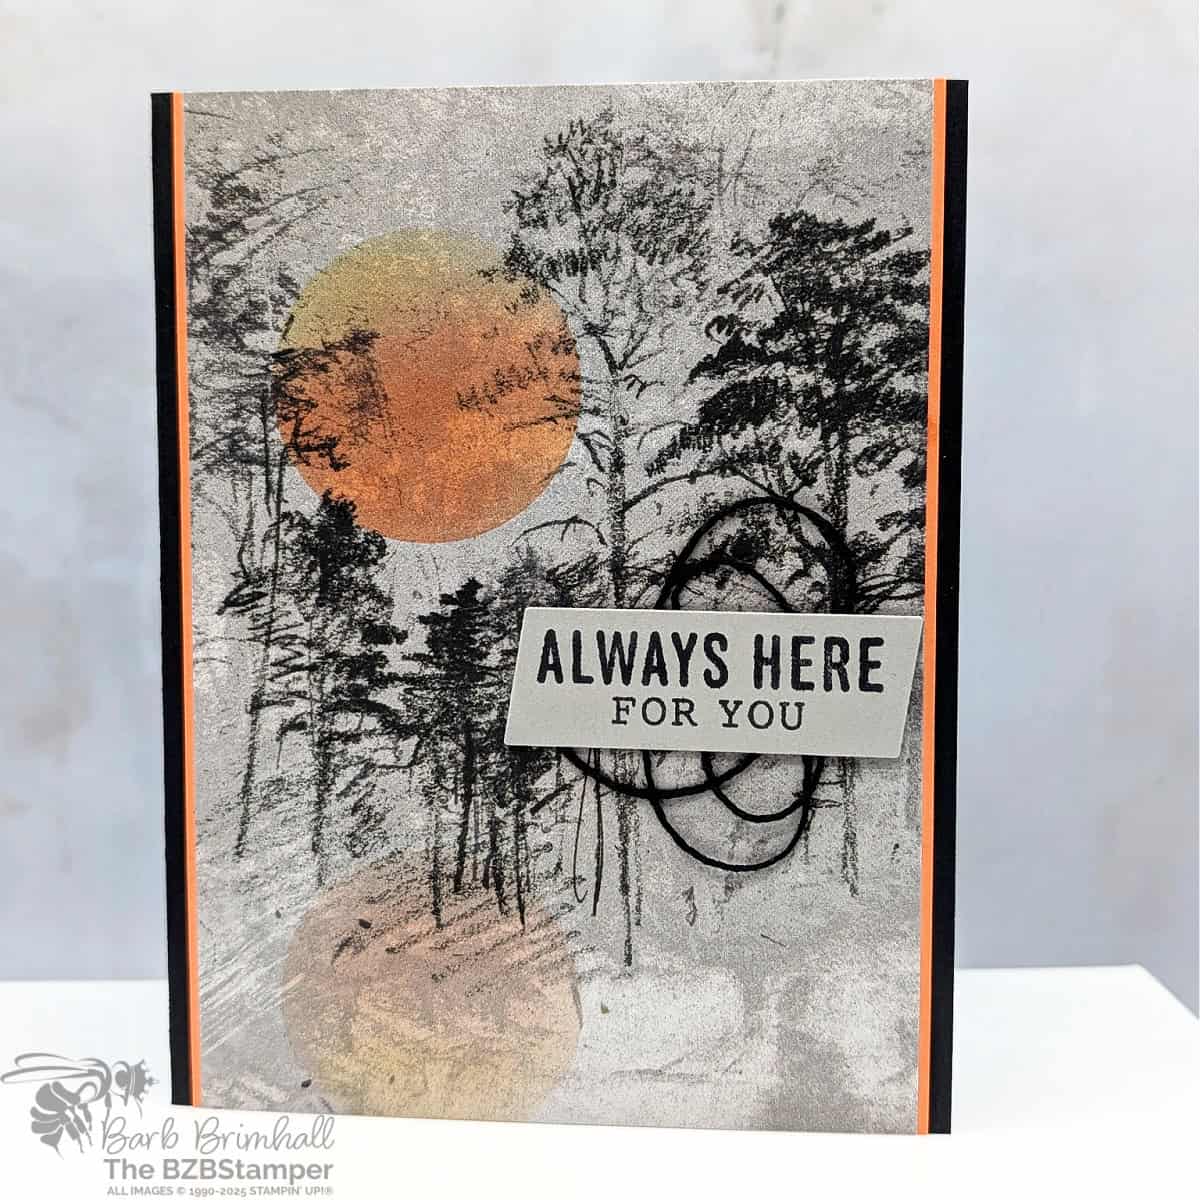
The star of the show is the Beautiful Gallery Designer Series Paper. This pattern instantly reminded me of a quiet forest in the early morning—still, soft, and grounded. The artwork looks like it was pulled straight from an old-world painting, with soft layers and a slightly weathered look that gives it depth. I didn’t want to compete with that beauty, so I kept the rest of the card clean and simple.
The sentiment comes from the More Messages Stamp Set, which is full of all-purpose phrases you can use for everything from birthdays to just-because cards. I chose “Always Here For You” because it feels warm and steady—exactly what someone in grief needs to hear. One of my favorite features of this set is that all the messages are on a single stamp. You can ink it up once, stamp it on cardstock, and then cut out the phrases to use as needed. It’s efficient and SO handy to have extras ready to go!
To finish the card, I added a little loop of black twine behind the sentiment for a bit of texture, and let the rest of the design breathe. This card doesn’t need embellishment or sparkle—it holds its own with quiet strength.
Want to recreate this card? You can find the full Tutorial with step-by-step instructions, supplies, and measurements right here on the blog.
How To Make This Card
Project Skill Level: Busy Bee
Busy Bee projects are designed for the beginner or busy papercrafter. This is a basic cardmaking project that can be achieved by someone who has never made a handmade card before. You can view more Busy Bee cards here.
Cardstock Measurements:
- Basic Black Cardstock: 5-1/2″ x 8-1/2″, scored at 4-1/4″
- Basic White Cardstock: 4″ x 5-1/4″
- Timid Tiger Cardstock: 4″ x 5-1/2″
- Beautiful Gallery Designer Paper: 3-7/8″ x 5-1/2″
- Gray Granite Cardstock: 3/4″ x 2-1/4″


Grab your Free copy
Get 5 Bee-utiful Exclusive
Card Sketches in Your Inbox
Join our newsletter and receive a honey of a package of five quick & simple cards guaranteed to make your creativity buzz! Sign up now and let the goodness flow straight to your inbox!
Step-by-Step Instructions:
- Fold the Basic Black cardstock in half to create your card base.
- Adhere the Basic White cardstock inside the card.
- Using a scrap piece of paper (computer or typing paper works great!) punch a hole out of the center of the paper. This will be your mask. Lay the “mask” over the Beautiful Gallery Designer Paper, placing it where you want your sun/moon.
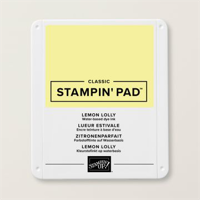
- Using the Lemon Lolly ink and a sponge dauber, sponge Lemon Lolly inside the entire circle. Lift up and replace the mask so that it’s directly below the first sponged circle but at the bottom of the paper. Without reinking your sponge dauber, lightly apply Lemon Lolly ink inside the circle – you want it to be very light.
- Replace the mask back onto the original circle from Step #3, carefully lining up the circle. Apply a small amount of Timid Tiger ink to the sponge dauber and lightly dab at the bottom third of the circle.
- Remove mask and replace over the bottom circle. Wipe off most of the Timid Tiger ink onto your scratch paper and then sponge inside the top quarter of the circle. Remove mask and throw away.
- Adhere the Beautiful Gallery paper to the Timid Tiger cardstock and adhere to the front of the card.
- Stamp the sentiment onto the Gray Granite cardstock using Black Memento ink. Using scissors, angle both ends of the cardstock.
- Cut approximate 8″ of the Black Baker’s Twine and wrap into small figure eights; adhere to the back of the sentiment strip using Stampin’ Dimensionals.
- Remove the liners of the Stampin’ Dimensionals and adhere the sentiment to the front of the card as desired to finish.
A Tip from Barb
The key to making this card is keeping the sponging of your sun/moon very light. You can always add more, but you can’t take away ink, so start with just a small amount of ink on your sponge daubers, adding more as needed.
Thanks for stopping by for today’s card tutorial!
My goal is to help you make quick & easy greeting cards for all occasions. If you’d like more detailed directions on how to make this card, feel free to email me. I hope you’ll join me again for more card-making ideas!

Don’t forget to pin this for later!
