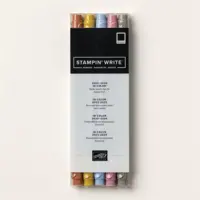
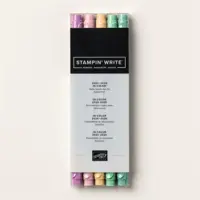
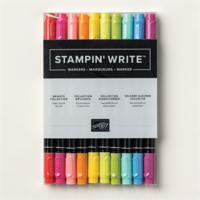
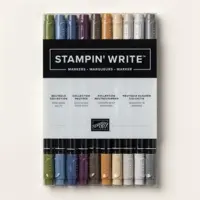
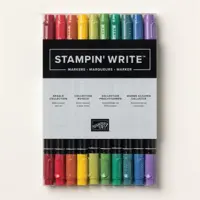
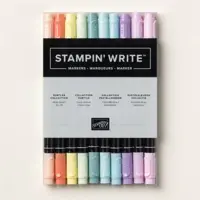
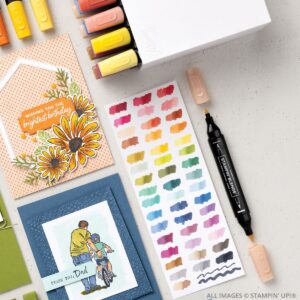
Are you looking to take your card-making or scrapbooking to the next level? Stampin’ Up! Stampin’ Write Markers are a favorite for adding vibrant colors and precise details to handmade projects. These dual-tip markers offer flexibility and versatility, making them a must-have for both beginners and seasoned crafters. Whether you’re coloring stamped images or adding personal touches, these markers deliver consistent, high-quality results. Let’s explore what makes them so special and why they deserve a spot in your crafting toolbox.
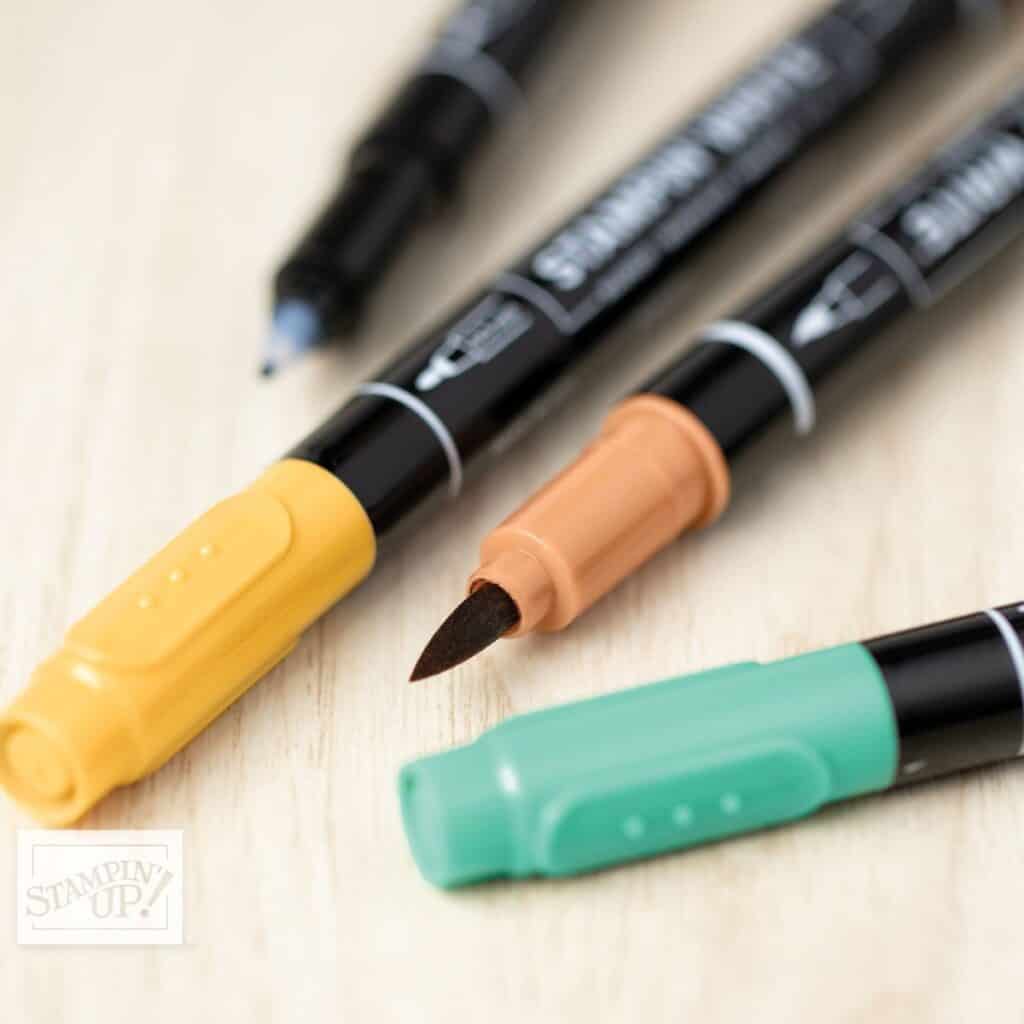
What Are Stampin’ Write Markers?
Stampin’ Write Markers are specially designed tools for adding details, colors, and accents to your creative projects. Whether you’re a beginner or an expert in designing handmade cards or scrapbooks, these markers provide precision and versatility. They’re easy to use and packed with features that stand out from other markers. Ready to learn more? Let’s break it down.
Overview of Features
Stampin’ Write Markers come with a variety of features that make them unique and practical for a wide range of projects. Here’s what makes them special:
- Dual Tips for Versatility
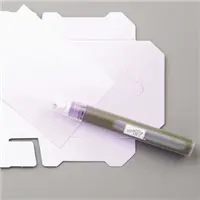
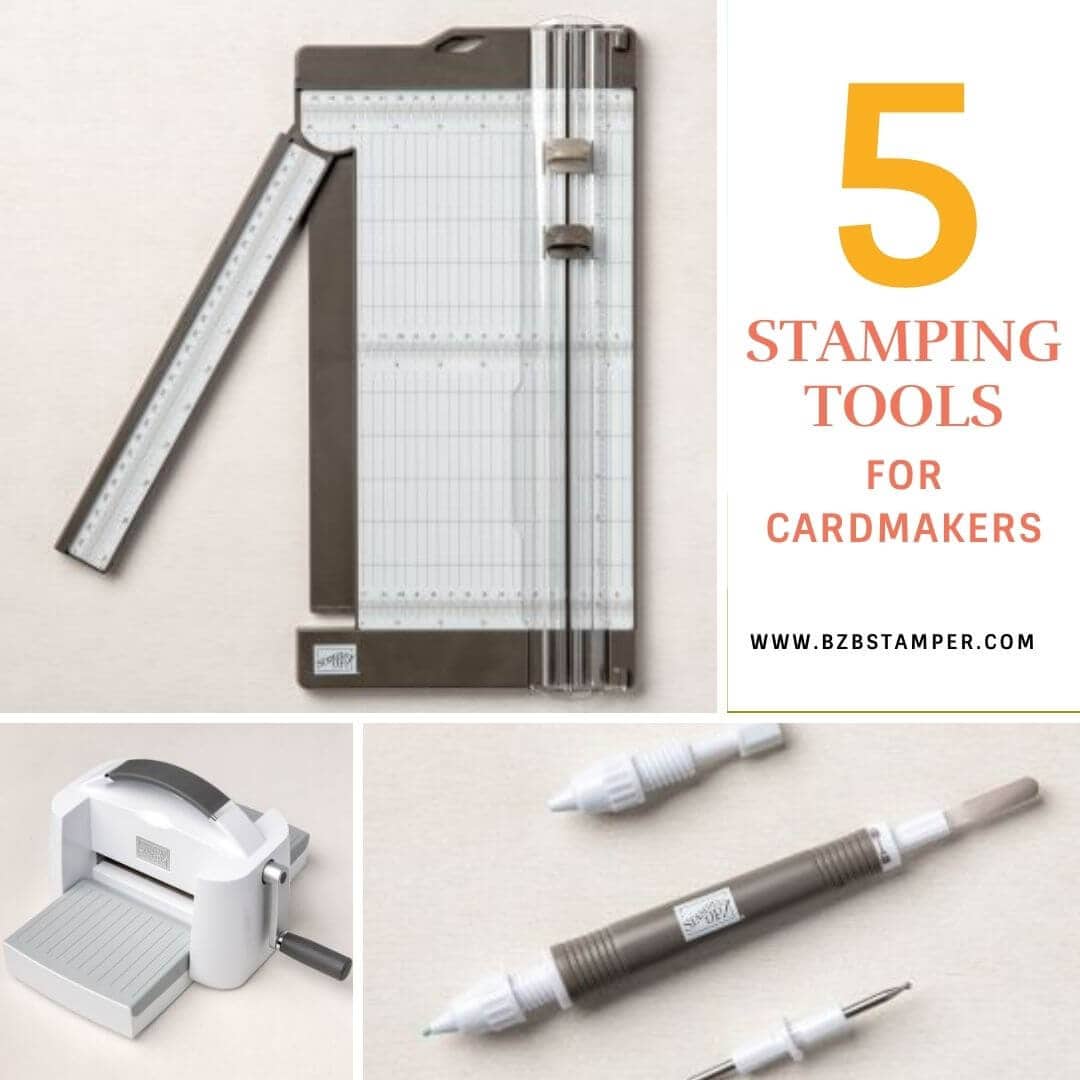
Each marker has two tips: a fine tip for detailed work and a brush tip for broader strokes. The fine tip is perfect for writing or tiny details, while the brush tip works well for coloring or adding bold accents. Switching between the two is easy and eliminates the need for multiple tools. - Wide Range of Colors
These markers are available in the full Stampin’ Up! color families, giving you a cohesive palette to match any project. Whether you’re working with subtle pastels or bold, vibrant colors, you’ll find the perfect shade. - High-Quality Ink
The ink used in these markers is water-based and dye-based, meaning the colors blend smoothly. It’s great for achieving gradient effects or layering without harsh edges. Plus, the ink is designed to last, resisting fading over time. - Compatibility with Stampin’ Up! Products
These markers are designed to coordinate with Stampin’ Up! ink pads, papers, and embellishments. This ensures your project has a polished, professional look with matching tones.
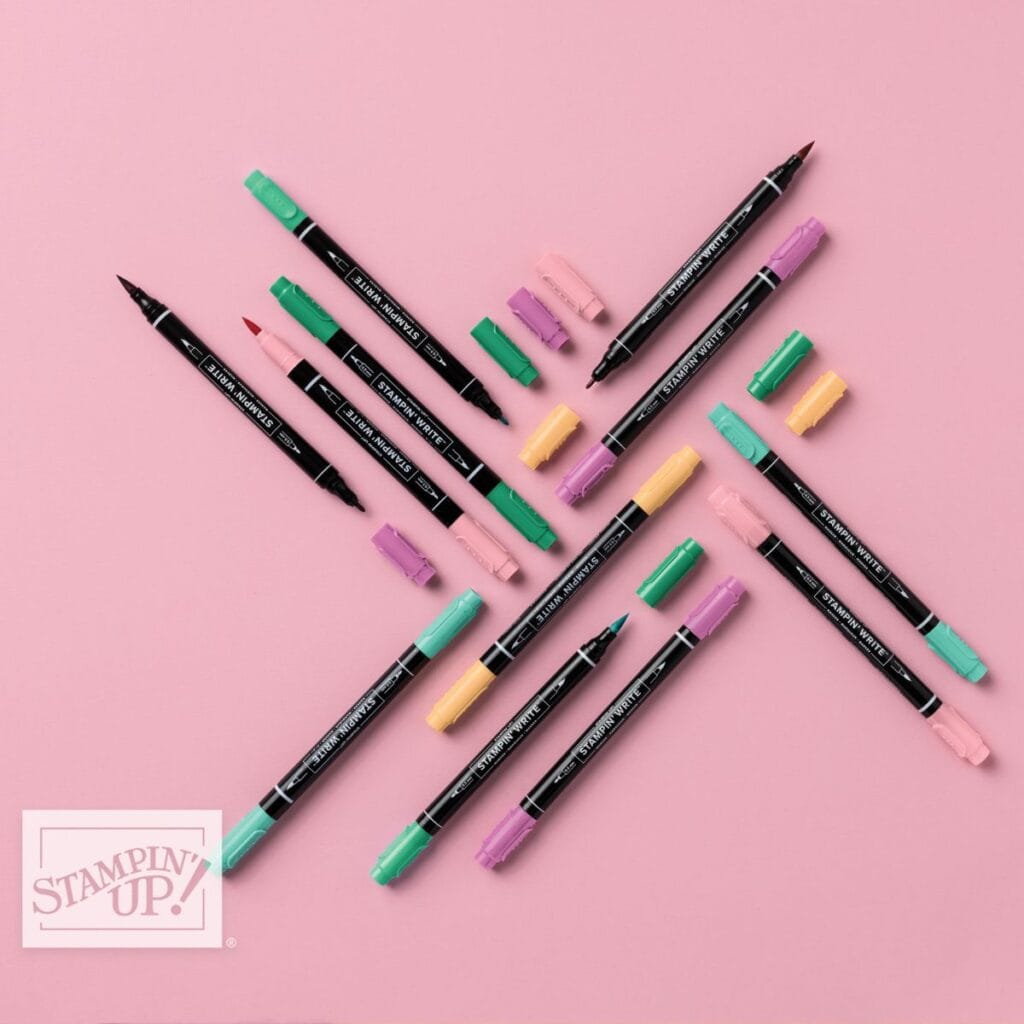
In short, these markers combine quality and usability, making them a trusted option for detailed and colorful designs.
How to Use Stampin’ Write Markers
Stampin’ Write Markers are more than just your average coloring tools. They let you add vibrant colors, soft blends, and precise details that bring your creative projects to life. Whether you’re a beginner or an experienced crafter, mastering a few techniques can help you get the most out of these versatile markers. Let’s break it down step by step.
Basic Techniques
These markers are designed for ease of use, making coloring and blending simple yet impactful. Here are a few basic techniques to try:
- Flat Coloring: Use the brush tip for smooth, even color application. This is great for coloring stamped images or covering larger areas. Hold the marker at a slight angle for better ink flow.
- Blending Shades: Want a blended look? Layer colors by starting with the lightest shade, then add darker tones where shadows would naturally fall. Use gentle strokes to avoid harsh lines.
- Fine Details: Use the fine tip for accents like outlining stamped images or adding small designs. This works well for intricate stamped patterns or hand-drawn embellishments.
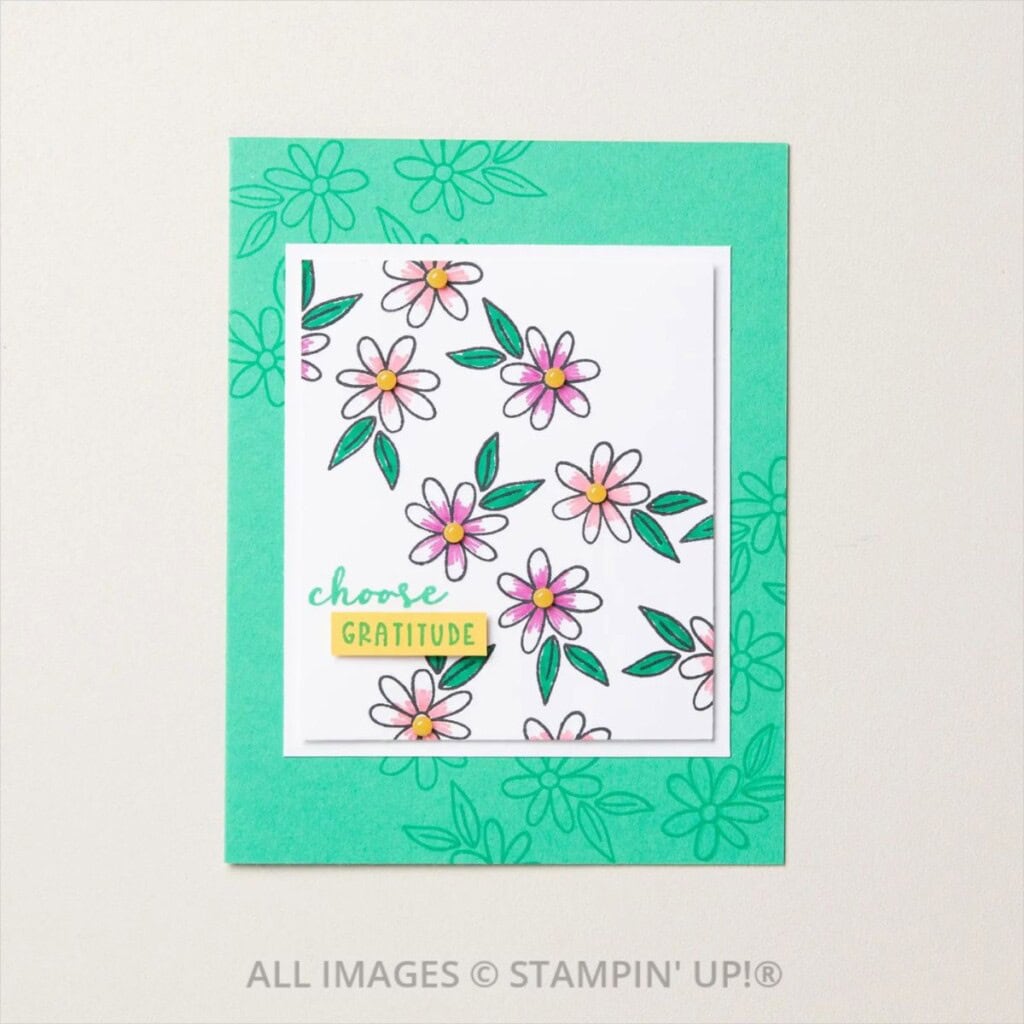
If you’re new, don’t worry about perfection. Practice makes progress, and soon, these techniques will feel as natural as writing your name!
Creating Backgrounds
Stampin’ Write Markers aren’t just for coloring inside the lines—they’re perfect for building creative backgrounds, too. Here are a few methods to inspire you:
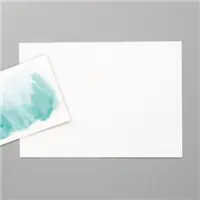
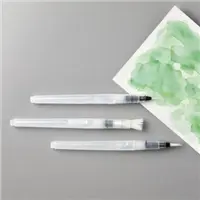
- Scribble and Blend: Scribble several marker colors randomly on watercolor paper. Then, use a Water Painter to blend them together. This creates a dreamy, abstract effect.
- Stripes and Patterns: Use the brush tip to draw freehand stripes, zigzags, or polka dots across your cardstock. Mix and match colors for a playful vibe.
- Ombre Wash: Choose three shades of the same color family. Using one of our acrylic blocks, start with the darkest at one end, then gradually fade to the lightest. Spritz lightly with water using a Stampin’ Spritzer and then stamp onto some Watercolor Paper. This technique yields a different look every time!
Backgrounds set the mood of your design. Whether you go for bold or subtle, the markers give you total control.
Adding Details
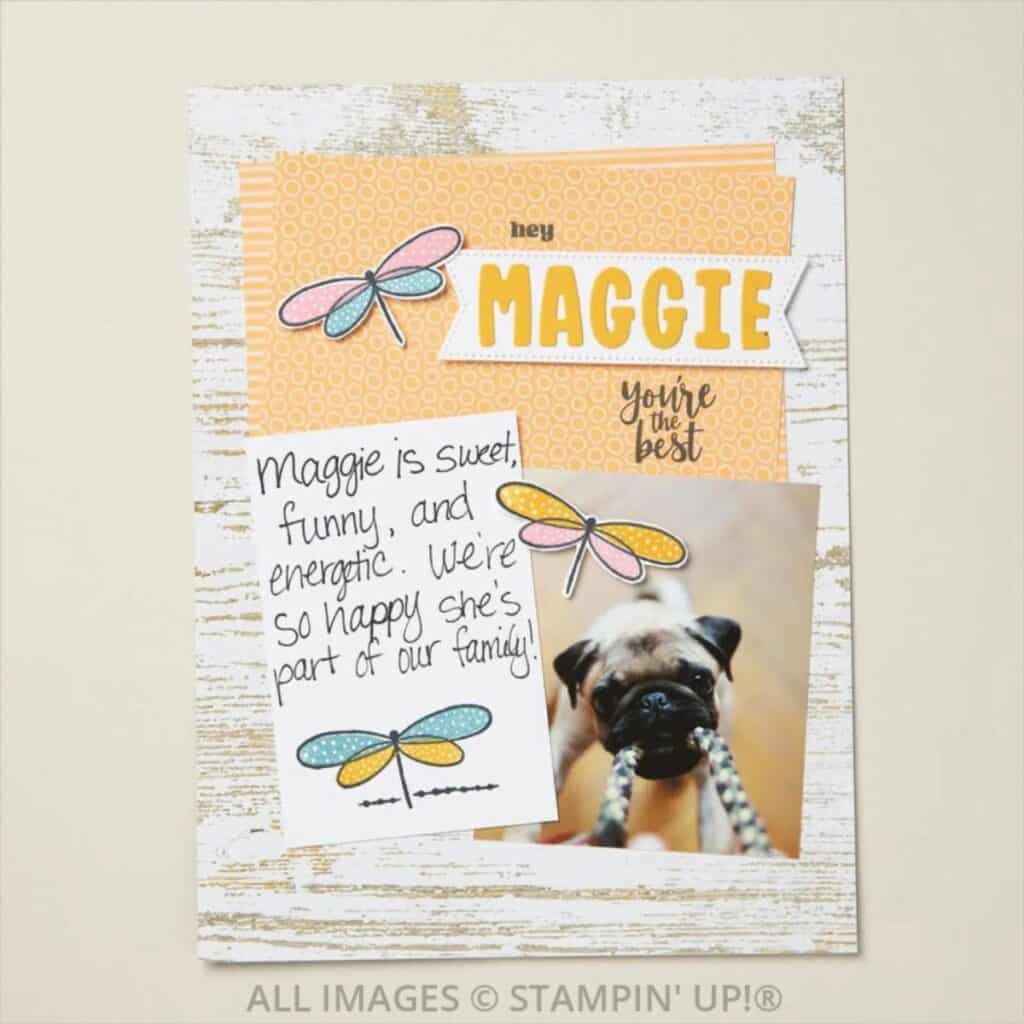
Details make your designs stand out, and these markers shine when it comes to precision. Try these tips for adding the finishing touches to your projects:
- Highlight Stamped Images: Add depth by tracing around a stamped image with the fine tip in a slightly darker color. This makes it pop off the page.
- Personalized Handwriting: Use the fine tip for writing sentiments or titles. The ink flows smoothly, helping you create clean, elegant text. These markers are especially good for journaling.
- Tiny Accents: Dots, dashes, and small shapes like hearts or stars can easily be drawn with the fine tip. They add charm without overpowering your design.
- Layering Effects: Consider layering marker details over other media, like watercolor washes or dry embossing. The contrast will grab attention.
Sometimes, the smallest details make the biggest difference. With Stampin’ Write Markers, precision is right at your fingertips.
Care and Maintenance

Taking care of your Stampin’ Write Markers ensures they stay vibrant and functional for the long haul. A little regular maintenance goes a long way in keeping them performing their best and making your creative process frustration-free.
Storing Markers
Proper storage is the key to keeping your markers ready to use. Here are some tips to get it right:
- Store Horizontally: Always store Stampin’ Write Markers on their side, not upright. This keeps the ink evenly distributed between the brush and fine tips. If stored standing upright, one tip may dry out faster.
- Use a Case or Organizer: Storing your markers in a case or an organizer designed for markers prevents them from rolling around or getting lost. A tidy space means your tools are always within reach.
- Avoid Extreme Temperatures: Keep them in a cool, dry place away from direct sunlight. High heat or freezing temperatures can damage the ink and affect how it flows.
- Separate by Color Families: If you’ve got a large collection, organizing by color family saves time when you’re hunting for the right shade.
Treat your markers like you would a good set of pens or paintbrushes. A little effort keeps them in top shape.
Extending Lifespan
Want your markers to last as long as possible? With the right care, you can avoid premature drying or damage. Consider these simple tips:
- Cap Them When Not in Use: Always replace the caps tightly after using a marker. Leaving them uncapped, even for a few minutes, can dry out the tips and diminish the ink quality.
- Use Gentle Pressure: Avoid pressing too hard, especially with the fine tip. Gentle strokes protect the nibs from fraying or bending.
- Clean the Tips Occasionally: If you notice color mixing on the brush or fine tip, gently scribble on scrap paper until the original ink flows clean again. This prevents unwanted blending in your projects.
- Rotate While Using: If you’re coloring large areas, rotate the marker as you work to prevent one side of the tip from wearing down unevenly.
- Rehydrate a Dry Tip: If a tip starts to dry out, try carefully dipping it into a few drops of water for a quick refresh. Just be cautious not to overdo it, as too much water can alter the ink’s consistency.
Taking small steps to care for your markers ensures they stay as reliable as the day you bought them. After all, well-maintained tools make every project more enjoyable.


Grab your Free copy
Get 5 Bee-utiful Exclusive
Card Sketches in Your Inbox
Join our newsletter and receive a honey of a package of five quick & simple cards guaranteed to make your creativity buzz! Sign up now and let the goodness flow straight to your inbox!
How to Purchase Stampin’ Write Markers
The most reliable place to find Stampin’ Write Markers is directly through the official Stampin’ Up! Store. Shopping here ensures access to their full range of products, including exclusive color collections and bundles. See the bottom of this blog post for more information.
- Full Selection: The website offers the complete lineup of Stampin’ Write Markers, organized by color families and sets.
- Bundled Options: You can purchase markers individually or in pre-selected groups by shade or style.
- Exclusive Deals: Sometimes, the store features special promotions or discounts, making it a great place for loyal customers to save.
- Convenient Online Ordering: With just a few clicks, your markers will be on their way to you.
Conclusion
Stampin’ Write Markers are a must-have for anyone who enjoys creating with color. Their dual-tip design, wide color range, and high-quality ink make them incredibly versatile. Whether you’re working on cards, scrapbooks, or other art projects, these markers bring precision and ease of use to every task.
Here’s why they stand out:
- They handle both fine details and bold strokes effortlessly.
- Their ink blends smoothly and is designed to last.
- They’re the perfect companion to other Stampin’ Up! products for cohesive designs.
- Easy-to-use tools like these save time while delivering professional results.
Why not try them for your next project? They’re dependable, fun, and sure to take your designs to the next level. So, pick your favorite colors, get inspired, and see what Stampin’ Write Markers can do for your creative ideas.
I appreciate you dropping by! My mission is to inspire you with card tutorials that are as fun to make as they are to give. Want more papercrafting ideas? Join my Facebook Community today.

Don’t forget to pin this for later!


