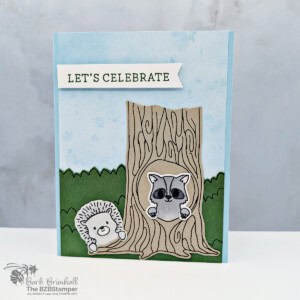
Every birthday is a chance to make someone feel special, and what better way to do that than with a handcrafted card? The Stampin Up Peekaboo Forest Happy Birthday Card project combines the magic of the Peekaboo Forest Stamp Set with the joy of celebrating another year.
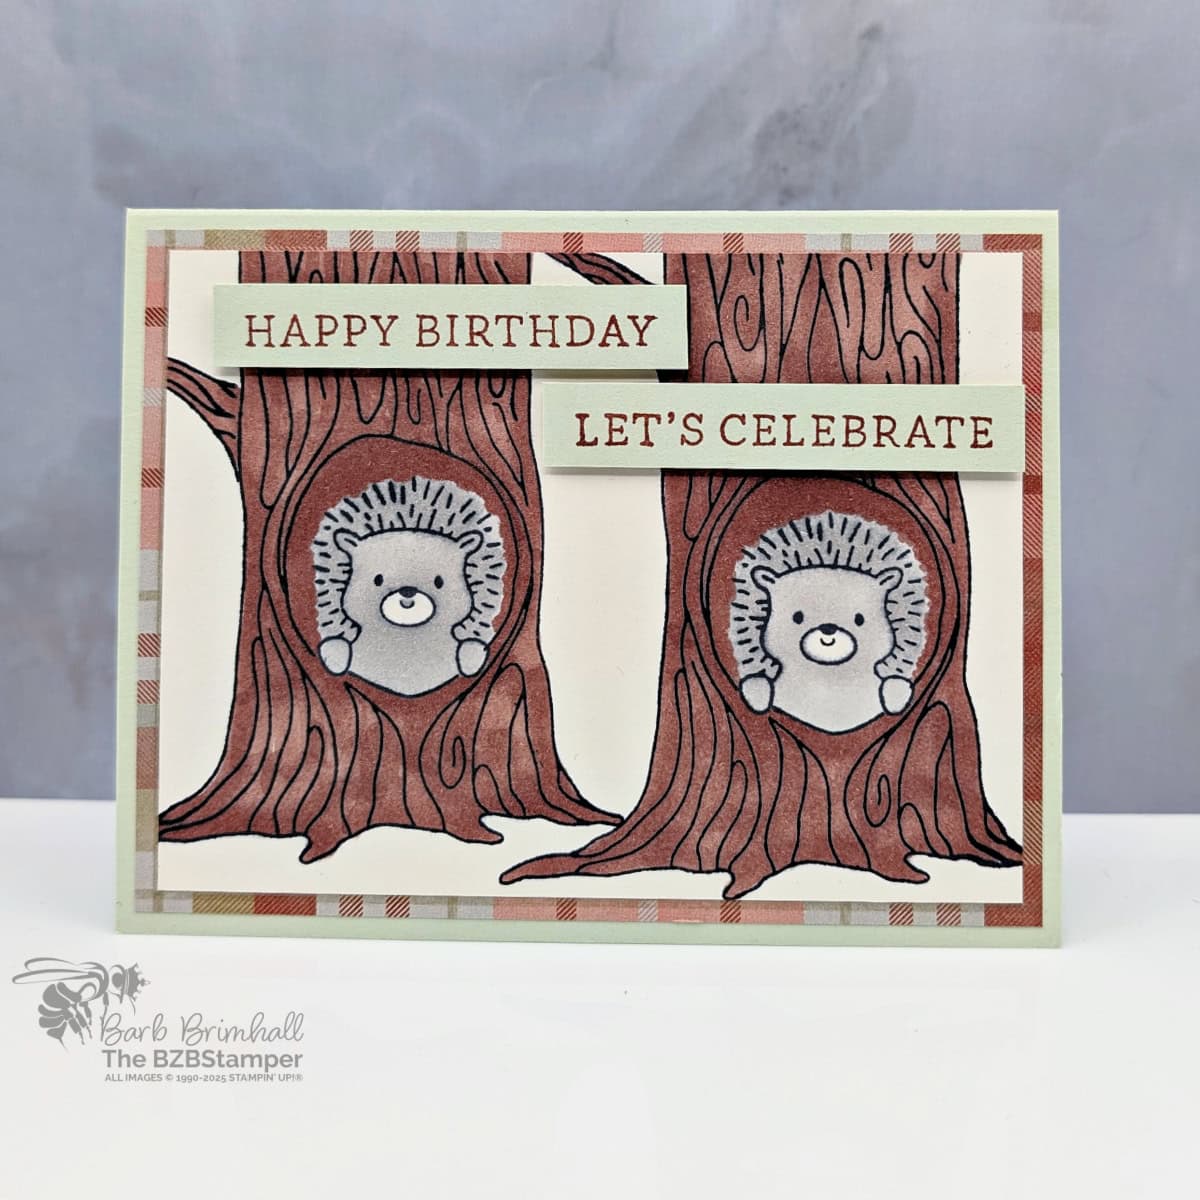
The Peekaboo Forest Stamp Set by Stampin’ Up! is your gateway to creating not just any birthday card, but a playful, imaginative piece that tells a story, adding dimensional details that truly pop.
Start by selecting your favorite images from the Peekaboo Forest Stamp Set. In my case, the mischievous porcupine caught my eye, and the intricate tree design inspired me to create a very simple card. Whatever you choose, these stamps are designed to bring out the artist in you. Color them with your preferred mediums—whether it’s watercolors for a soft, dreamy look or Stampin’ Blend Markers for bold, vibrant detail.
This blog post will guide you through creating a unique Peekaboo Forest Happy Birthday card step-by-step. From stamping to coloring, you’ll learn how to make a card that stands out. So, grab your Peekaboo Forest stamp set and let’s get started on crafting a handmade birthday card that’s as unique and special as the person receiving it!
How To Make This Card
Project Skill Level: Busy Bee
Busy Bee projects are designed for the beginner or busy papercrafter. This is a basic cardmaking project that can be achieved by someone who has never made a handmade card before. You can view more Busy Bee cards here.
Cardstock Measurements:
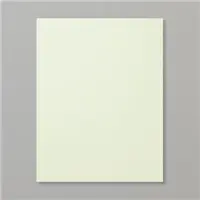
- Soft Sea Foam Cardstock: 5-1/2″ x 8-1/2″, scored at 4-1/4″
- Very Vanilla Cardstock: 4″ x 5-1/4″
- Timeless Plaid Designer Series Paper: 4″ x 5-1/4″
- Very Vanilla Cardstock: 3-3/4″ x 5″
- Soft Sea Foam Cardstock: 1/2″ x 2-3/4″ (2 pieces)


Grab your Free copy
Get 5 Bee-utiful Exclusive
Card Sketches in Your Inbox
Join our newsletter and receive a honey of a package of five quick & simple cards guaranteed to make your creativity buzz! Sign up now and let the goodness flow straight to your inbox!
Step-by-Step Instructions:
- Fold the Soft Sea Foam cardstock in half to create your base card. Adhere the 4″ x 5-1/4″ piece of Very Vanilla cardstock inside the card.
- Adhere the Timeless Plaid Designer Paper to the front of the card.
- Using the 3-3/4″ x 5″ piece of Very Vanilla cardstock, stamp the tree trunk on the bottom left of the cardstock using Black Memento ink. Build up the tree trunk using the “trunk extender” image using the same ink. Add the branch onto the tree as desired using the same ink. Repeat the process on the right side of the card (see sample for placement.)
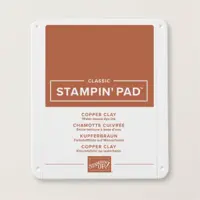
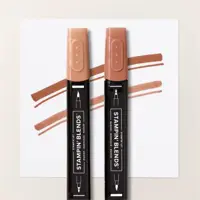
- Using the Black Memento ink pad, stamp the porcupine into the “knot” of each tree. Color in the porcupines using the Light Gray Granite Blend. Color in the knot of each tree using the Dark Copper Clay Blend, being careful to avoid the porcupine. Color in the remaining part of the trees using the Copper Clay Blends.
- Adhere the Very Vanilla cardstock onto the center of the card base.
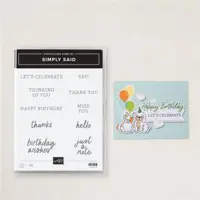
- Using the 1/2″ strips of Soft Sea Foam cardstock, stamp a sentiment on each one using the Copper Clay ink pad. Adhere to the trees as shown in the sample using Stampin’ Dimensionals to finish.
Thanks for stopping by for today’s card tutorial! My goal is to help you make quick & easy greeting cards for all occasions. If you’d like more detailed directions on how to make this card, feel free to email me. I hope you’ll join me again for more card-making ideas!

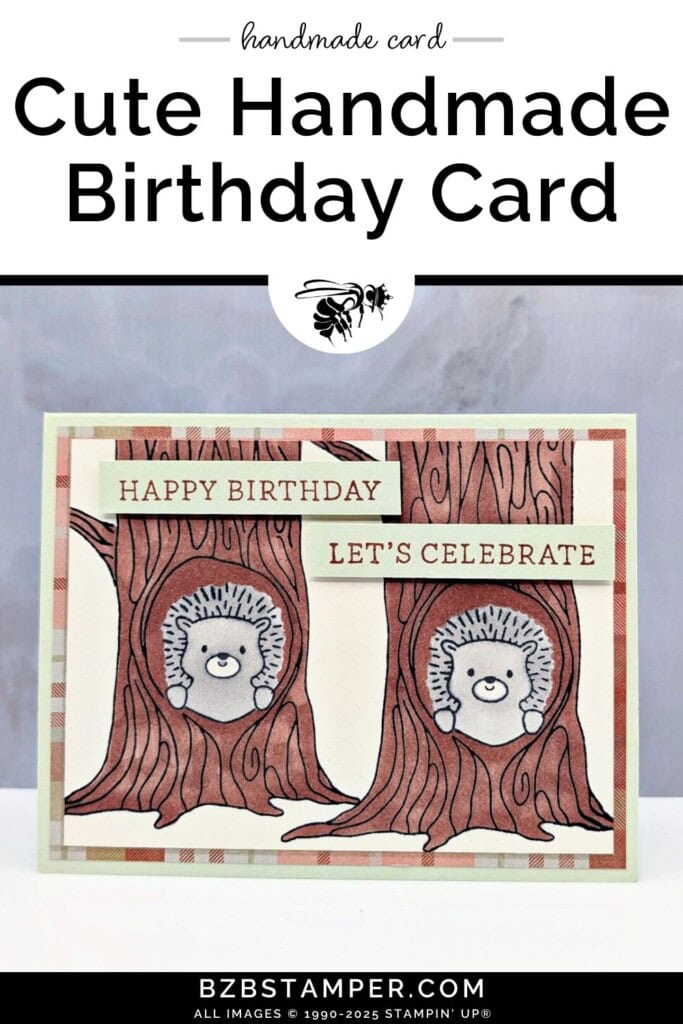
Don’t forget to pin this for later!









Glad to see you taking the next big step in your business. Looking forward to it coming live. Deeta
So great to hear from you, Deeta! Thank you so much, I’m really excited (but a wee bit nervous) about it too!
Hugs,
Barb
I love your cards, they’re fast and easy as I’ve only been a demonstrator for 6 months.
Hi Patty! What a sweet comment – thank you! I’m so glad you find the cards on my blog helpful – I’m all about quick & easy! 😄 Welcome to our Stampin’ Up!® family – you’re going to love being a demonstrator!