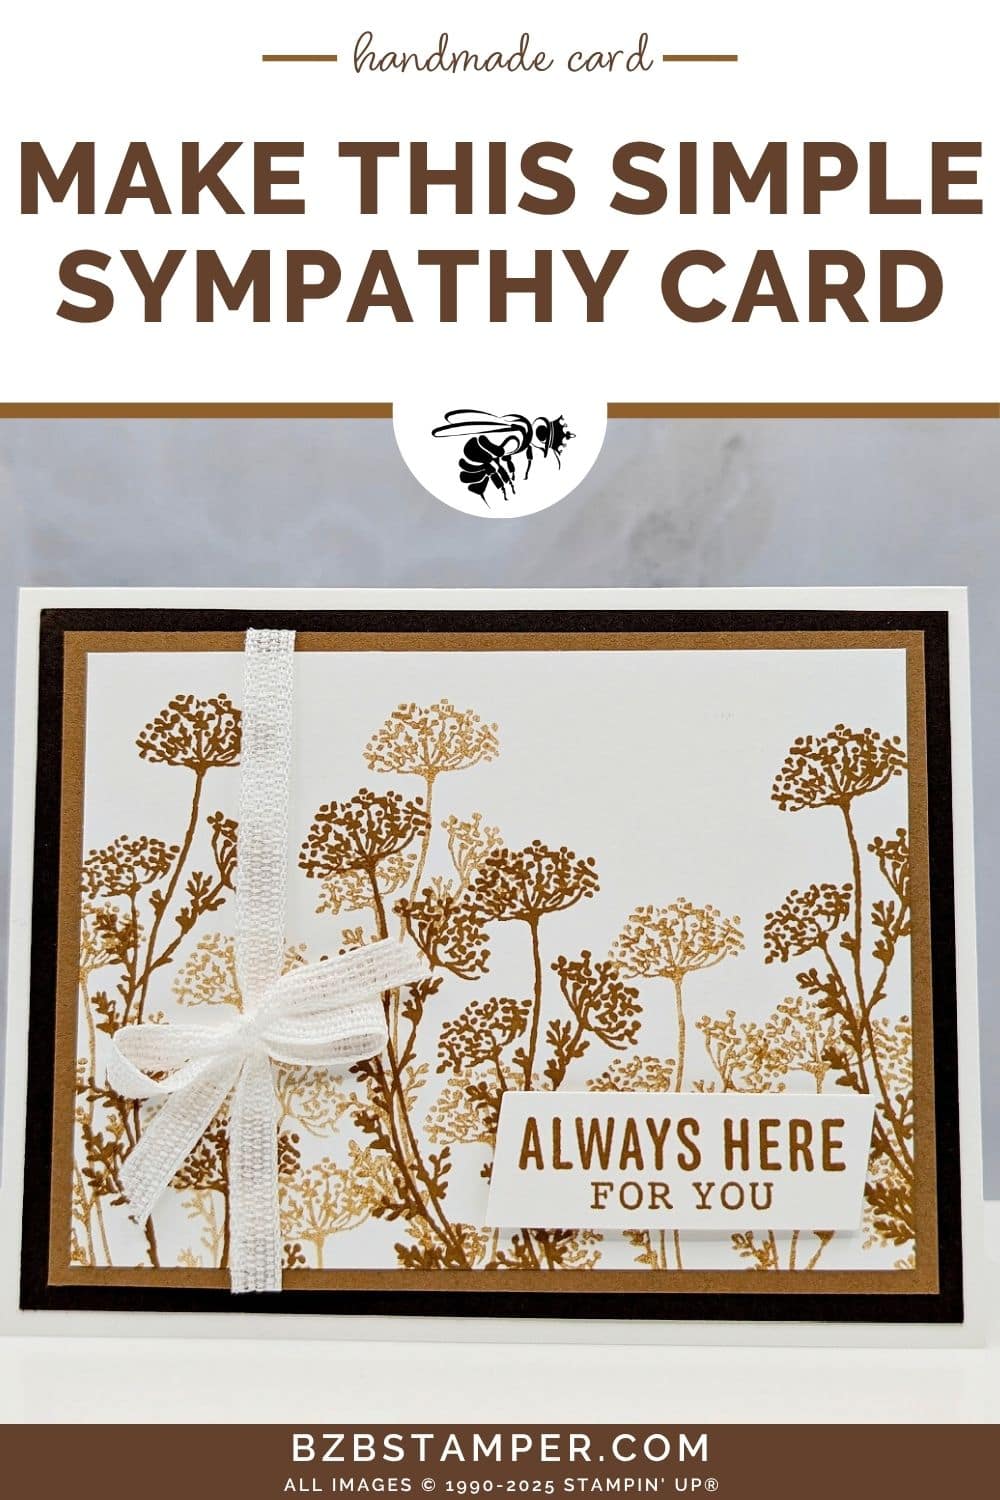
Sympathy cards can be some of the hardest to make—but it’s easy to make a simple sympathy Card with Gallery Blooms Stamp Set by Stampin’ Up!® With just a few simple supplies and a neutral color palette, you can create a handmade card that offers comfort, connection, and care—without feeling overwhelmed by the process.
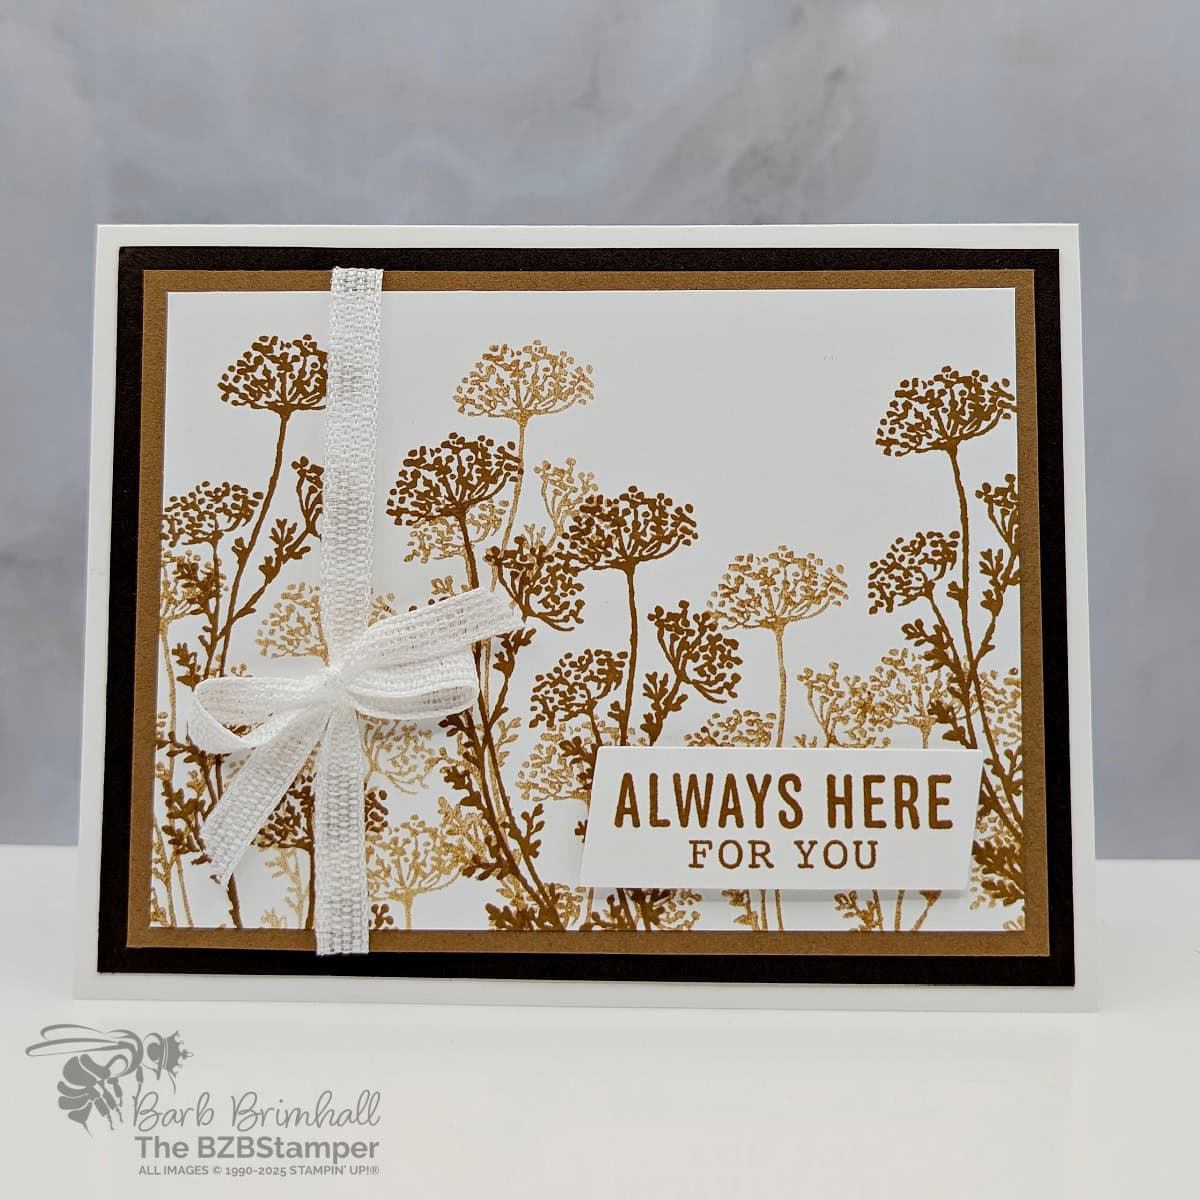
When you’re not quite sure what to say, a handmade card can speak volumes. This card is one of those quiet but powerful reminders that someone isn’t alone. Whether you’re new to cardmaking or a seasoned crafter, the Gallery Blooms Stamp Set makes it incredibly easy to create something heartfelt with just ink, paper, and a little bit of ribbon.
What I especially love about this project is how beginner-friendly it is. The floral stamp images do all the heavy lifting with their bold yet elegant lines. I used various tones of brown ink to create a fading, layered look—almost like a sepia-toned field of wildflowers at sunset. There’s something really peaceful about the effect, and it took less than 15 minutes from start to finish.
If you prefer pastel colors, make sure you check out my Color Combination Library – you’re sure to find a color combination there you will love.
Even better? This card only uses the Gallery Blooms Stamp Set, with no need for the dies (though they’re beautiful too!). That makes it an excellent choice if you’re still building your collection or just want to make something meaningful without a lot of supplies.
The soft texture of the white ribbon adds a gentle finishing touch, and the sentiment—“Always here for you”—makes this card suitable for all kinds of occasions beyond sympathy. Think: encouragement, caregiving, or even sending love from afar.
If you’ve ever felt stuck trying to create a sympathy card that feels personal without being too fussy, this layout is a great one to keep in your stash. You can swap out colors, sentiments, or even the stamp set—but the basic layout and emotional impact will always deliver.
And that’s the magic of stamping: it turns a blank piece of paper into something that makes someone feel seen, supported, and loved.
How To Make This Card
Project Skill Level: Busy Bee
Busy Bee projects are designed for the beginner or busy papercrafter. This is a basic cardmaking project that can be achieved by someone who has never made a handmade card before. You can view more Busy Bee cards here.
Cardstock Measurements:
- Basic White Cardstock: 5-1/2″ x 8-1/2″
- Early Espresso Cardstock: 4″ x 5-1/4″
- Pecan Pie Cardstock: 3-3/4″ x 5″
- Basic White Cardstock: 3-1/2″ x 4-3/4″
- Basic White Cardstock: 3/4″ x 2-1/4″


Grab your Free copy
Get 5 Bee-utiful Exclusive
Card Sketches in Your Inbox
Join our newsletter and receive a honey of a package of five quick & simple cards guaranteed to make your creativity buzz! Sign up now and let the goodness flow straight to your inbox!
Step-by-Step Instructions:
- Fold the Basic White Cardstock in half to create your card base.
- Adhere the 4″ x 5-1/4″ piece of Early Espresso cardstock to the front of the card.
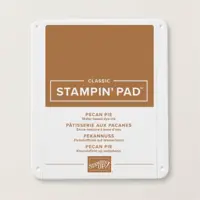
- Using the 3-1/2″ x 4-3/4″ piece of Basic White cardstock, stamp the floral image from the Gallery Blooms stamp set one time using Pecan Pie ink, stamp stamp again to the left or right without reinking. Repeat this process several times, at varying heights on the cardstock to get a two-tone effect without a second ink pad.
- Adhere the Basic White cardstock to the Pecan Pie cardstock. Wrap the 1/4″ White Ribbon around the left side and tie into a bow. Adhere to the front of the card.
- Using the 3/4″ strip of Basic White cardstock, stamp the sentiment from the More Messages stamp set using Pecan Pie ink. Using your scissors, cut both ends of the cardstock at an angle. Adhere to the card front as desired using Stampin’ Dimensionals to finish.
I’m so grateful for your presence today! My goal is to assist you in making stunning cards for every season, easily and joyfully. Need more help with today’s project? I’m just an email away. Keep your creativity flowing by joining my newsletter for the latest updates and inspiration!

Don’t forget to pin this for later!
