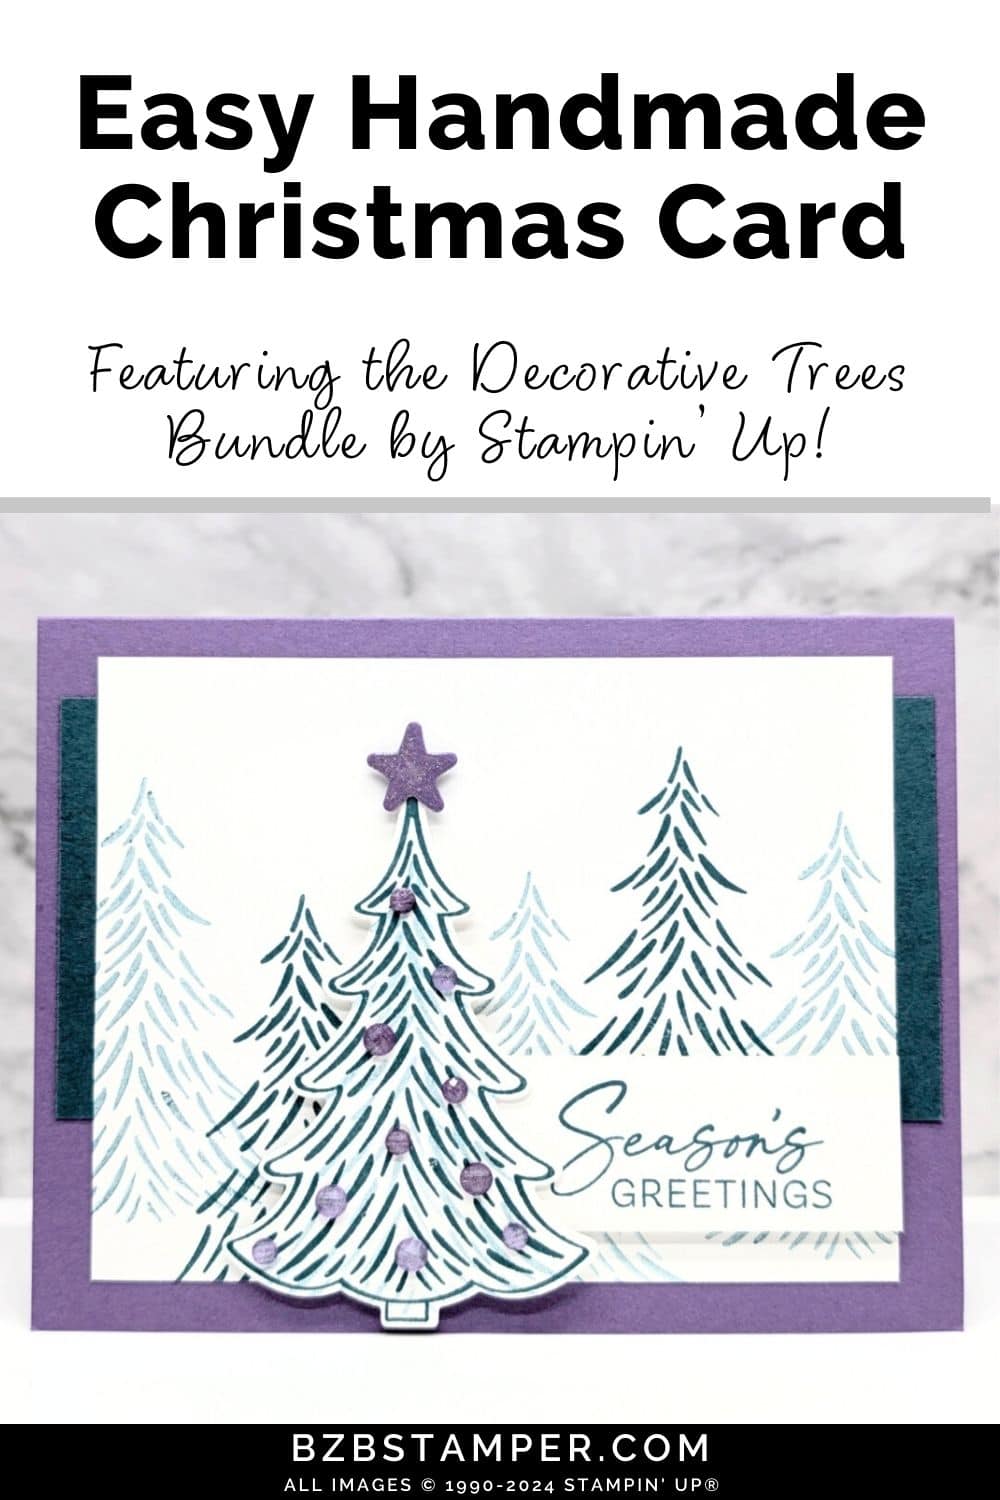
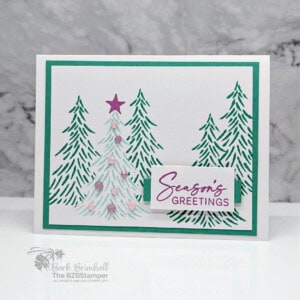
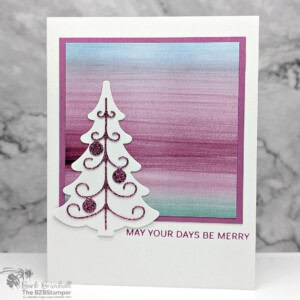
Create a stunning holiday card by sending Season’s Greetings with the Decorative Trees Bundle by Stampin’ Up! In this post, we’ll explore creative ways to use this versatile Bundle to design a beautiful Christmas card that will stand out. From die-cut patterned trees to stamped outdoor scenes, this bundle offers endless possibilities to craft a card that captures the warmth of the season. Whether you’re an experienced card maker or just getting started, these simple yet stylish techniques will make your creations shine.
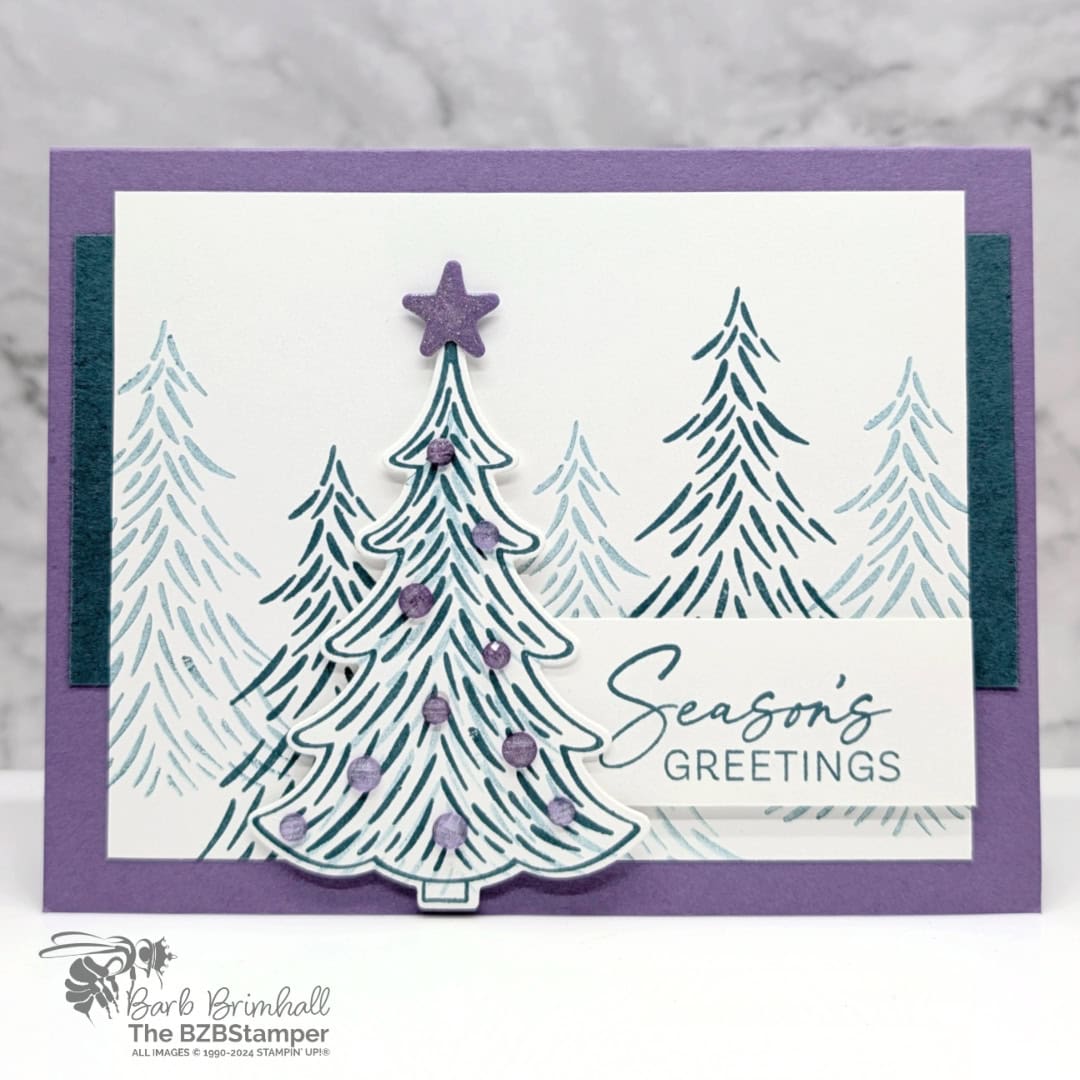
The Decorative Trees Bundle, with its two detailed tree designs and mix-and-match patterns, allows you to create a variety of holiday looks. Add your favorite colors and textures to personalize each card, making it unique and heartfelt. And with the coordinating dies, layering your trees for added dimension is easy and fun. Let’s dive in and bring your holiday greetings to life!
How To Make This Card
Project Skill Level: Worker Bee
Worker Bee projects are designed for the crafter who has a bit more time and enjoys creating a handmade card that features a technique or tool. In many cases, a Stampin’ Cut & Emboss Machine is required for die-cutting and/or embossing.
Cardstock Measurements:
- Gorgeous Grape Cardstock: 5-1/2” x 8-1/2” scored at 4-1/4”
- Basic White Cardstock: 4” x 5-1/4”
- Pretty Peacock Cardstock: 2-1/2” x 5-1/4”
- Basic White Cardstock: 3-3/4” x 4-3/4”
- Basic White Cardstock: 1” x 2-1/2”
- Basic White Cardstock: 2-1/2” x 3-1/2” (for die-cutting)
- Gorgeous Grape Cardstock: 1” x 1” (for die-cutting)


Grab your Free copy
Get 5 Bee-utiful Exclusive
Card Sketches in Your Inbox
Join our newsletter and receive a honey of a package of five quick & simple cards guaranteed to make your creativity buzz! Sign up now and let the goodness flow straight to your inbox!
Step-by-Step Instructions:
- Fold the Gorgeous Grape Cardstock in half at the score line to create your base card. Adhere the 4” x 5-1/4” Basic White cardstock inside the card.
- Adhere the Pretty Peacock cardstock to the front of the card about 1/2” down from the top fold.
- Using the Pretty Peacock ink pad, ink up the detailed tree stamp and stamp on the right side of the card. Stamp again to the right without reinking, slightly overlapping the first tree. Ink up the stamp again with the same ink and stamp on the left side and then stamp again to the left without reinking. Make sure you’re varying the height of the trees as shown in the sample.
- Ink up the stamp a third time but stamp off on your scrap paper and stamp where there are gaps in the tree line.
- Adhere the White cardstock to front of card.
- Using the 2-1/2” x 3-1/2” piece of Basic White cardstock, stamp the outline of the tree using Pretty Peacock ink. Stamp the detailed tree inside the tree frame using the same ink; stamp again without reinking.
- Run the stamped image through the Cut & Emboss Machine and die-cut the tree using the outline die from the Bundle. Run the 1” piece of Gorgeous Grape cardstock through the Cut & Emboss Machine and cut out the star. Paint the star using the Wink of Stella Glitter Brush.
- Stamp the sentiment onto the right side of the 1” x 2-1/2” piece of Basic White Cardstock using Pretty Peacock ink. Adhere the die-cut tree so that it just overlaps the left side of the sentiment tag. Adhere the star to the top of the tree using adhesive.
- Adhere the tree/sentiment tag to the front of the card using Stampin’ Dimensionals.
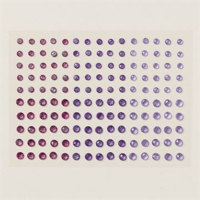
- To finish, add Purple Fine Shimmer Gems to the tree as desired.
Thank you so much for stopping by! I hope you feel inspired to create and that you also feel you have all the info you need to make this card with these instructions. If you aren’t sure about something or would like more detailed directions on how to make this card, feel free to email me. I’m here to help!

Don’t forget to pin this for later!
