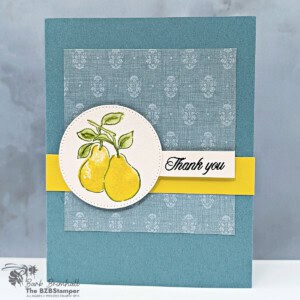
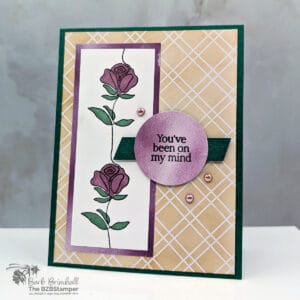
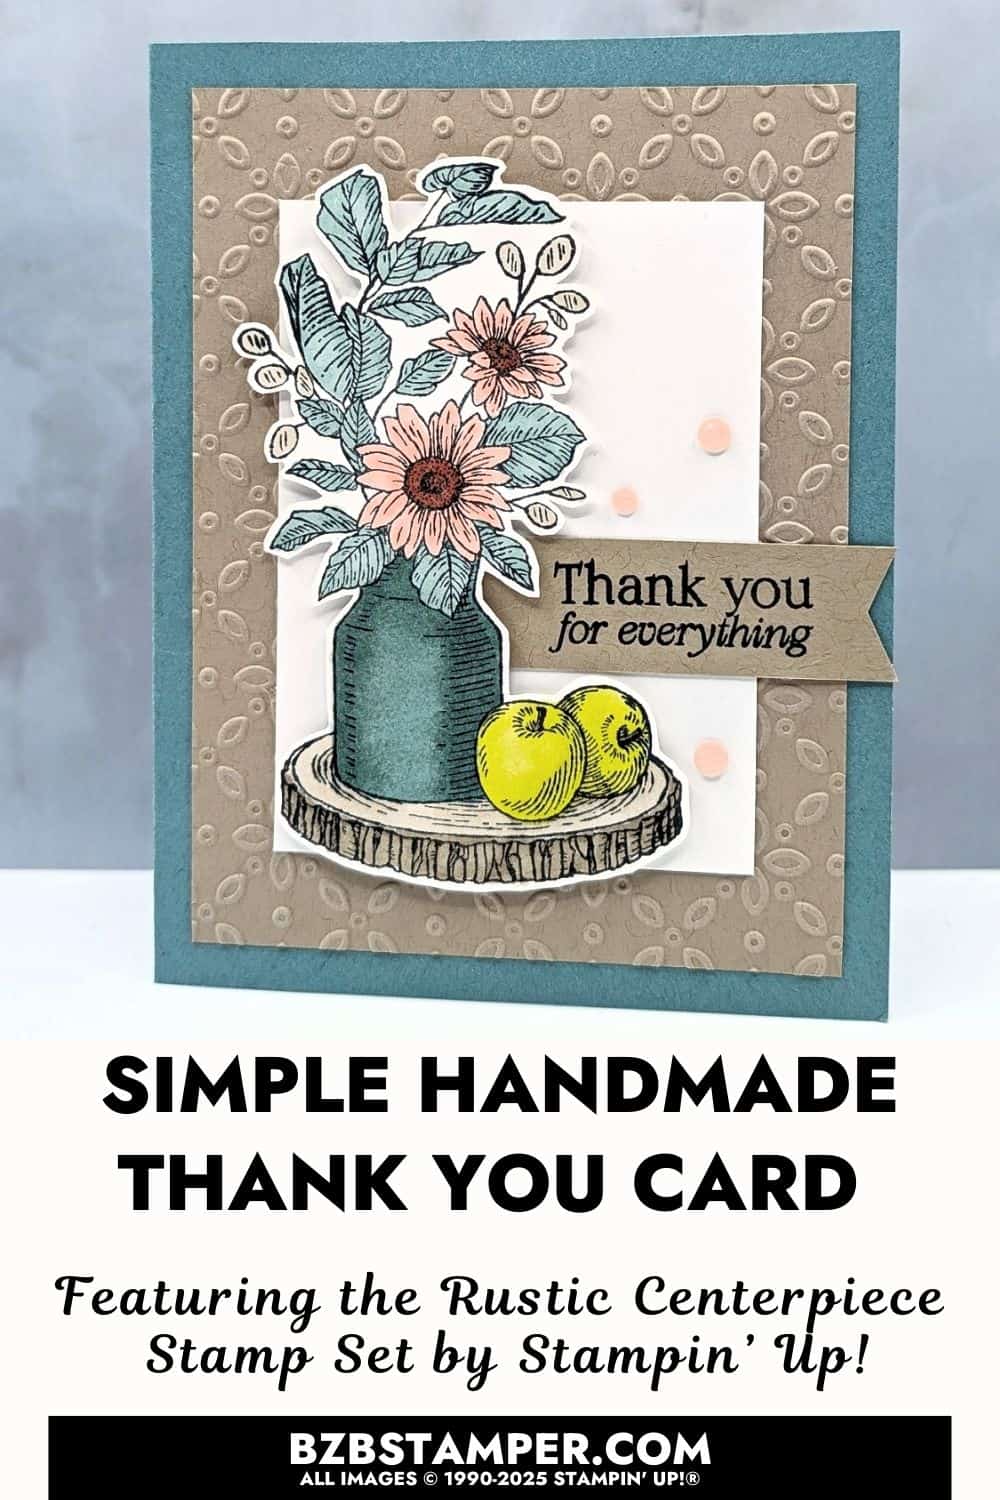
When you want to send a thank-you card that feels warm, meaningful, and handcrafted with love, this Rustic Centerpiece Thank You card fits the bill beautifully. Using the Rustic Centerpiece Stamp Set by Stampin’ Up!®, this card is packed with cozy details and autumnal charm, and it’s a joy to create for those “just because” or “you’ve gone above and beyond” moments. With hand-cut images, soft Stampin’ Blends coloring, and textured background layers, this design proves you don’t need fancy techniques to make something heartfelt and impressive.
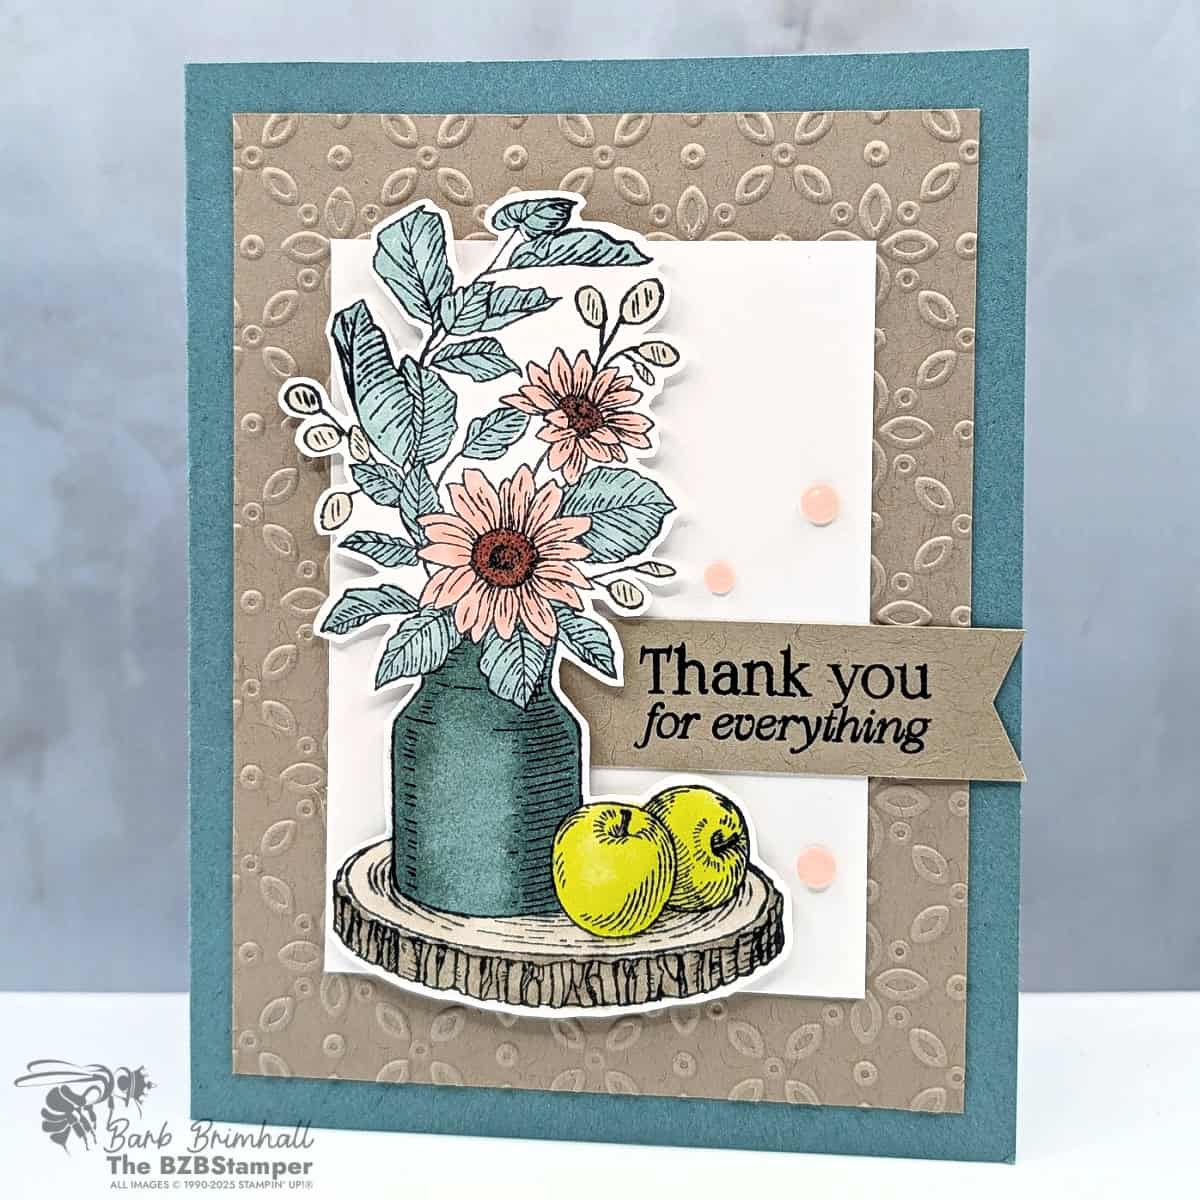
This is a Worker Bee level card—meaning it’s a little more involved than my usual quick cards, but oh-so-worth it for the results. Every element was hand-cut (yes, even the little apples!) and layered for dimension. It’s the kind of card that makes your recipient pause and say, “Wow, you made this?” And isn’t that exactly the kind of response we all secretly hope for?
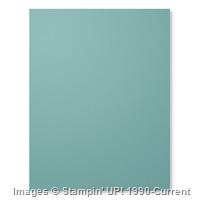
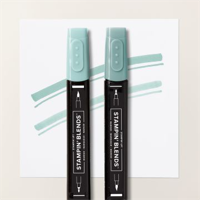
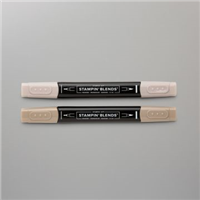
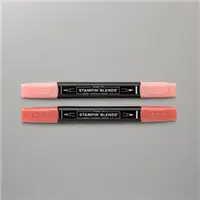
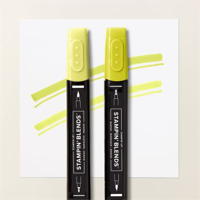
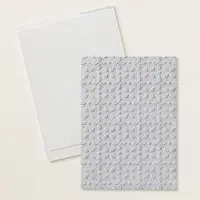
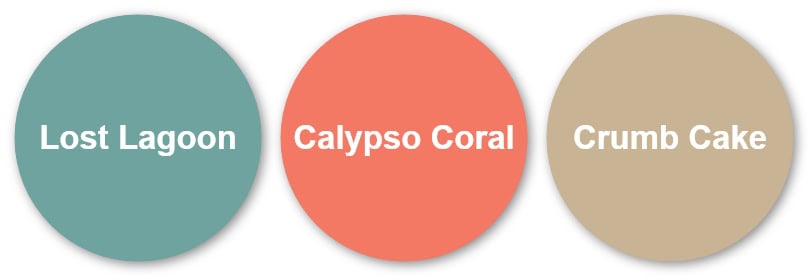
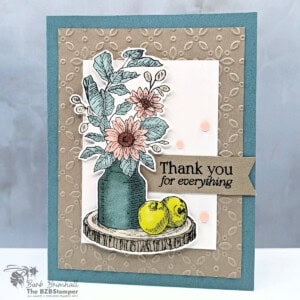
I started by embossing a layer of Crumb Cake cardstock using the Eyelet Embossing Folder. This subtle pattern adds the perfect amount of texture without competing with the main image. I layered it on a base of Lost Lagoon, one of my favorite rich-but-muted tones for fall cardmaking. From there, I stamped the centerpiece image and colored it using Stampin’ Blends in Lost Lagoon, Calypso Coral, Crumb Cake, and Lemon Lime Twist.


Grab your Free copy
Get 5 Bee-utiful Exclusive
Card Sketches in Your Inbox
Join our newsletter and receive a honey of a package of five quick & simple cards guaranteed to make your creativity buzz! Sign up now and let the goodness flow straight to your inbox!
And let’s talk about color!
The vase was shaded in Lost Lagoon to give it that pottery-glazed look, and the flowers were brought to life with Calypso Coral and just a touch of dark centers for contrast. The leaves? A mix of Lost Lagoon and Crumb Cake. I wanted to keep the tones warm but still earthy. And those little apples? Lemon Lime Twist to the rescue! They’re bright, fresh, and just unexpected enough to make this card pop.
Once the coloring was done, I took my Paper Snips and cut out each element—yes, it takes a bit of time, but I always find it meditative. You could easily recreate this design using dies if they’re available, but hand-cutting gives you control and a nice organic look.
For the sentiment, I chose “Thank you for everything” and heat embossed it in black on Crumb Cake cardstock before cutting it into a banner. It balances the card and really lets the focal point shine.
To finish it off, I added a few Charming Shimmer Dots in soft pink to draw the eye and add just a tiny hint of sparkle. It’s a small touch, but it makes a big difference in giving your handmade card that polished, finished feel.
Whether you’re crafting for a dear friend, a thoughtful neighbor, or someone who’s gone out of their way to help, this card sends your thanks in a way that feels personal and heartfelt.
Want to try this one yourself? Check out the full tutorial below, which includes step-by-step instructions, measurements, and the complete supply list to help you recreate this card with ease.
Don’t forget to pin this for later!
I appreciate you dropping by! My mission is to inspire you with card tutorials that are as fun to make as they are to give. If you’re curious about the specifics of crafting today’s design, just send me an email. Want more papercrafting ideas? Join my Facebook Community today.
Thank You Card featuring the Rustic Centerpiece Stamp Set
Cardstock Measurements
- Lost Lagoon Cardstock: 5-1/2" x 8-1/2" scored at 4-1/4"
- Basic White Cardstock: 4" x 5-1/4"
- Crumb Cake Cardstock: 3-3/4" x 5"
- Basic White Cardstock: 2-3/4" x 3-3/4"
- Crumb Cake Cardstock: 3/4" x 2-1/2" (sentiment strip)
- Basic White Cardstock: 2-3/4" x 4-1/2" (focal image)
Step-By-Step Instructions
- Fold the Lost Lagoon cardstock in half at the 4-1/4" score line to create your card base.
- Adhere the 4" x 5-1/4" piece of Basic White cardstock inside the card.
- Run the Crumb Cake cardstock through the Stampin' Cut & Emboss Machine using the Eyelet 3D Embossing Folder; adhere to the front of the card.
- Adhere the 2-3/4" x 3-3/4" piece of Basic White cardstock to the center of the Crumb Cake cardstock.
- Stamp the sentiment onto the 3/4" strip of Crumb Cake cardstock using Tuxedo Black Memento ink. Using scissors to "flag notch" the right side. Adhere the sentiment strip to the card as shown in the sample.
- Using the 2-3/4" x 4-1/2" piece of Basic White cardstock, stamp the sunflower focal image onto the cardstock using Tuxedo Black Memento ink. Color in using the Lost Lagoon Blends for the vase & leaves, the Crumb Cake Blends for the wood, the Calypso Coral Blends for the flowers, and the Dark Lemon Lime Blend for the apples.
- Fussy cut out the focal image using scissors and adhere to the card, slightly overlapping the sentiment strip, using Stampin' Dimensionals.
- Add 3 of the Petal Pink Charming Shimmer Dots as desired to finish.
Skill Level
Worker Bee projects are designed for the crafter who has a bit more time and enjoys creating a handmade card that features a technique or tool. In many cases, a Stampin’ Cut & Emboss Machine is required for die-cutting and/or embossing.


