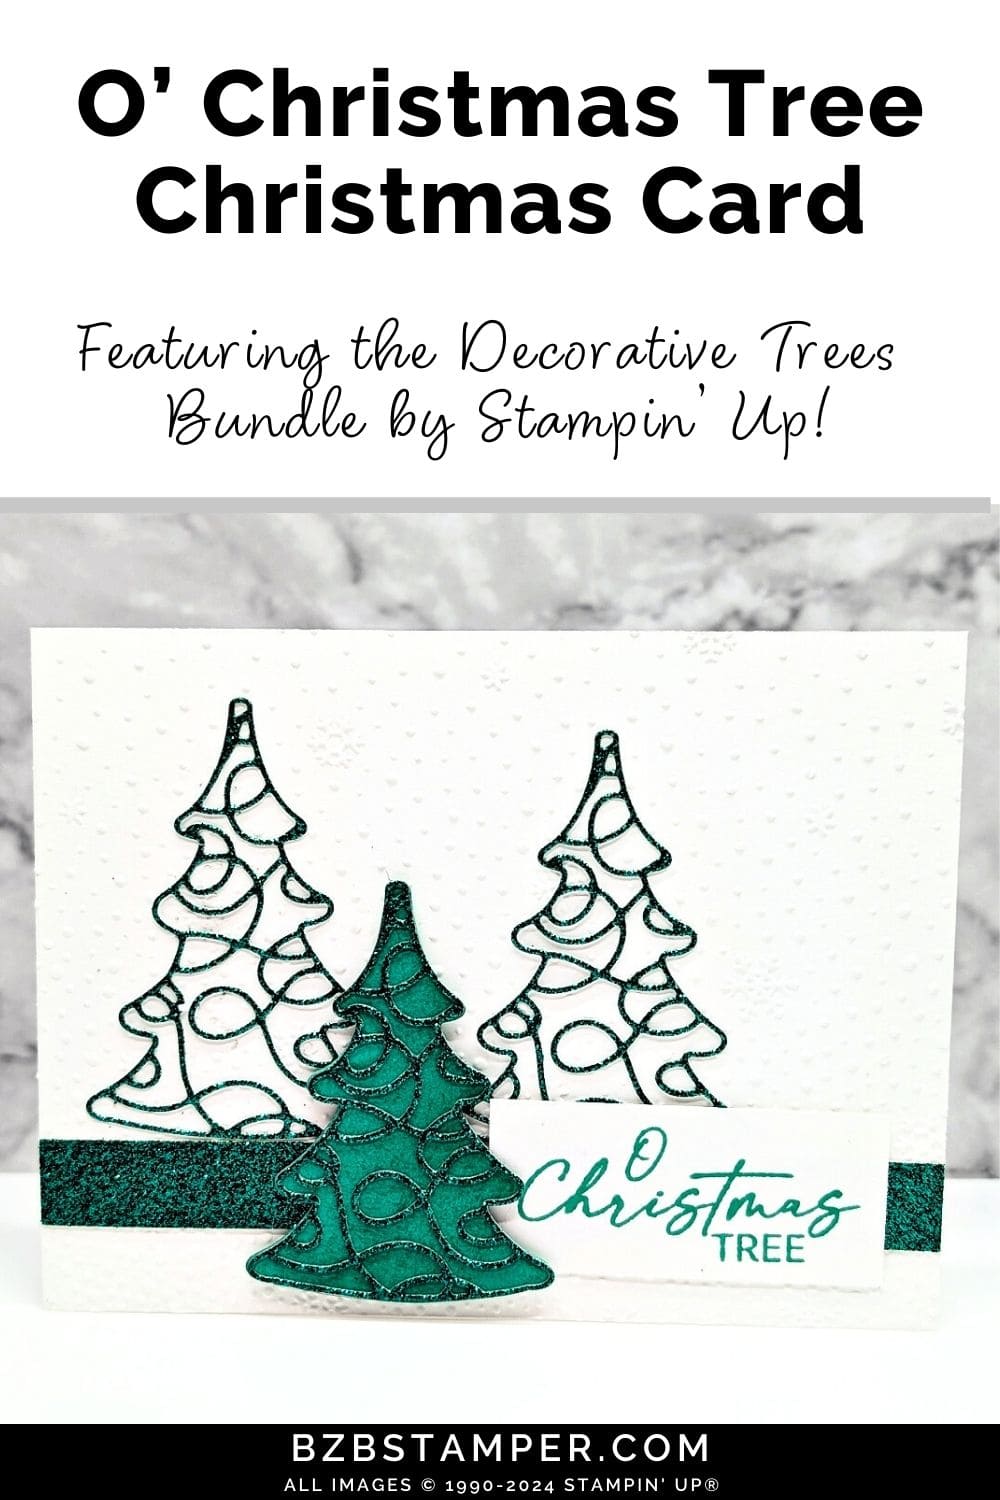
If you’re looking for a festive holiday card idea, this O Christmas Tree card with Decorative Trees Bundle by Stampin’ Up! is a beautiful and shimmering project to try! Using the Decorative Trees Dies with glimmer paper and a snowflake-embossed background, this card captures the sparkle of a snowy Christmas.
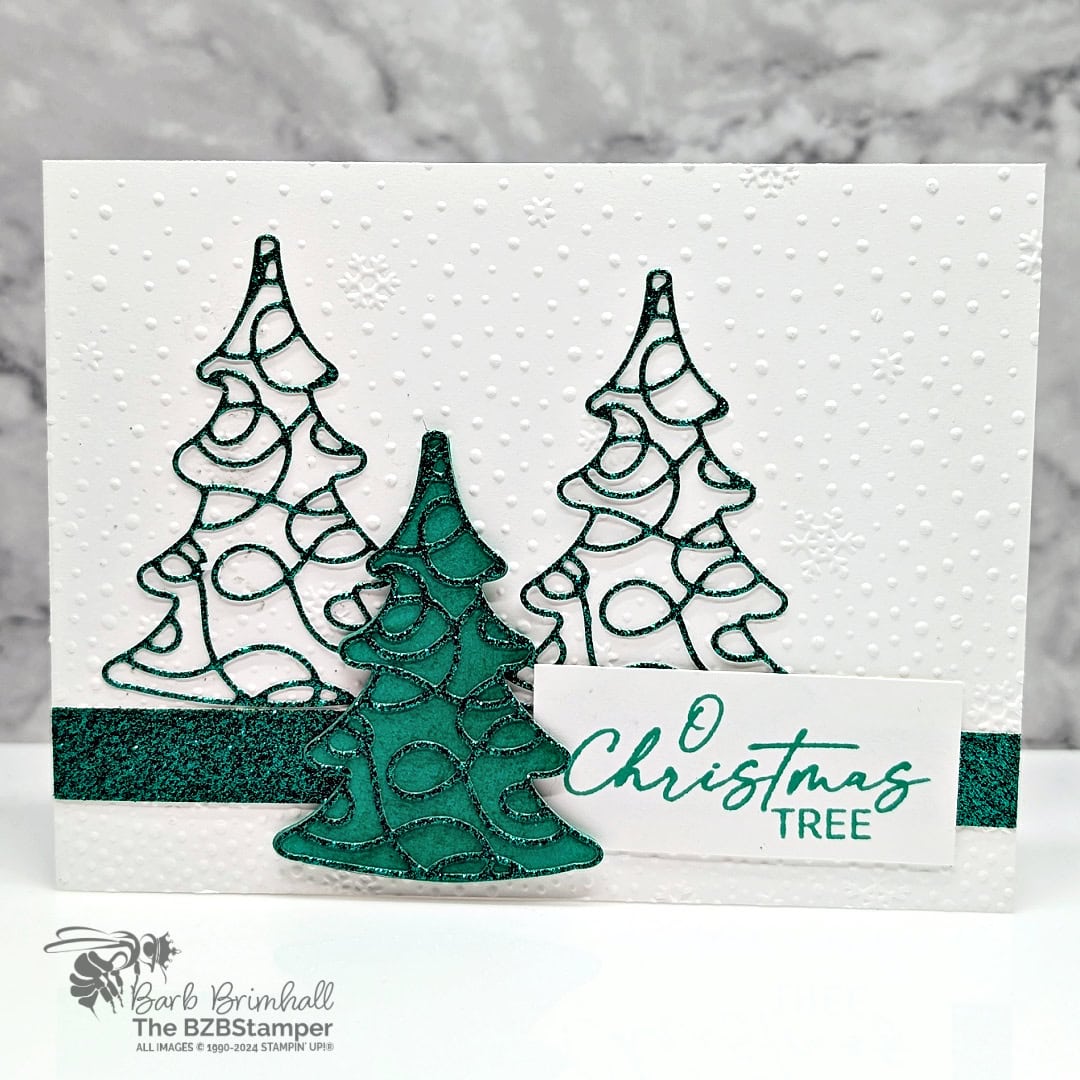
This card is actually quite easy to make, as long as you have a Stampin’ Cut & Emboss Machine! The sparkle of the glimmer paper adds a touch of elegance and festive shine, making your die-cut trees the star of the card. Arrange the trees on your embossed background, creating a simple yet eye-catching focal point.
Finish your O Christmas Tree card by adding the sentiment “O Christmas Tree” or “Merry Christmas” in a complementary color, placing it below or beside the trees for balance. This design is easy to create and delivers a dazzling, handmade holiday card that’s perfect for sending warm wishes. Give this shimmering Christmas card a try and bring holiday magic to your cardmaking!
How To Make This Card
Project Skill Level: Worker Bee
Worker Bee projects are designed for the crafter who has a bit more time and enjoys creating a handmade card that features a technique or tool. In many cases, a Stampin’ Cut & Emboss Machine is required for die-cutting and/or embossing.
Cardstock Measurements:
- Basic White Cardstock: 4-1/4″ x 11″, scored at 5-1/2″
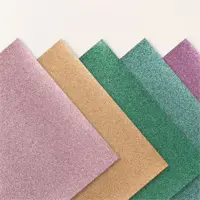
- Shy Shamrock In Color Glimmer Paper: 1/2″ x 5-1/2″
- Shy Shamrock In Color Glimmer Paper: 3″ x 8″ (for die-cutting)
- Shy Shamrock Cardstock: 2-1/2″ x 3″ (for die-cutting)
- Basic White Cardstock: 1″ x 2-1/4″


Grab your Free copy
Get 5 Bee-utiful Exclusive
Card Sketches in Your Inbox
Join our newsletter and receive a honey of a package of five quick & simple cards guaranteed to make your creativity buzz! Sign up now and let the goodness flow straight to your inbox!
Step-by-Step Instructions:
- Fold Basic White cardstock at the scoreline.
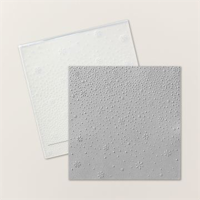
- Reopen the card and run the front of the card through the Cut & Emboss Machine using the Snowflake Sky 3D Embossing Folder. Reclose the card and burnish the fold well.
- Run the 2-1/2″ x 3″ piece of Shy Shamrock Cardstock through the Cut & Emboss Machine and die-cut the solid tree from the Decorative Trees Bundle dies. Set aside.
- Run the 3″ x 8″ piece of Shy Shamrock In Color Glimmer Paper through the Cut & Emboss Machine and cut out 3 of the swirly tree die from the Bundle.
- Adhere one of the Shy Shamrock Glimmer trees to the Shy Shamrock Cardstock tree and set aside.
- Adhere the other 2 Shy Shamrock Glimmer trees to the front of the card.
- Adhere the 1/2″ x 5-1/2″ strip of Shy Shamrock In Color Glimmer Paper so that it just covers the bottom of the 2 Glimmer Trees.
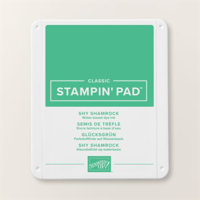
- Using the 1″ strip of Basic White cardstock, stamp the sentiment onto the cardstock using Shy Shamrock ink. Adhere to the right side of the card using adhesive, centered onto the 1/2″ Glimmer Strip.
- To finish, use Stampin’ Dimensionals to adhere the Shy Shamrock cardstock tree just to the left of the sentiment.
A Tip from Barb
Here’s an easy way to adhere the delicate die-cut trees to your card. Using your Silicone Craft sheet, place a small amount of the Multipurpose Liquid Glue. Using a sponge dauber, lightly dab the dauber into the glue and lightly tap off on the Silicone Mat. Turn the die-cut upside down and place on the Silicone Mat; dab glue all of the back of the die-cut and then adhere the die-cut to the card. When done, let the glue dry and then peel off when dry. Easy Peasy! 😊
Thanks for stopping by for today’s card tutorial! My goal is to help you make quick & easy greeting cards for all occasions. If you’d like more detailed directions on how to make this card, feel free to email me. I hope you’ll join me again for more card-making ideas!

Don’t forget to pin this for later!
