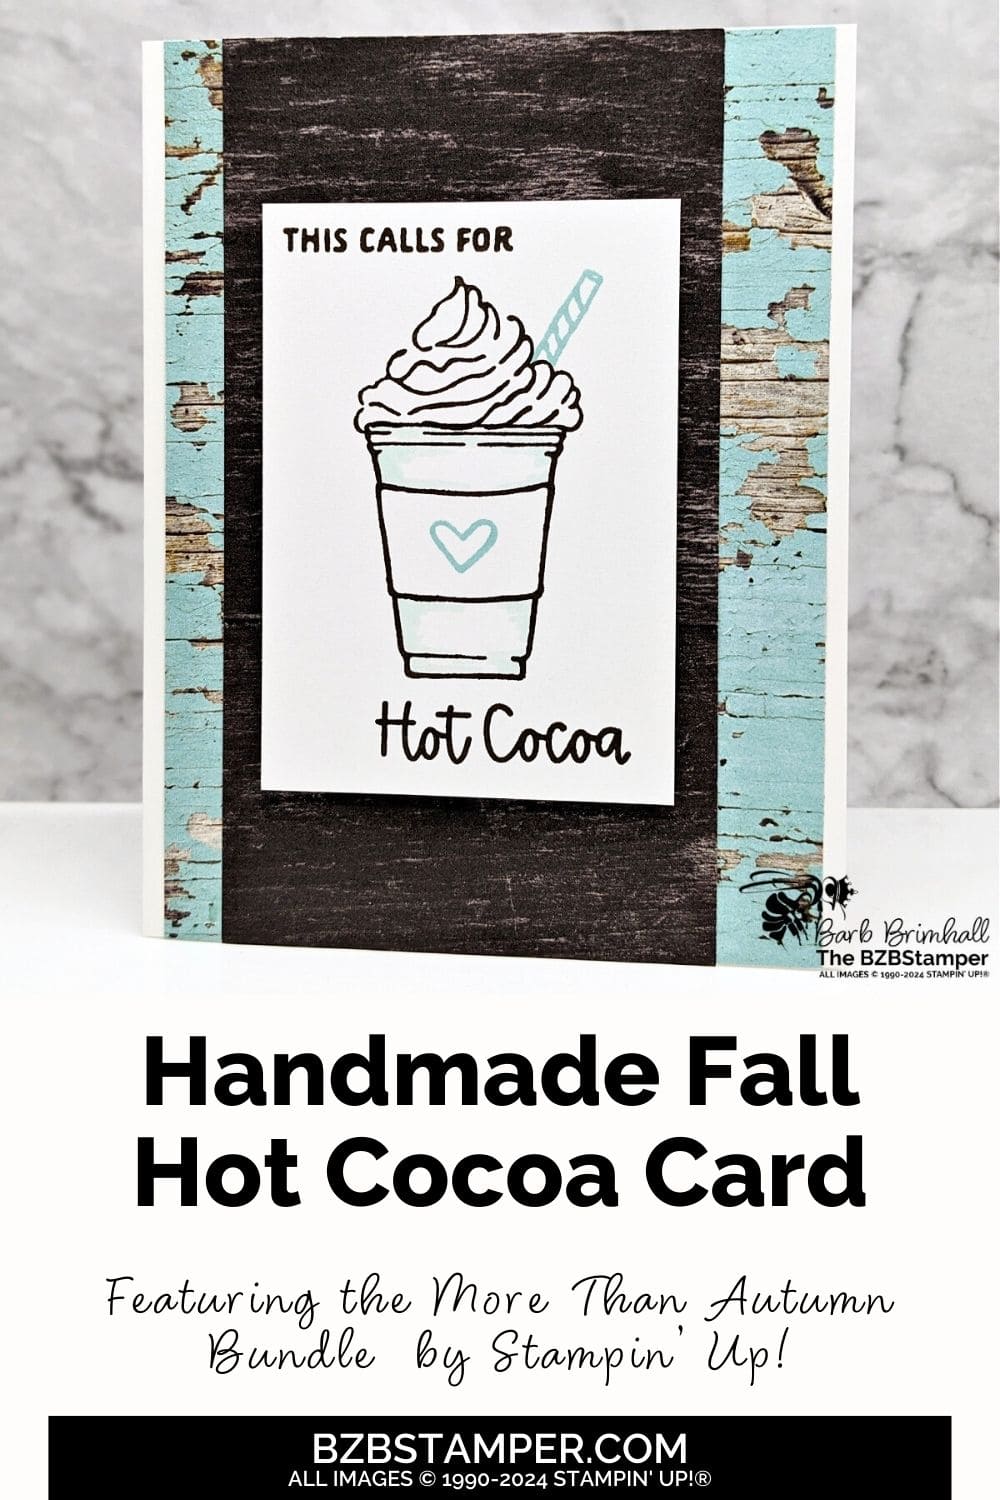
How delightful is this More Than Autumn Hot Cocoa Card? Nothing says cozy like a steaming mug of hot cocoa, and the More Than Autumn Stamp Set by Stampin’ Up! captures that warm feeling perfectly! This versatile stamp set is perfect for creating greeting cards that bring all the best parts of a cozy fall evening to life.
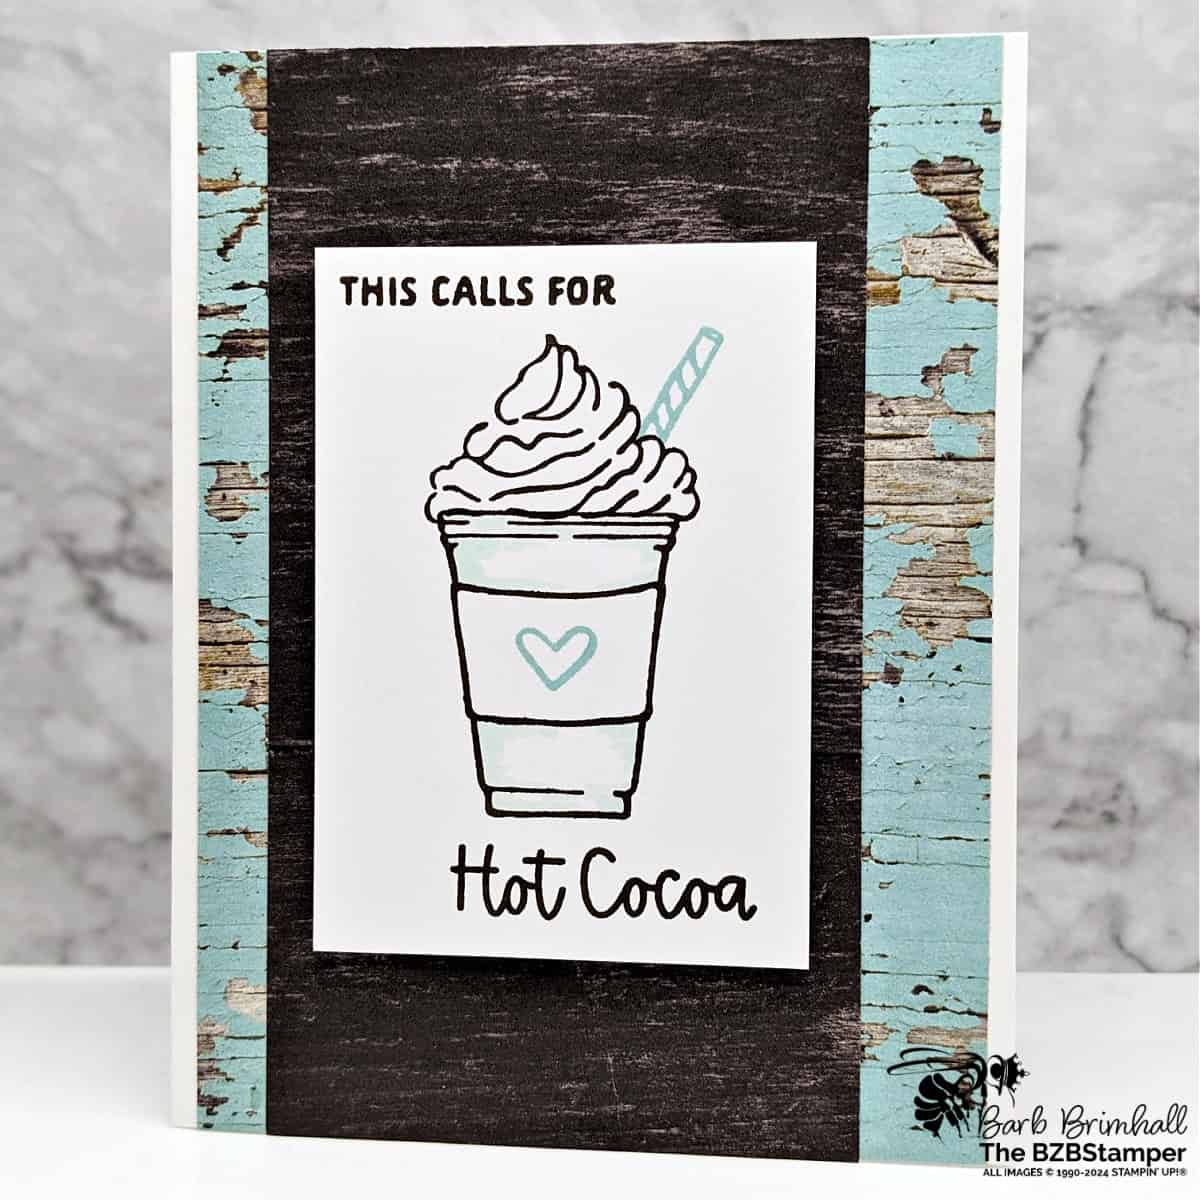
In this post, we’ll show you how easy it is to create hot cocoa-themed cards that are perfect for sending warm wishes this season. From marshmallow-topped mugs to sweet sentiments, your cards will be the coziest thing on your craft table!
The More Than Autumn Stamp Set isn’t just about autumn leaves and pumpkins—it’s about embracing every little moment that makes the season special. So grab your crafting supplies, and let’s make some toasty, hot cocoa-themed magic!
How To Make This Card
Project Skill Level: Busy Bee
Busy Bee projects are designed for the beginner or busy papercrafter. This is a basic cardmaking project that can be achieved by someone who has never made a handmade card before. You can view more Busy Bee cards here.
Cardstock Measurements:
- Basic White Cardstock: 5-1/2″ x 8-1/2″, scored at 4-1/4″
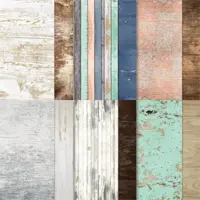
- Country Woods Paper, Pattern #1: 4″ x 5-1/2″
- Country Woods Paper, Pattern #2: 3″ x 5-1/2″
- Basic White Cardstock: 2-1/2″ x 3-1/2″


Grab your Free copy
Get 5 Bee-utiful Exclusive
Card Sketches in Your Inbox
Join our newsletter and receive a honey of a package of five quick & simple cards guaranteed to make your creativity buzz! Sign up now and let the goodness flow straight to your inbox!
Step-by-Step Instructions:
- Fold the Basic White cardstock in half at the score line to create your card base.
- Adhere the Country Woods Paper, Pattern #1, to the center of the card base.
- Adhere the Country Woods Paper, Pattern #2, to the center of the Pattern #1 paper.
- Using the 2-1/2″ x 3-1/2″ piece of Basic White cardstock, stamp the cup using Early Espresso ink in the center of the cardstock. Stamp the whipped cream on top of the cup using the same ink.
- Stamp the “this calls for” above the cup on the left side using Early Espresso ink. Stamp the “hot cocoa” below the cup as desired.
- Using the Pool Party ink pad, stamp the heart in the center of the cup wrapper. Stamp the straw on the right side onto the whipped cream. Note: if you, you can stamp the whipped cream onto a post-it-note and cut out the image. Layer it down on the stamped whipped cream on the card to “mask” it and then stamp the straw
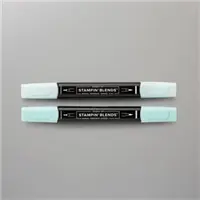
- Use the Light Pool Party Blend to lightly scribble around all insides of the cup.
- Finish by adhere the White cardstock to the middle of the card.
A Tip from Barb
This is the perfect card sketch for whenever you have some pretty paper you’d like to use! I love when my pretty paper can do the heavy lifting on my cards!😊 YOu can also do this card in any color – it’s a super easy card to make your own!
Thanks for stopping by for today’s card tutorial! My goal is to help you make quick & easy greeting cards for all occasions. If you’d like more detailed directions on how to make this card, feel free to email me. I hope you’ll join me again for more card-making ideas!

Don’t forget to pin this for later!
