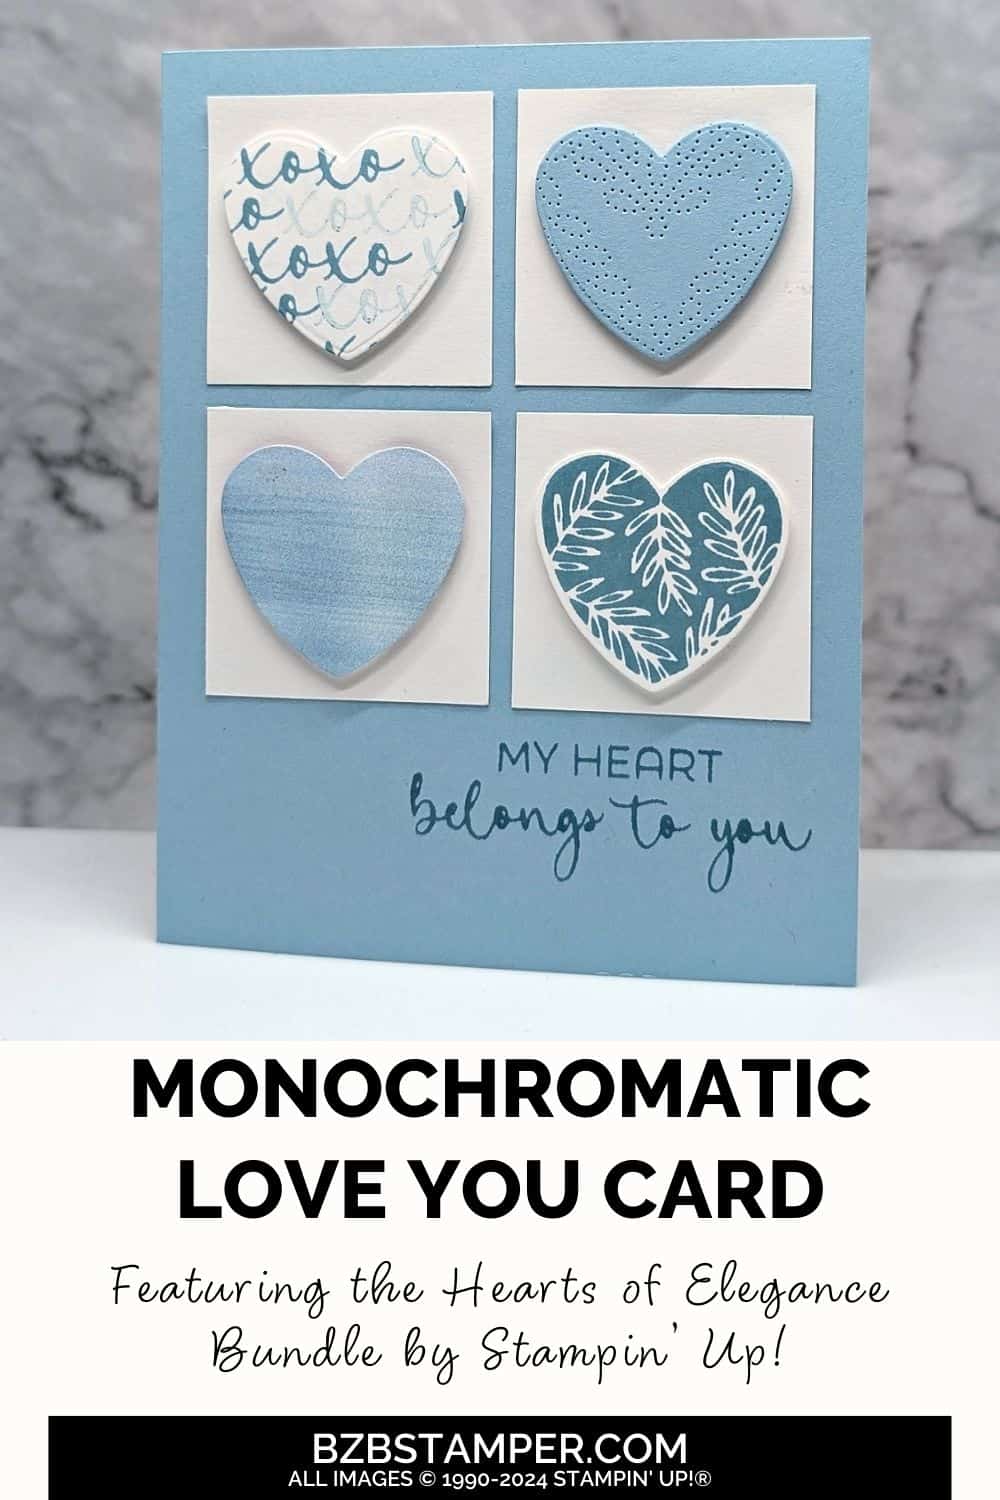
Create heartfelt cards with the Hearts of Elegance Bundle by Stampin’ Up! to create meaningful, beautiful designs that speak directly to the heart. This post focuses on crafting a stunning monochromatic card using the My Heart Belongs to You sentiment, paired with elegant floral and heart elements.
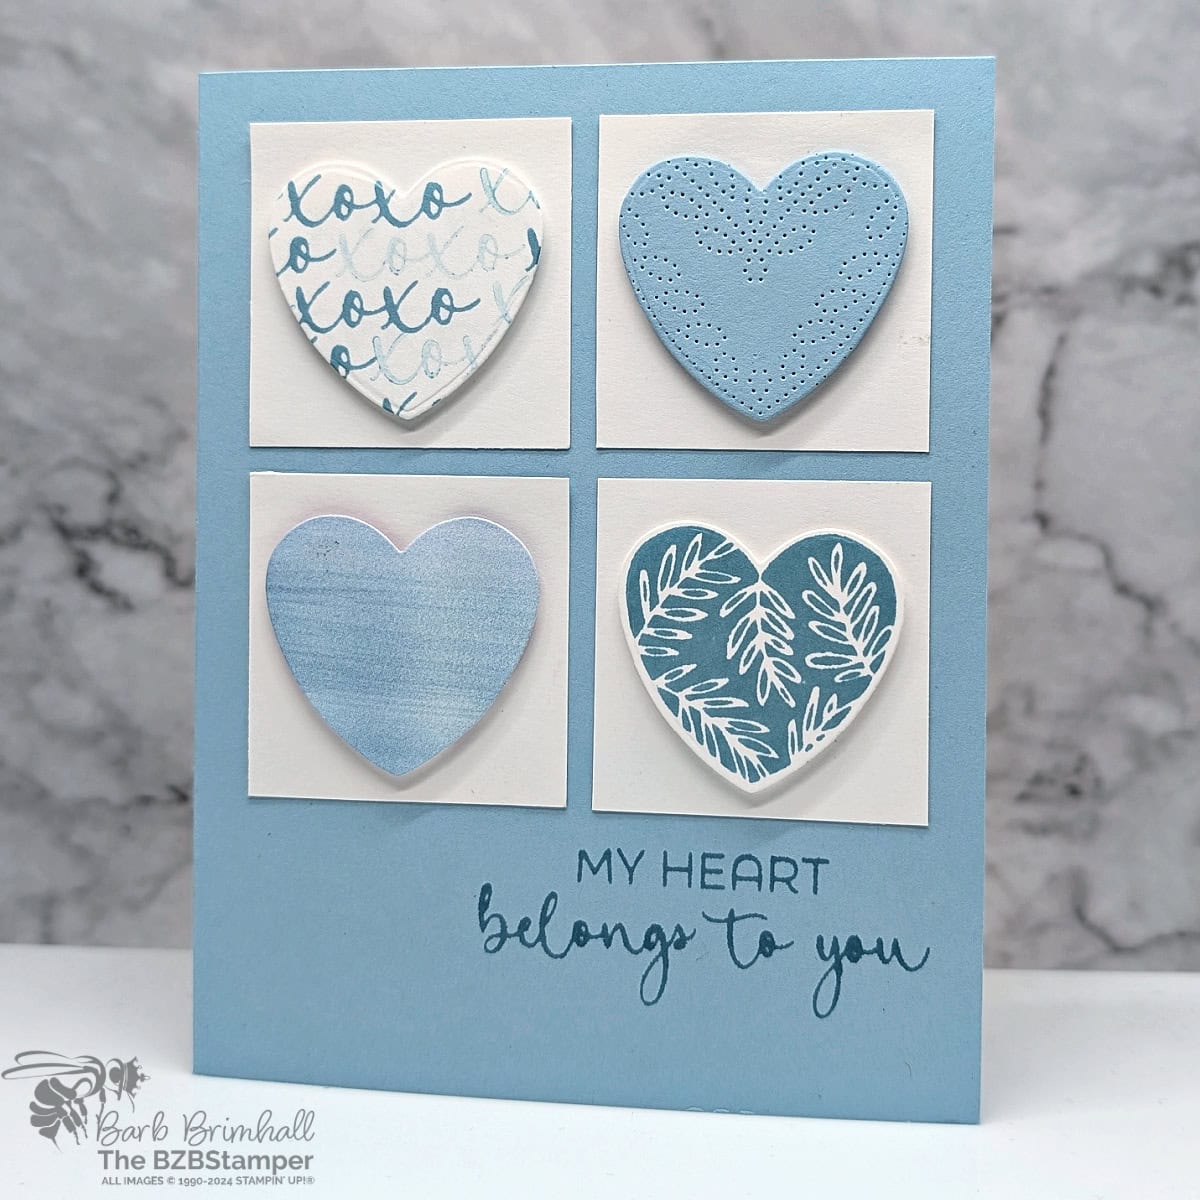
The Hearts of Elegance Bundle offers everything you need to design cards that exude elegance, warmth, and a touch of sophistication. A monochromatic color palette brings a timeless, cohesive look to your card designs. By focusing on shades of a single color, you can create an eye-catching project that feels both modern and elegant.
The My Heart Belongs to You sentiment shines in this setup, serving as a centerpiece that draws attention and enhances the overall aesthetic. Whether you’re creating a card for an anniversary, a wedding, or simply to express your love, this monochromatic design makes an unforgettable impact.
The beauty of Monochromatic Card Designs is that they’re a fantastic way to achieve a sophisticated and cohesive look while keeping your design simple and elegant. By focusing on a single color, you can play with different shades, tints, and textures to add depth and interest to your project.
For this particular project, using the My Heart Belongs to You sentiment allows you to create a card that feels truly personal. Pair it with heart-shaped die cuts and floral elements in varying shades of your chosen color, and you’ll have a design that feels elegant and timeless.
How To Make This Card
Project Skill Level: Worker Bee
Worker Bee projects are designed for the crafter who has a bit more time and enjoys creating a handmade card that features a technique or tool. In many cases, a Stampin’ Cut & Emboss Machine is required for die-cutting and/or embossing.
Cardstock Measurements:
- Balmy Blue Cardstock: 5-1/2″ x 8-1/2″, scored at 4-1/4″
- Basic White Cardstock: 4″ x 5-1/4″
- Basic White Cardstock: 1-3/4″ x 1-3/4″ (4 pieces)
- Basic white Cardstock: 2″ x 4″ (for die-cutting)
- Balmy Blue Cardstock: 2″ x 2″ (for die-cutting)
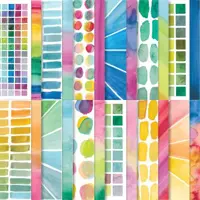
- Full of Life Paper (blue ombre design): 2″ x 2″ (for die-cutting)


Grab your Free copy
Get 5 Bee-utiful Exclusive
Card Sketches in Your Inbox
Join our newsletter and receive a honey of a package of five quick & simple cards guaranteed to make your creativity buzz! Sign up now and let the goodness flow straight to your inbox!
Step-by-Step Instructions:
- Fold the Balmy Blue cardstock in half at the score line to create your card base.
- Adhere the 4″ x 5-1/4″ piece of Basic White cardstock inside the card.
- Adhere the four 1-3/4″ square pieces of Basic White cardstock onto the front of the card, creating a grid pattern. (See the sample for placement.)
- Stamp the sentiment below the bottom right square using Balmy Blue ink.
- Run the 2″ square of Full of Life Paper through the Cut & Emboss Machine using small bold heart die from the Hearts of Elegance Bundle Dies. Adhere to the bottom left grid using Stampin’ Dimensionals.
- Run the 2″ square of Balmy Blue cardstock through the Cut & Emboss Machine using the “leaf pattern” heart die from the Hearts of Elegance Bundle Dies. Adhere to the upper right grid using Stampin’ Dimensionals.
- Using the 2″ x 4″ piece of Basic White cardstock, stamp the bold floral heart stamp onto one side of the cardstock using Balmy Blue ink. Die cut the heart using the same die as in Step #5; adhere to the lower right grid using Stampin’ Dimensionals.
- Using the “xoxo” stamp, stamp the remaining scrap of Basic White cardstock from the previous step, ink the stamp using Balmy Blue ink and stamp onto the cardstock. Stamp again without reinking. Repeat the process until that side of the cardstock is fully stamped.
- Run the stamped Basic White cardstock through the Cut & Emboss Machine using the same die as Step #5 and adhere to the upper left grid, using Stampin’ Dimensionals, to finish.
A Tip from Barb
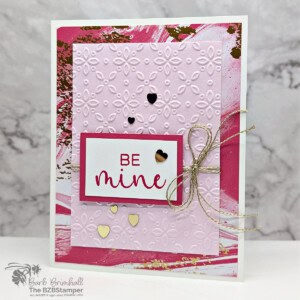
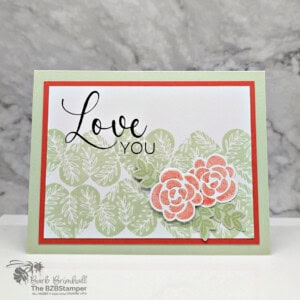
This is the perfect card sketch for whenever you have some pretty paper you’d like to use! Choose your favorite color from the paper you want to use and pull your coordinating cardstock, ink, and any embellishments you’d like. An easy peasy card without any stress – I love when my pretty paper can do the heavy lifting on my cards!😊
Thank you for visiting! I’m here to guide you through creating beautiful all-occasion cards that come together effortlessly. Should you need further instructions to craft today’s card, don’t hesitate to reach out via email. Don’t miss out—subscribe to my newsletter for exclusive tutorials and card-making tips today!

Don’t forget to pin this for later!
