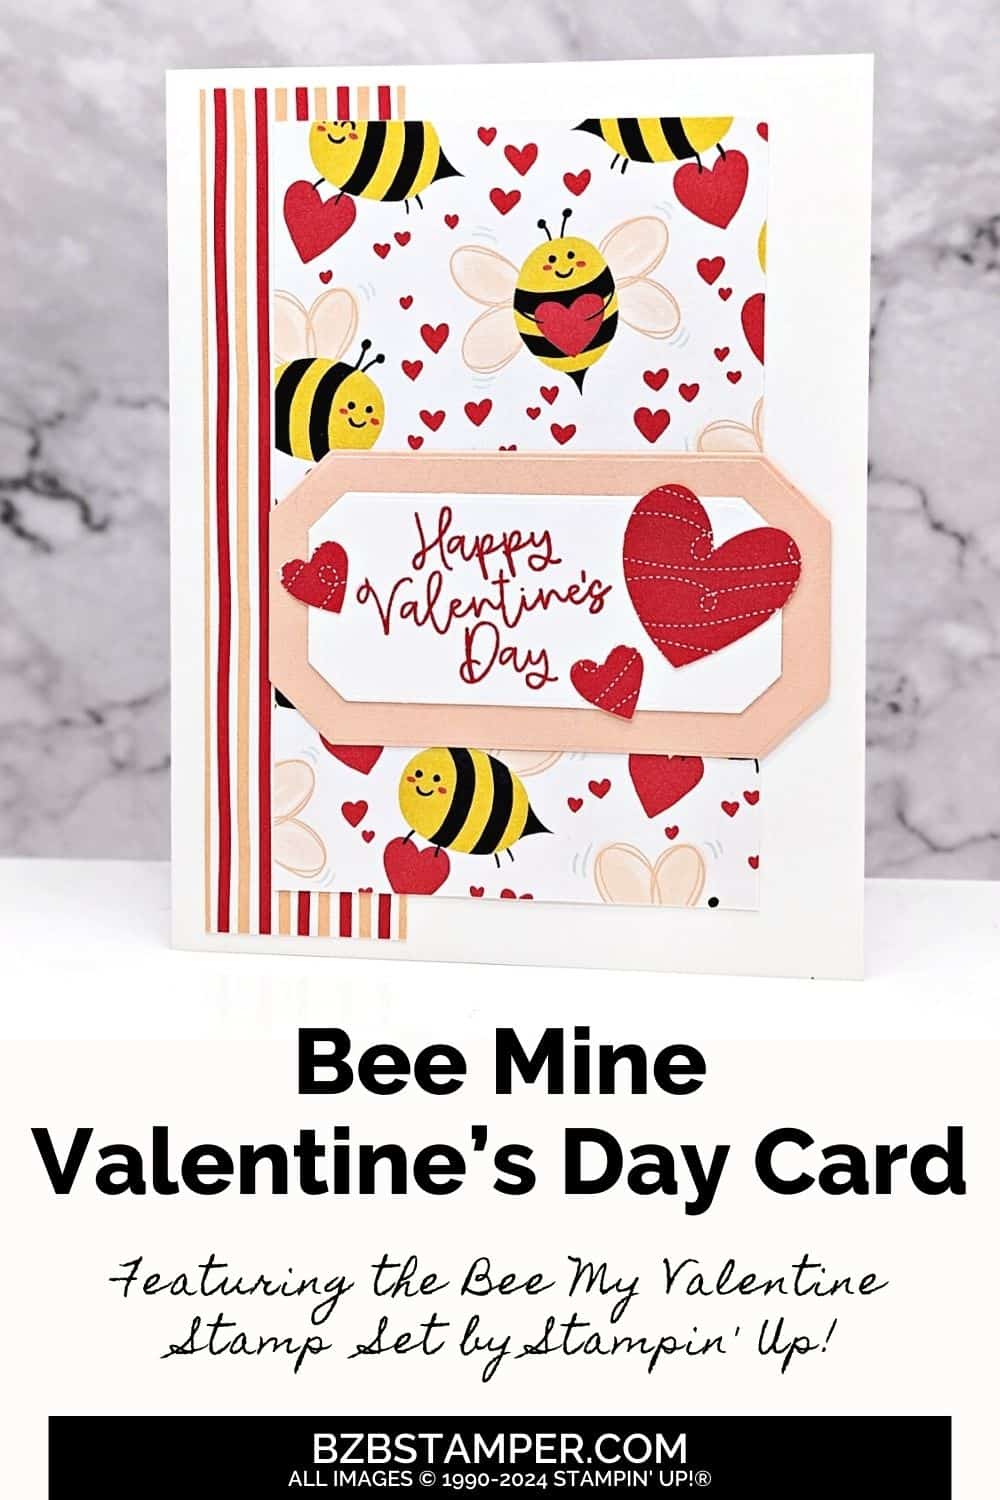
Express your love this Valentine’s Day. featuring this adorable handmade Valentine’s Day Card using the Bee My Valentine Bundle by Stampin’ Up! This Bundle offers a playful and creative approach to making handmade cards.
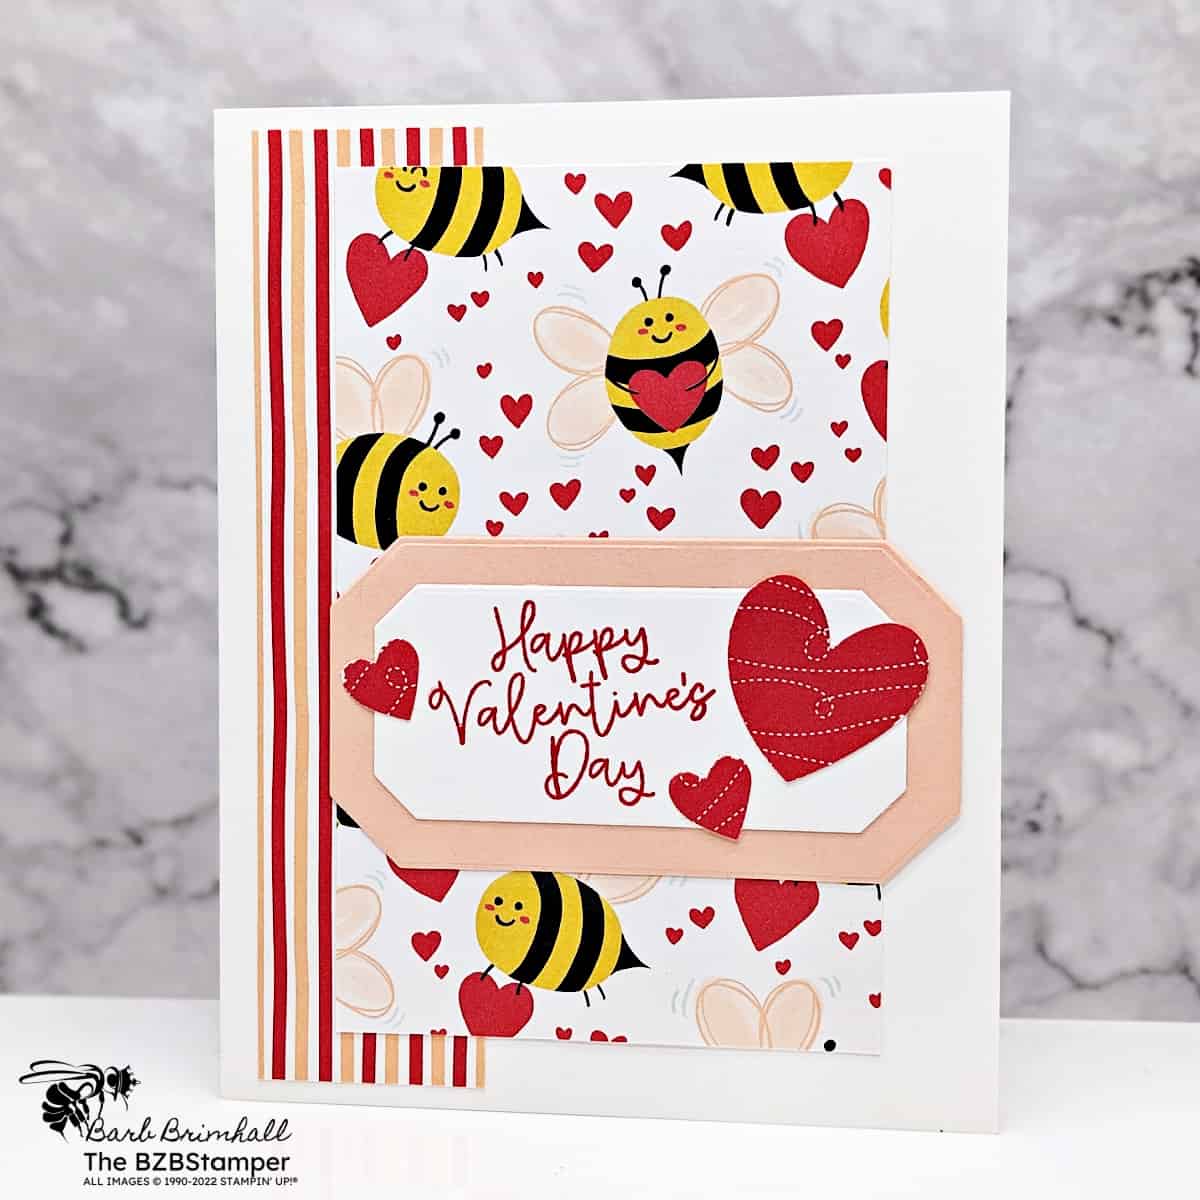
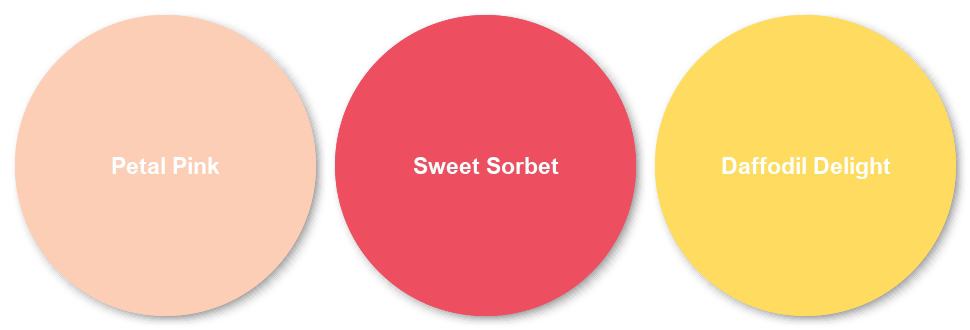
For this card I decided to use the colors that are in the Bee Mine Designer Paper, which makes creating this card super simple. If you’d prefer a different color combination, make sure you check out my Color Combination Library for more inspiration.
In this post, we’ll explore how to use the fun Bee My Valentine Stamp Set and the Bee Builder Punch to craft a special Valentine’s Day card. Whether you’re a seasoned crafter or just starting, you’ll find these tools perfect for adding a personal touch to your Valentine’s gestures. Let’s get started on creating a card that’s sure to make your loved one’s heart buzz with joy!
How To Make This Card
Project Skill Level: Worker Bee
Worker Bee projects are designed for the crafter who has a bit more time and enjoys creating a handmade card that features a technique or tool. In many cases, a Stampin’ Cut & Emboss Machine is required for die-cutting and/or embossing.
Cardstock Measurements:
- Basic White Cardstock: 5-1/2” x 8-1/2”, scored at 4-1/4”
- Bee Mine Paper, Pattern #1: 1-1/4” x 5-1/4”
- Bee Mine Paper, Pattern #2: 3” x 4-3/4”
- Bee Mine Paper, Pattern #3: 2” x 4” (for punching)
- Petal Pink Cardstock: 2” x 4” (for die-cutting)
- Basic White Cardstock: 1-1/2” x 3-1/4”


Grab your Free copy
Get 5 Bee-utiful Exclusive
Card Sketches in Your Inbox
Join our newsletter and receive a honey of a package of five quick & simple cards guaranteed to make your creativity buzz! Sign up now and let the goodness flow straight to your inbox!
Step-by-Step Instructions:
- Fold the 5-1/2” x 8-1/2” piece of Basic White cardstock in half at the score line to create your card base.
- Adhere the Bee Mine Paper, Pattern #1 on the left side of the card, about 1/4” to the right of the left fold line.
- Adhere the Bee Mine Paper, Pattern #2 to the center of the cardstock.
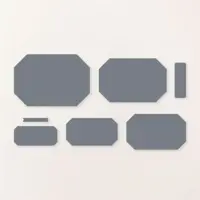
- Using the Petal Pink cardstock, die-cut the Countryside Corners 1-7/8” x 3-1/2” die. Using the smallest piece of Basic White cardstock, die-cut the Countryside Corners 1-1/4” x 2-7/8” die.
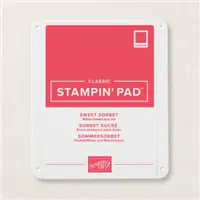
- Stamp the sentiment using Sweet Sorbet ink on the left side of the Basic White die. Adhere to the Petal Pink die.
- Using the Bee Punch punch out 3 hearts using the Bee Mine Paper, Pattern #3. Adhere around the sentiment and then adhere to the front of the card as shown in the sample.
A Tip from Barb
This is actually a very easy card to put together. I upgraded it to a Worker Bee card simply because of the Countryside Corners Dies. If you’d prefer, just cut to the stated cardstock sizes and you’ll be good to go!
Thanks for stopping by for today’s card tutorial! My goal is to help you make quick & easy greeting cards for all occasions. If you’d like more detailed directions on how to make this card, feel free to email me. I hope you’ll join me again for more card-making ideas!

Don’t forget to pin this for later!
