If you love sending thank-you cards but want something that feels a little more “wow” than a plain note, this project is for you. This handmade thank you card using the Layered Thoughts Stamp Set is the perfect mix of bold, beautiful, and surprisingly simple. With a soft floral vibe and a bold sentiment, it’s a card that says thank you and shows you mean it.
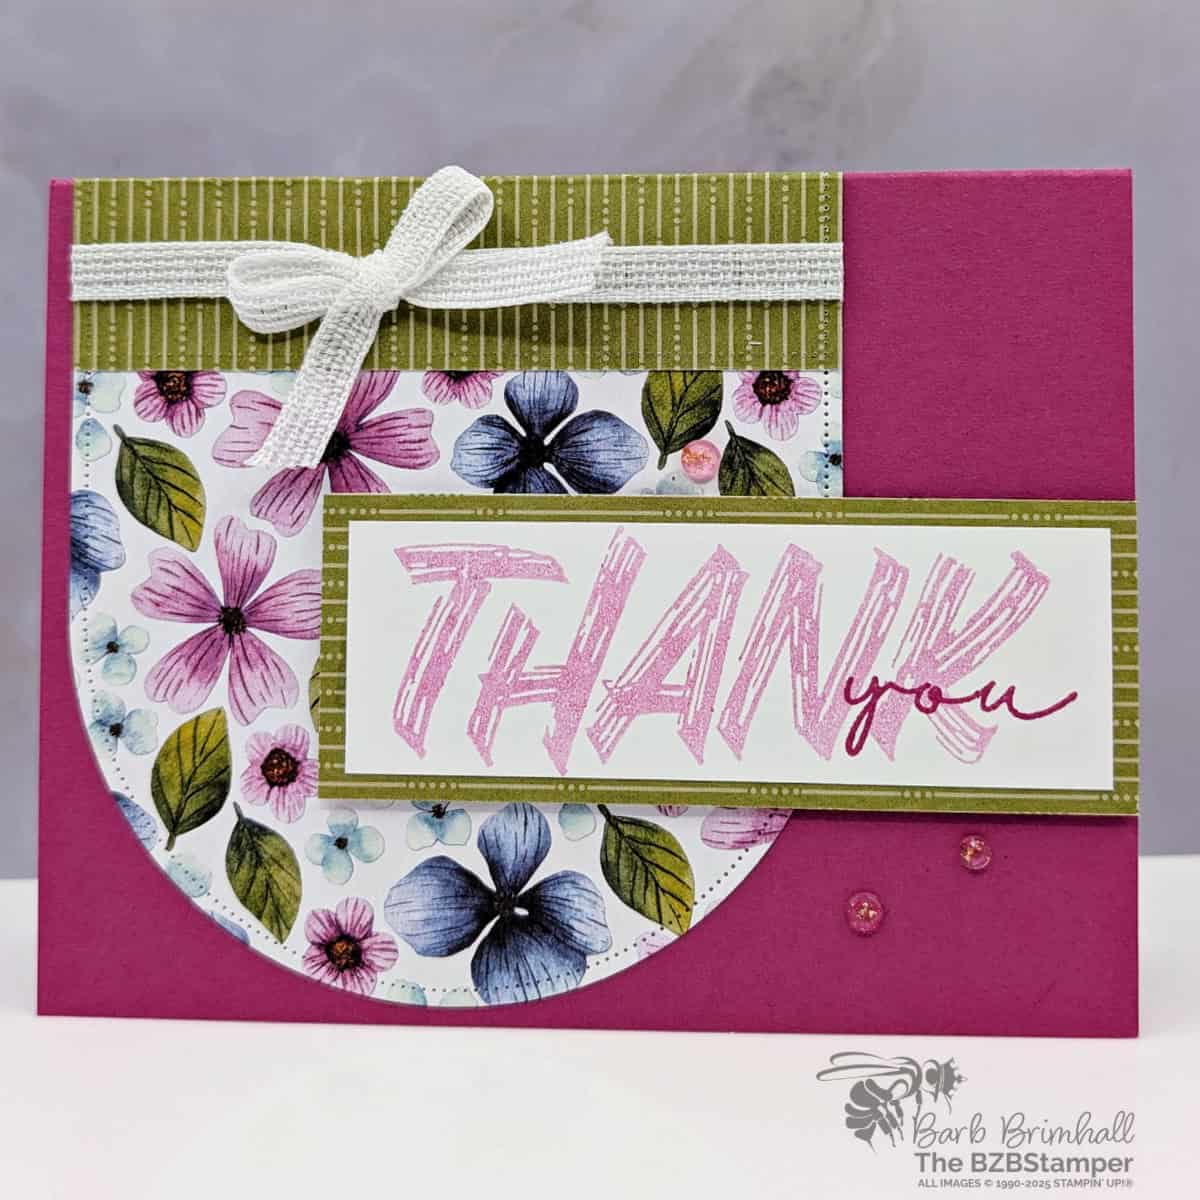
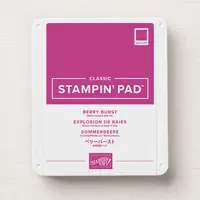
Let’s talk about the real star of this project: the Layered Thoughts Stamp Set. With its oversized, brush-lettered words and mix-and-match phrases, it’s perfect for when you want to make a statement—literally. For this card, I paired “THANK you” in Berry Burst ink for a bright pop that feels energetic and heartfelt.
I also used two stand-out extras to bring this card to life:
- Floral Impressions Designer Series Paper – This paper is just dreamy. The watercolor-style blooms and soft texture make every card feel like a mini art piece.
- Everyday Arches Dies – I used one of the arch dies to give the floral paper that elegant curve, which really frames the sentiment in a fresh and modern way.
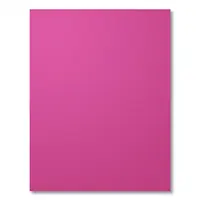
And the color combo? Hello, happy vibes. The base is Berry Burst cardstock, which I pulled straight from the Designer Paper, and I kept the ink and layers coordinated to make everything feel seamless. A few Strawberry Slush & Pretty in Pink Gems add sparkle and softness without taking over the design.
If you’re new to stamping, this project requires a Stampin’ Cut & Emboss Machine —but definitely gives you that “look what I made!” pride. You don’t need fancy techniques or tons of time because the Cut & Emboss Machine makes everything so easy. The layout is simple, and the die-cut arch adds just the right amount of flair.
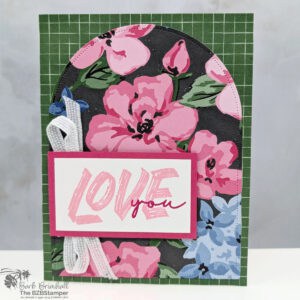
Plus, you can totally make it your own. Swap the paper, try a new color, or change up the sentiment from “THANK you” to “LOVE you” or “HELLO friend”—all from the same Layered Thoughts set. It’s one of those stamp sets that earns its place on your desk because it works for so many occasions.
Stampin’ Up! has a way of making paper, ink, and tools feel like magic together—and this card shows exactly why. When everything coordinates beautifully, you can spend less time overthinking and more time actually enjoying the process.
So next time you need to say thanks—whether it’s for a gift, a kind word, or just being there—reach for your Layered Thoughts set, a bit of floral paper, and this simple layout. You’ll create something that looks as special as your message feels.
How To Make This Card
Project Skill Level: Worker Bee
Worker Bee projects are designed for the crafter who has a bit more time and enjoys creating a handmade card that features a technique or tool. In many cases, a Stampin’ Cut & Emboss Machine is required for die-cutting and/or embossing.
Cardstock Measurements:
- Berry Burst Cardstock: 5-1/2″ x 8-1/2″, scored at 4-1/4″
- Basic White Cardstock: 4″ x 5-1/4″
- Floral Impression Designer Paper: 4-1/4″ x 5-1/4″ and 1-1/2″ x 4″
- Basic White Cardstock: 1-1/4″ x 3-3/4″


Grab your Free copy
Get 5 Bee-utiful Exclusive
Card Sketches in Your Inbox
Join our newsletter and receive a honey of a package of five quick & simple cards guaranteed to make your creativity buzz! Sign up now and let the goodness flow straight to your inbox!
Step-by-Step Instructions:
- Fold the Berry Burst cardstock in half at the score line to create your card base.
- Adhere the 4″ x 5-1/4″ piece of Basic White cardstock inside the card.
- Run the larger piece of Floral Impressions Designer Series Paper through the cut & emboss Machine and die-cut the 4″ wide arch using the Everyday Arches Dies. Score the top of the arch at 1″ and fold down as shown in the sample. Wrap about 12″ of ribbon around the top of the die and tie into a bow. Adhere to the front of the card as shown in the sample.
- Ink up “Thanks” stamp using Berry Burst ink and stamp off twice on your scratch paper; stamp onto the 1-1/4″ x 3-3/4″ piece of Basic White cardstock. Stamp the “you” onto the cardstock using Berry Burst ink.
- Adhere the sentiment to the 1-1/2″ x 4″ piece of Floral Impressions Designer Paper and then adhere to the card using Stampin’ Dimensionals.
- To finish, add 3 of the Strawberry Slush/Pretty in Pink Gems to finish.
A Tip from Barb
This is the perfect card sketch for whenever you have some pretty paper you’d like to use! Just grab your favorite paper and pull your coordinating cardstock, inks and any embellishments you’d like! An easy peasy card without any stress – I love when my pretty paper can do the heavy lifting on my cards!😊
I’m delighted you stopped by for today’s creative escape! Whether it’s a birthday, holiday, or any special moment, I’m here to help you craft the perfect card with ease. If you have questions about today’s tutorial, please email me for detailed steps. Inspire your craft with more ideas—join me over on Pinterest!

Don’t forget to pin this for later!
Supplies Used On This Project:
Price: $12.50


