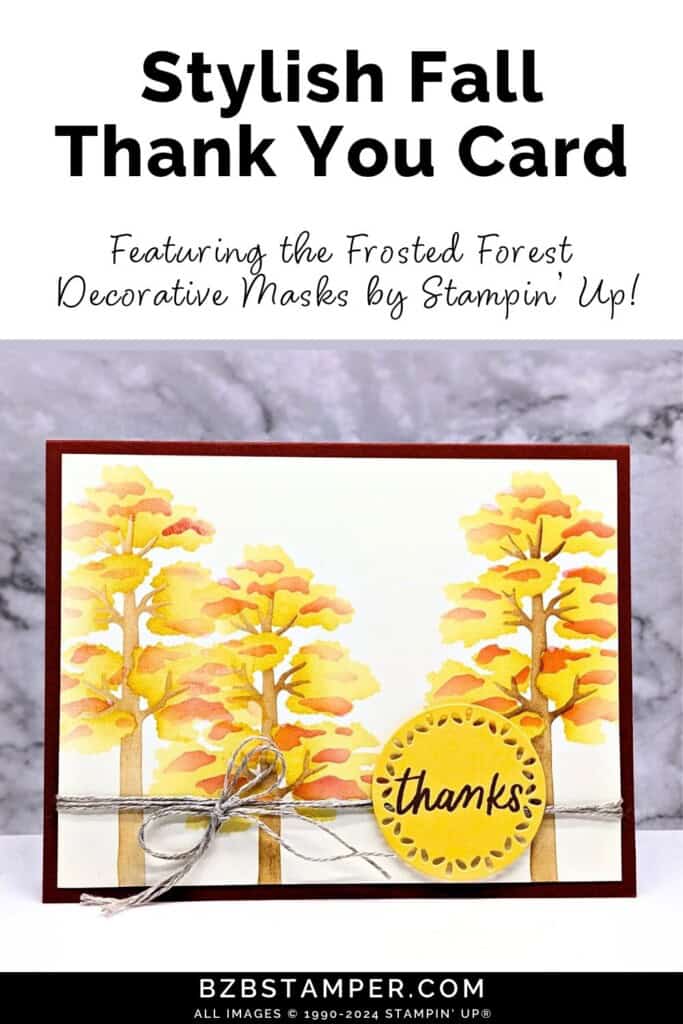
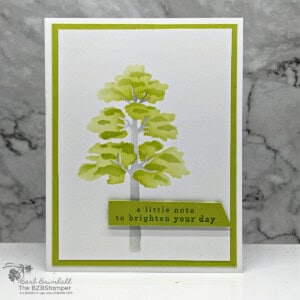
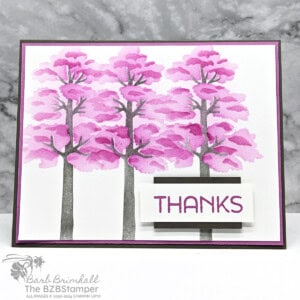
It’s easy to create a stunning Fall Card with the Frosted Forest Decorative Masks by Stampin’ Up! Whether you’re sending a note of thanks or simply celebrating the season, a handmade fall card is the perfect way to capture the essence of autumn. With their intricate tree designs, these masks allow you to layer ink and texture to bring your card to life, making it the perfect seasonal project.
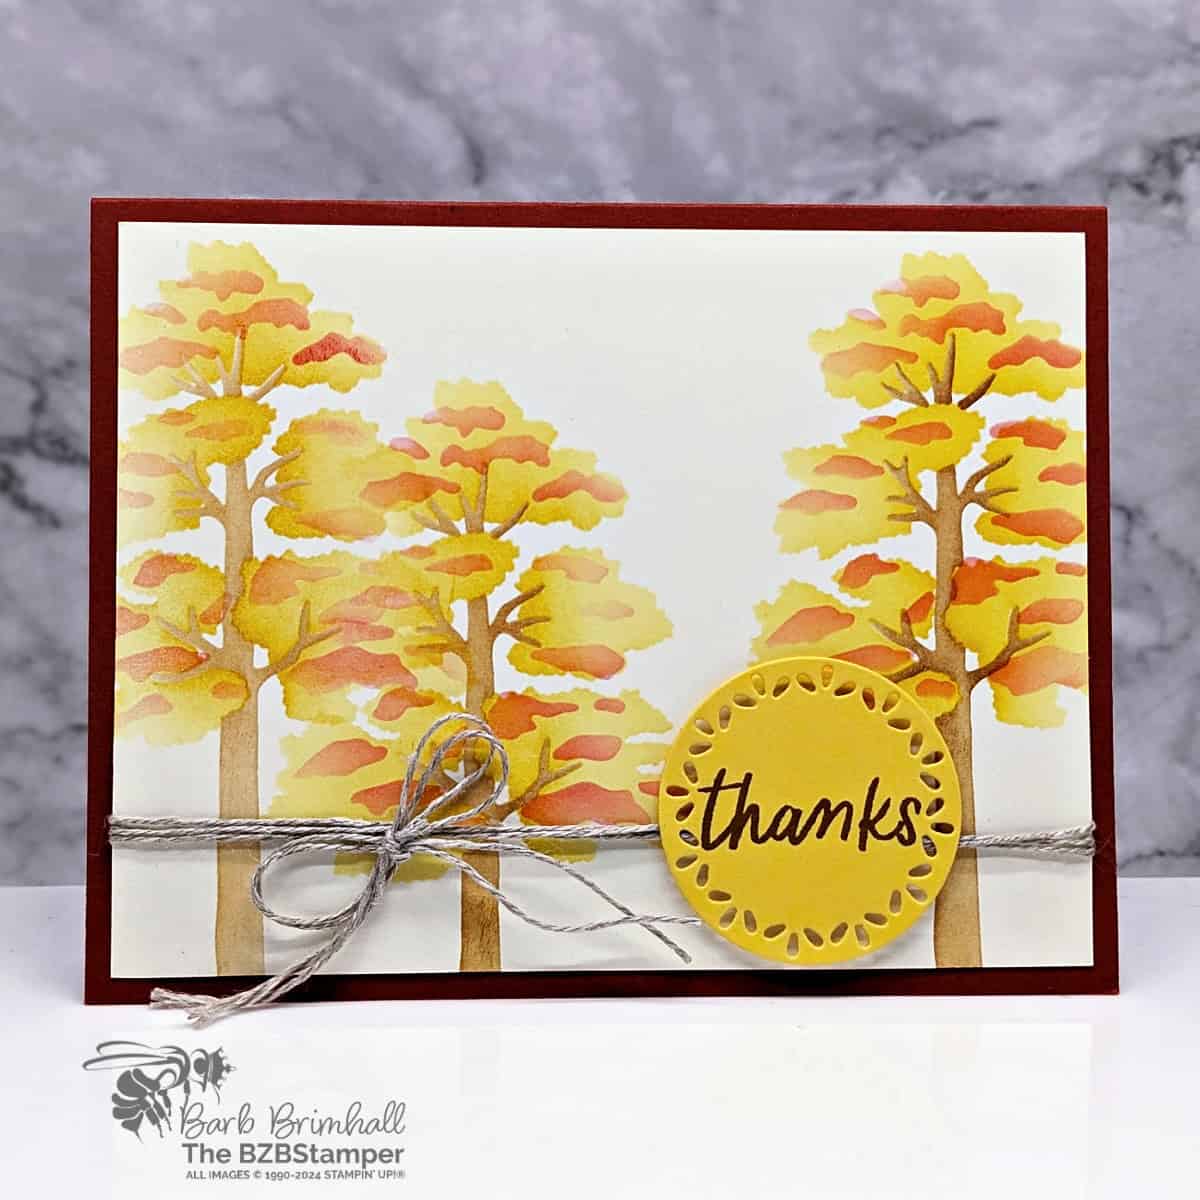
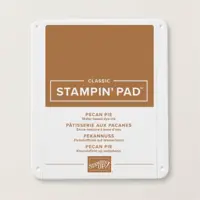
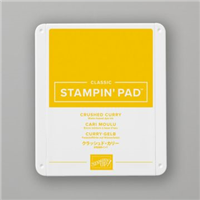
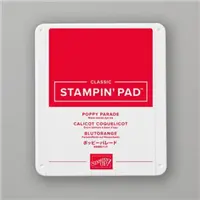
Fall is a time of warm colors, cozy moments, and beautiful nature scenes. For this card, I chose to use 3 colors which at first don’t seem to work together: Pecan Pie, Crushed Curry and Poppy Parade.
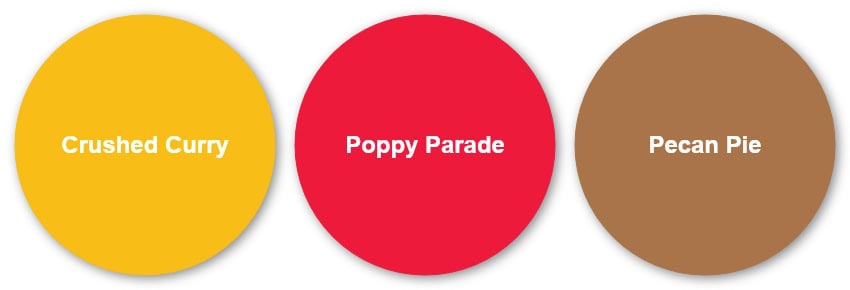
I then added Cajun Craze to even out the tones and I think it worked beautifully! If you prefer something a bit more traditional, make sure you check out my Color Combination Library where you’re sure to find a color palette you’ll love.
The Frosted Forest Masks come with six unique designs, giving you endless possibilities to create depth and dimension in your cards. Whether you’re new to crafting or an experienced cardmaker, you’ll love how easy it is to create a beautifully detailed fall scene with these masks. So let’s jump into the creative process and make your perfect autumn greeting card!
How To Make This Card
Project Skill Level: Worker Bee
Worker Bee projects are designed for the crafter who has a bit more time and enjoys creating a handmade card that features a technique or tool. In many cases, a Stampin’ Cut & Emboss Machine is required for die-cutting and/or embossing.
Cardstock Measurements:
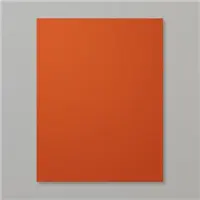
- Cajun Craze Cardstock: 5-1/2″ x 8-1/2″, scored at 4-1/4″
- Very Vanilla Cardstock: 4″ x 5-1/4″ (2 pieces)
- Daffodil Delight Cardstock: 3″ x 3″ (for die-cutting)


Grab your Free copy
Get 5 Bee-utiful Exclusive
Card Sketches in Your Inbox
Join our newsletter and receive a honey of a package of five quick & simple cards guaranteed to make your creativity buzz! Sign up now and let the goodness flow straight to your inbox!
Step-by-Step Instructions:
- Fold the Cajun Craze cardstock in half at the score line to create your card base.
- Adhere one of the 4″ x 5-1/4″ pieces of Very Vanilla cardstock inside the card.
- Using the other piece of Very Vanilla cardstock, adhere to a scratch sheet of paper using non-stick tape (such as Washi or Painter’s Tape.)
- Using the Single Tree 3 Frosted Forest Decorative Masks, line them up together with the notch on the right side. Using non-stick tape, adhere the branch mask over the Very Vanilla cardstock, positioning on the left side as desired. Ink up a Blending Blending Brush with Pecan Pie ink and lightly blend over the branch mask. Carefully move the mask to the right and down, and repeat the process. Finally, move the mask all the way over to the right side and repeat the process. Set the mask aside for cleaning later.
- Using the “bold” leaf mask, line up on the left sponged tree trunk and lightly sponge with Crushed Curry ink using a clean Blending Brush. TIP: I used a heavy hand on this step. Repeat 2 more times on the other 2 sponged branches. Set mask aside for cleaning later.
- Using the “detailed” leaf mask, line up on the left sponged tree and lightly sponge using Poppy Parade ink and a clean Blending Brush. Repeat the process 2 more times, being careful to use a light touch with this color. Set the mask aside for cleaning later.
- Cut 36″ of the Linen Thread and fold in half. Wrap around the Very Vanilla Cardstock about 3/4″ up from the bottom of the Vanilla cardstock. Tie into a bow and trim edges as necessary.
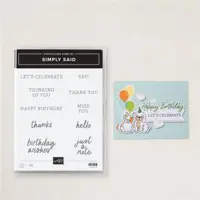
- Stamp the sentiment using Pecan Pie ink onto the Daffodil Delight cardstock and cut out the sentiment using the 1-3/4″ Spotlight on Nature Circular Die. Adhere to the right side of the card, centering on the Linen Thread, using Stampin’ Dimensionals to finish.
A Tip from Barb
This card is super easy to make but because of the need for a die-cut machine for the sentiment circle, I upgraded it to a Worker Bee card. If you want to keep this card simple, you can use our 1-3/4″ Circle Punch and get the same effect. Easy Peasy!
When you’re done using the masks, place them in a sink. Because the ink used is a dye-based, water-soluble ink, it will rinse right off. If there is any staining on the mask, use a stamp cleaner or a teeny bit of Dawn Dish Detergent. Rinse clean and then stand up to dry. Because portions of these masks can be fragile, I recommend that you “hang” them to dry, rather than pat them dry with a towel.
Thanks for stopping by for today’s card tutorial! My goal is to help you make quick & easy greeting cards for all occasions. If you’d like more detailed directions on how to make this card, feel free to email me. I hope you’ll join me again for more card-making ideas!

Don’t forget to pin this for later!
