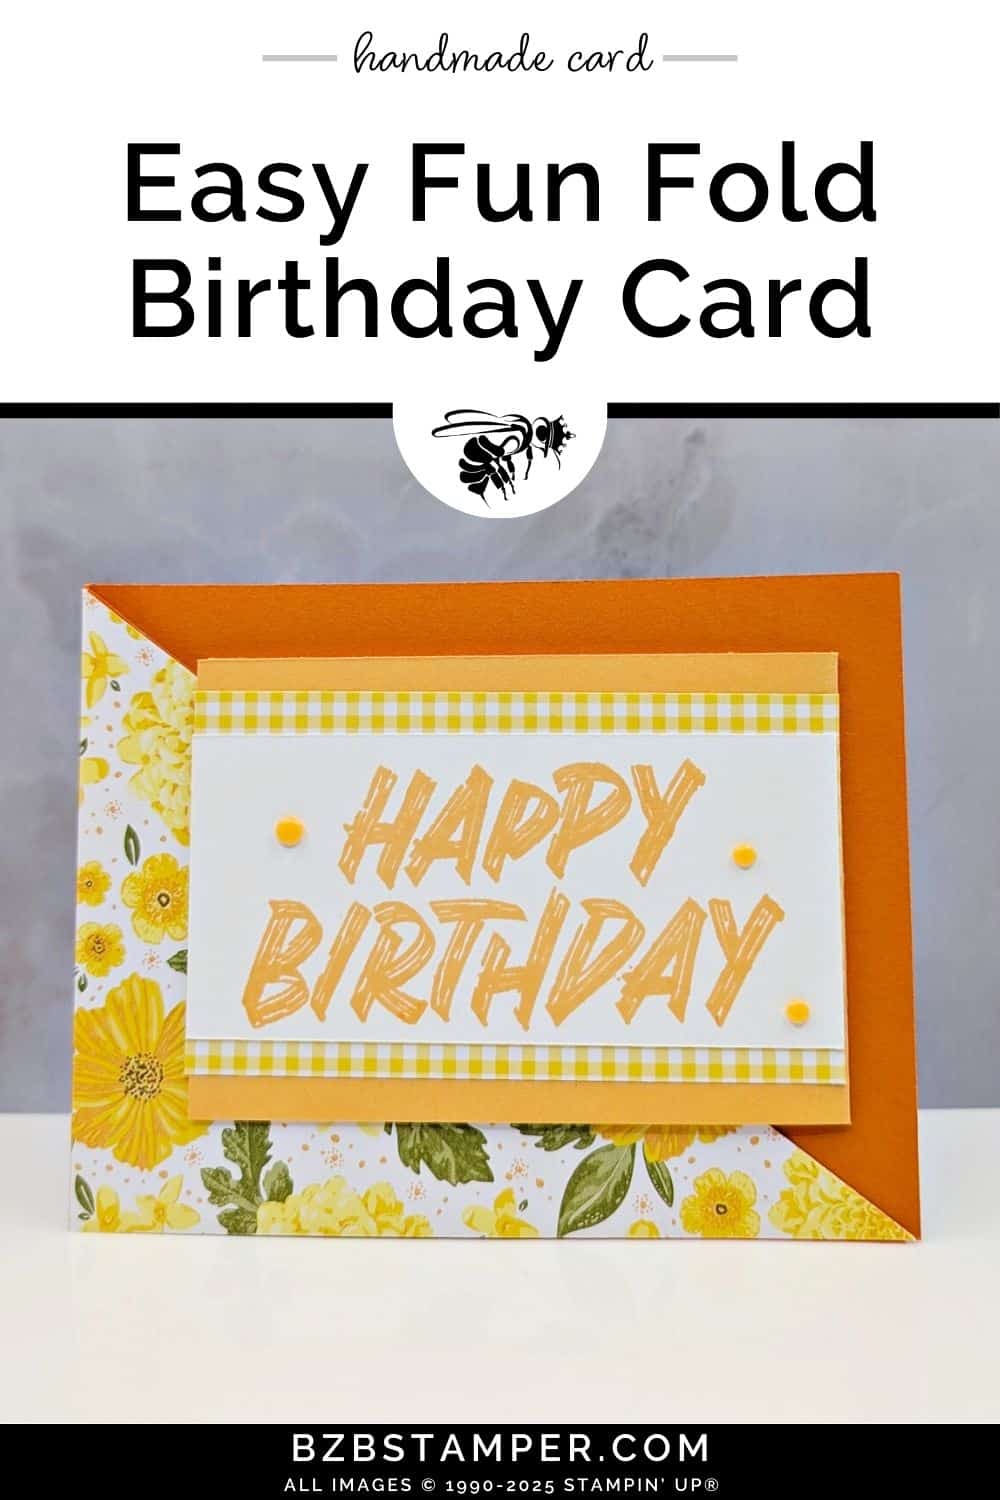
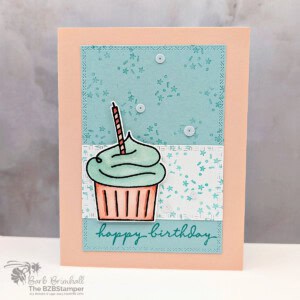
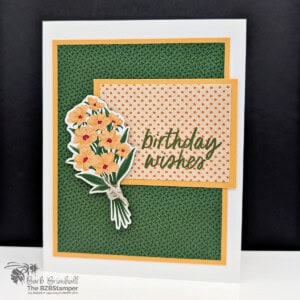
If you’re looking for a handmade birthday card that’s bright, cheerful, and beginner-friendly, you’re in the right place. This easy Fun Fold Birthday Card using Layered Thoughts by Stampin’ Up!® is one of those projects that looks impressive but comes together in minutes—even if you don’t consider yourself crafty (yet!).
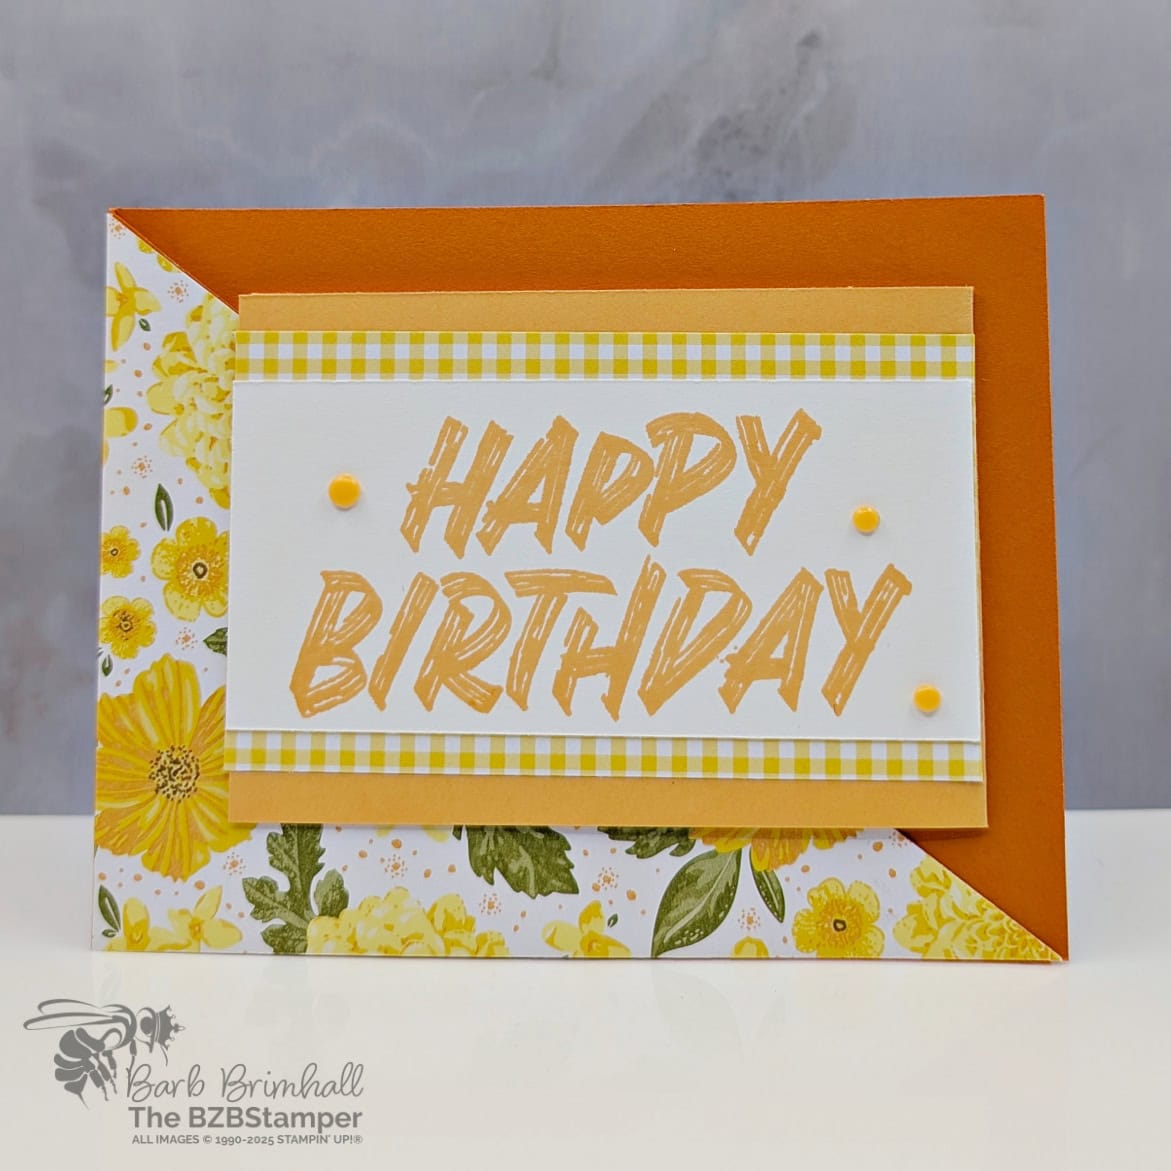
This is the exact card we made during this week’s Coffee & a Card—our casual midweek craft break on Facebook where we chat, sip on our favorite beverage, and make something wonderful. And this card? It checks all the boxes: big bold sentiment, gorgeous floral paper, a surprise fun fold, and zero stress.
Let’s start with the star of the show: the Layered Thoughts Stamp Set. If you haven’t tried this set yet, you’re in for a treat. It’s made for those of us who love a sentiment that makes a statement—but don’t want to spend hours layering or die-cutting. With just one inky stamp, you’ve got a full “HAPPY BIRTHDAY” message that looks playful and fresh, like it was swiped on with a paintbrush. And even better? You can mix and match other phrases in the set for cards that say thank you, thinking of you, or love you lots—all with that same bold energy.
Now let’s talk paper. This project uses the Floral Delights Designer Series Paper—and wow, does it live up to the name. Bright yellows, pops of orange, and cheerful floral patterns that feel like sunshine on cardstock. I used one of the boldest floral prints for the front panel and added a peek of coordinating yellow gingham to anchor the sentiment. If you’re someone who struggles with paper matching (we’ve all been there!), this pretty paper takes out all the guesswork.
And can we pause for a second to appreciate the fold? It’s just a simple twist on your usual card base, but it instantly makes the whole thing feel a little extra special. No fancy measurements, no hidden panels—just a little angled flair that takes your birthday card from sweet to standout.
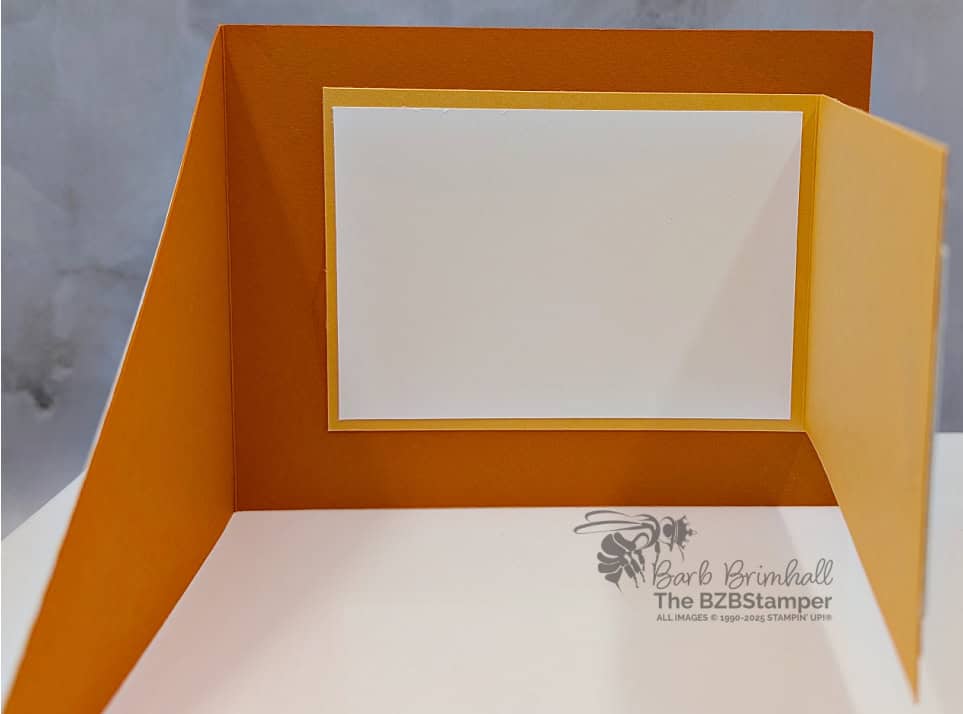
This design is perfect for all kinds of birthdays: moms, sisters, neighbors, coworkers—anyone who could use a burst of happy in their mailbox. It’s also a great stash-builder project. You could easily make a set of these in one afternoon, using different papers and ink colors to match your recipient. (Trust me, you’ll want to keep making them.)
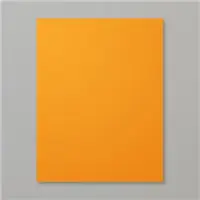
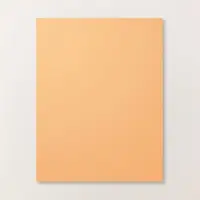
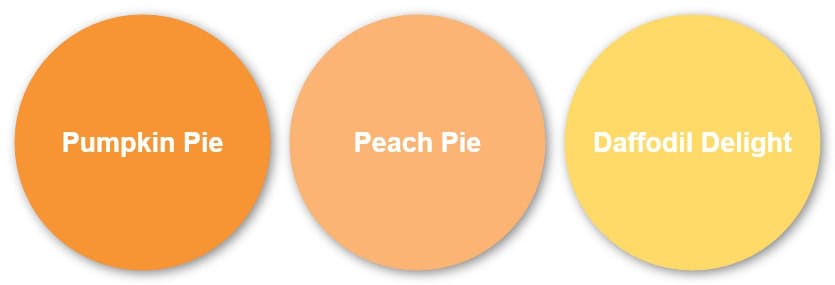
For today’s version, I paired Pumpkin Pie, Peach Pie, and Daffodil Delight —with a few enamel dots for that final pop of fun. But honestly, this layout works with any color combo. Make sure you check out my Color Combination Library for more inspiration.
Here’s what I love most about this card: it brings joy on both ends. You get that “I made this!” feeling of accomplishment when it’s done, and your friend gets to open something bright, handmade, and full of heart. That’s the magic of cardmaking. It turns a few minutes at your kitchen table into a real moment of connection.
So whether you’re brand new to cardmaking or just want a fast project to brighten someone’s day, I hope this easy Fun Fold Birthday Card using the Layered Thoughts Stamp Set gives you the nudge to try it. Grab your favorite drink, clear a little space on your table, and let’s stamp something beautiful together. 💛
May 7, 2025 Facebook Live (Edited)
You can find more video tutorials on our Youtube Channel
Project Skill Level: Busy Bee
Busy Bee projects are designed for the beginner or busy papercrafter. This is a basic cardmaking project that can be achieved by someone who has never made a handmade card before. You can view more Busy Bee cards here.
GRAB THE TUTORIAL
Want the tutorial for this card? Just click on the button below for card measurements and step-by-step instructions.


Grab your Free copy
Get 5 Bee-utiful Exclusive
Card Sketches in Your Inbox
Join our newsletter and receive a honey of a package of five quick & simple cards guaranteed to make your creativity buzz! Sign up now and let the goodness flow straight to your inbox!
A Tip from Barb
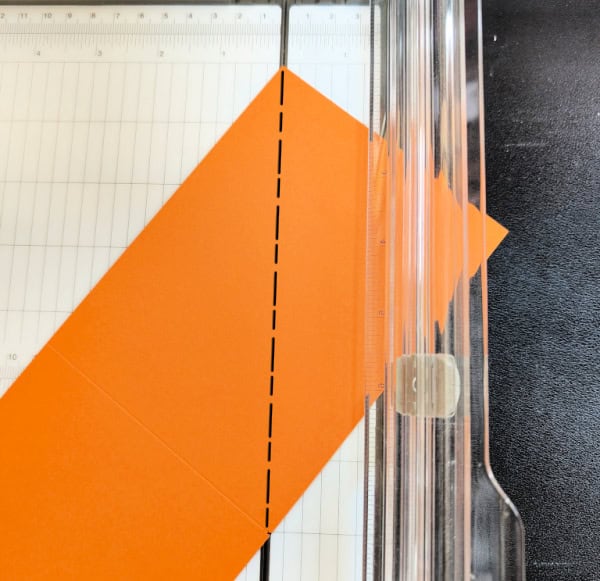
If you have any issues cutting your cardstock and paper into a triangle, just make a mark at one end and then make a mark at the opposite end with a pencil and cut from the one mark to the other. Try it out on a piece of scratch paper first and you’ll see how easy it really is!
Another tip is for the first card you make, use a Designer Paper that is non-directional. After that, it’ll be easy the next time you make the card using a directional paper.
I appreciate you dropping by! My mission is to inspire you with card tutorials that are as fun to make as they are to give. If you’re curious about the specifics of crafting today’s design, just send me an email. Want more papercrafting ideas? Join my Facebook Community today.

Don’t forget to pin this for later!
