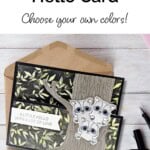
Everyone loves getting a little happy mail, and this cute Hello Card using the Peekaboo Forest Bundle by Stampin’ Up! is exactly the kind of card that brings instant smiles. Whether you’re saying hi to a friend, reaching out to someone you haven’t seen in a while, or just spreading a little handmade cheer, this card is simple to make and too cute to resist.
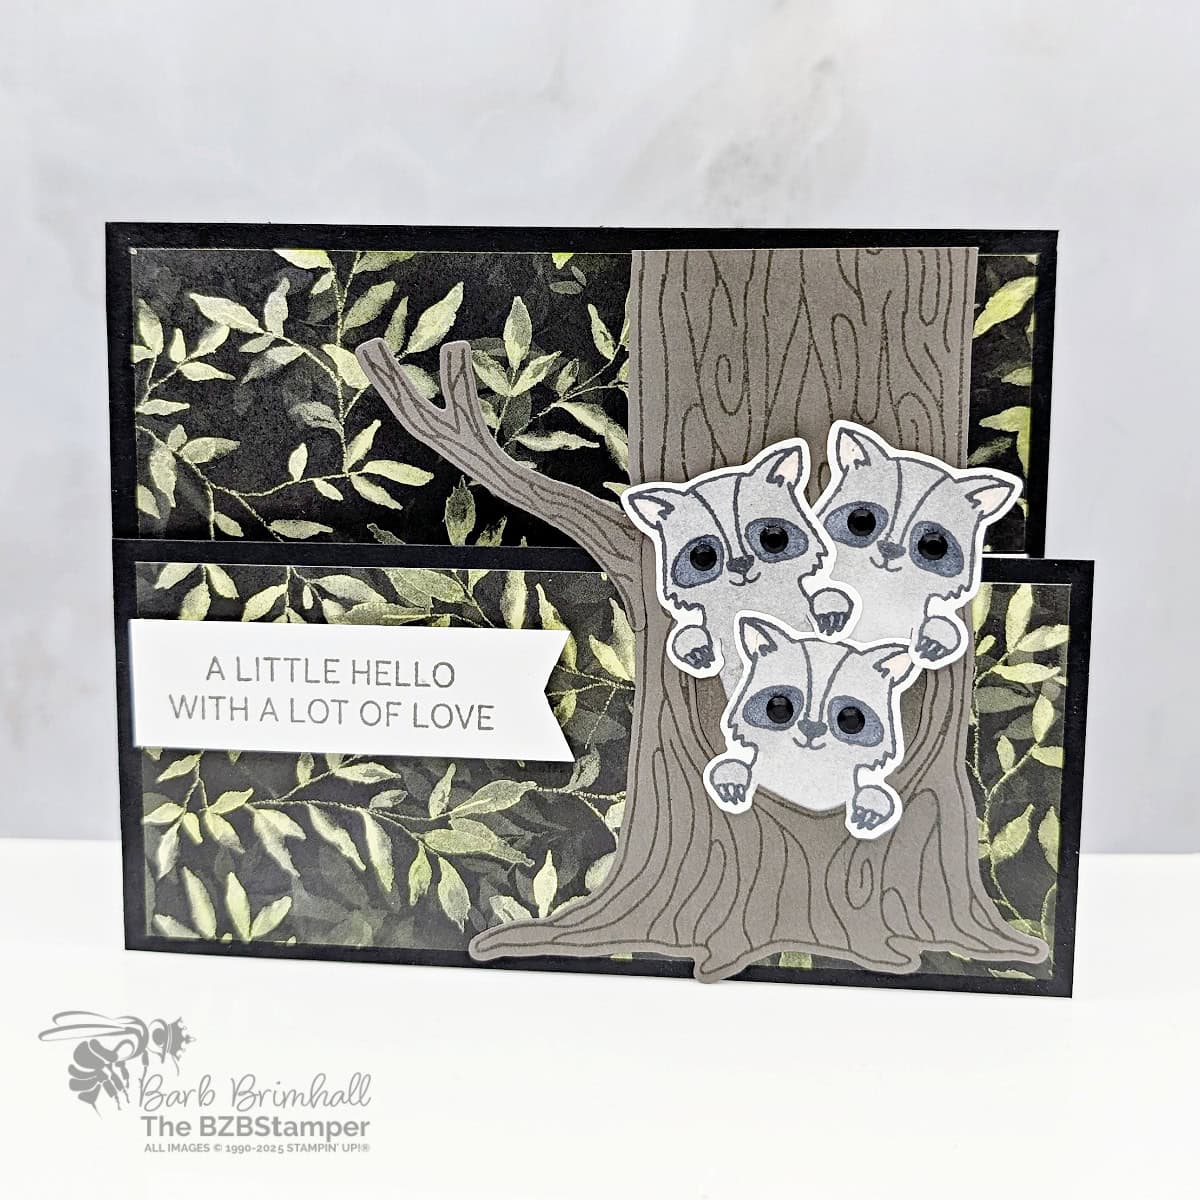
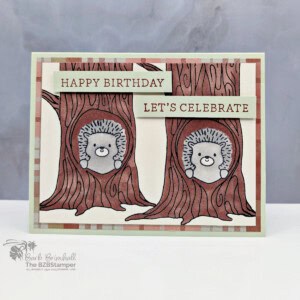
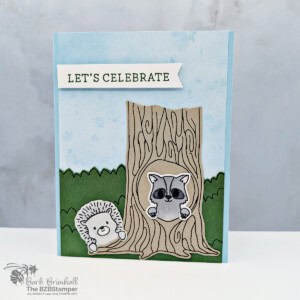
The Peekaboo Forest Bundle by Stampin’ Up! is packed full of charm. You get the Peekaboo Forest Stamp Set and the coordinating dies, which work together like a dream. Inside the set, you’ll find the most adorable forest animals—like a raccoon peeking out from a tree—plus a few fun tree trunks, leaves, and details that make your scene come to life. The dies add a dimensional touch that takes your stamped images from sweet to standout.
To start this card, I used the beautiful Botanical Textures Designer Paper to add a forest look, and then stamped and die-cut the tree image to keep that theme consistent. I I also used a quick & easy Fun Fold to add to the whimsical nature of the card. Then came the fun part—adding the cute critters! I went with the little raccoon (because… how can you not?), colored him in with Stampin’ Blends, and used the dies to cut him out cleanly.
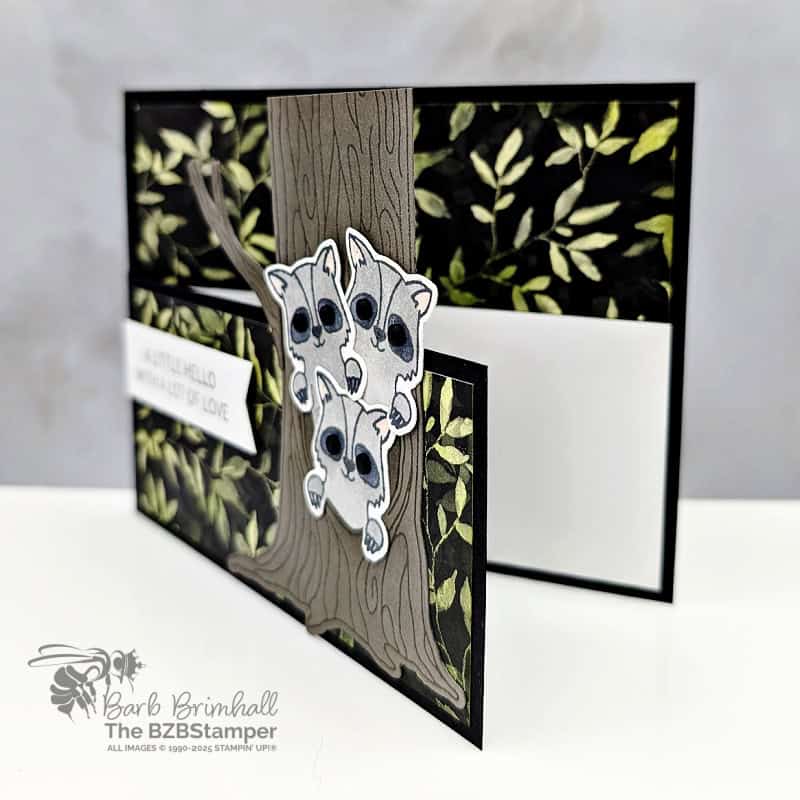
To finish it off, I stamped a simple “hello” sentiment and added a few leafy die cuts to frame the scene. The whole card came together in less than 20 minutes, but it has that thoughtful, handmade feel that store-bought cards just can’t match.
This project is perfect for new stampers looking for a beginner-friendly design—or seasoned crafters who just love whimsical, heartwarming cards. And since this is part of a bundle, everything coordinates effortlessly. You’ll save 10% by grabbing the stamp set and dies together, and you’ll use them again and again for birthdays, thank yous, and just-because cards.
Whether you’re crafting with your morning coffee in hand or sneaking in some creativity between errands, this hello card is quick, simple, and adorable. So grab your Peekaboo Forest Bundle and make someone’s mailbox a little more magical today.
How To Make This Card
Project Skill Level: Worker Bee
Worker Bee projects are designed for the crafter who has a bit more time and enjoys creating a handmade card that features a technique or tool. In many cases, a Stampin’ Cut & Emboss Machine is required for die-cutting and/or embossing.
Cardstock Measurements:
- Basic Black: 5-1/2″ x 8-1/2″, scored at 4-1/4″
- Basic White: 4″ x 5-1/4″
- Botanical Textures Designer Series Paper:
- 1-3/4″ x 5-1/4″
- 2-1/4″ x 5-1/4″
- Pebbled Path Cardstock: 4-1/4″ x 4-1/4″ (for die-cutting)
- Basic White Cardstock: 3″ x 3″ (for die-cutting)
- Basic White Cardstock: 3/4″ x 2-1/2″


Grab your Free copy
Get 5 Bee-utiful Exclusive
Card Sketches in Your Inbox
Join our newsletter and receive a honey of a package of five quick & simple cards guaranteed to make your creativity buzz! Sign up now and let the goodness flow straight to your inbox!
Step-by-Step Instructions:
- Fold the Basic Black cardstock in half. Using your Paper Trimmer, cut off the top 1-3/4″ of the front of the card, leaving a panel that is 2-1/2″ high from the bottom.
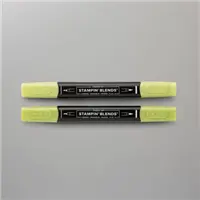
- Using the 2 pieces of Botanical Textures Designer Paper, color in the leaves on both pieces using the Light Granny Apple Green Blend.
- Adhere the 1-3/4″ x 5-1/4″ piece of Botanical Textures Designer Paper to the top of the 4″ x 5-1/4″ Basic White cardstock and adhere to the inside of the card, with the Designer Paper at the top.
- Adhere the 2-1/4″ x 5-1/4″ Botanical Textures Designer Paper to the front flap of the card front.
- Using the Early Espresso cardstock, stamp the Tree Trunk image using Early Espresso ink pad, then stamp the “tree extender” image so that the tree trunk is now 4-1/4″ high. Stamp the tree trunk next to that image using the same ink.
- Run the Early Espresso cardstock through the Cut & Emboss Machine and die-cut out the branch using the Peekaboo Forest Dies and the Tree Trunk using the same Dies. Finish cutting out the top of the tree using Scissors.
- Adhere the die-cut branch to the tree using adhesive and then adhere the bottom part of the tree trunk only to the front flap of the card, being careful to not extend the glue past where the tree will be glued to the front flap.
- Stamp the sentiment from the Fancy Borders stamp set onto the 3/4″ strip of Basic White cardstock using Black Memento ink. Using scissors, “flag notch” the right side only and then adhere the sentiment to the left of the tree using Stampin’ Dimensionals.
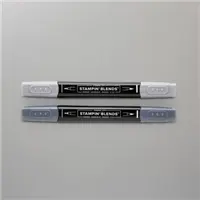
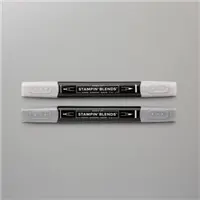
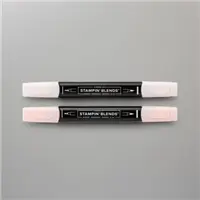
- Stamp the racoon image 3 times on the 3″ square of Basic White cardstock using Black Memento ink. Color in the racoons in using the Light Black, Light Smoky Slate and Light Petal Pink Blends.
- Run the cardstock through the Cut & Emboss Machine and die-cut out the racoons using the Peekaboo Forest Dies. Adhere to the tree as shown in the sample using adhesive, being careful to not put glue on the area that extends off the tree trunk.
- To finish, add the Black Neutral Matte Dots to the racoon eyes.
A Tip from Barb
If you don’t have the dies, you can cut out all of the images using your Paper Snips Scissors. It may take a bit longer, but it definitely will work!
On the sentiment, I stamped off the Memento Black ink once on my scratch paper to make the sentiment lighter, but decided I preferred it not stamped off so that it stood out more. Your choice!
Thanks for joining me in today’s crafting session! I’m passionate about helping you create versatile cards for any celebration, designed to be quick yet impressive. For additional guidance on today’s tutorial, feel free to email me. Stay connected! Follow my Facebook Community for more crafting tips and updates.

Don’t forget to pin this for later!
Supplies Used On This Project:
Price: $12.50


