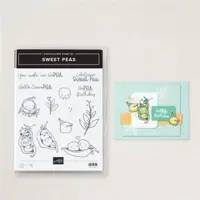
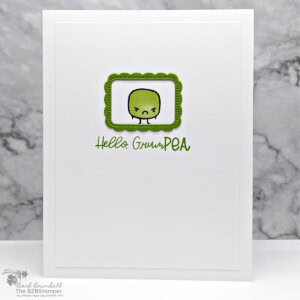
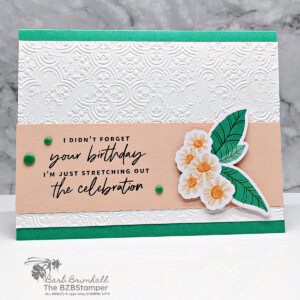
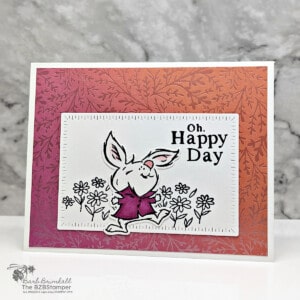
Crafting joy with the Sweet Peas Stamp Set from Stampin’ Up! is a delightful experience. This stamp set is perfect for making greeting cards that are not only adorable but also filled with a touch of whimsy. Whether you’re making a birthday card, a thank you note, or just a simple hello, the Sweet Peas Stamp Set offers endless creative possibilities.
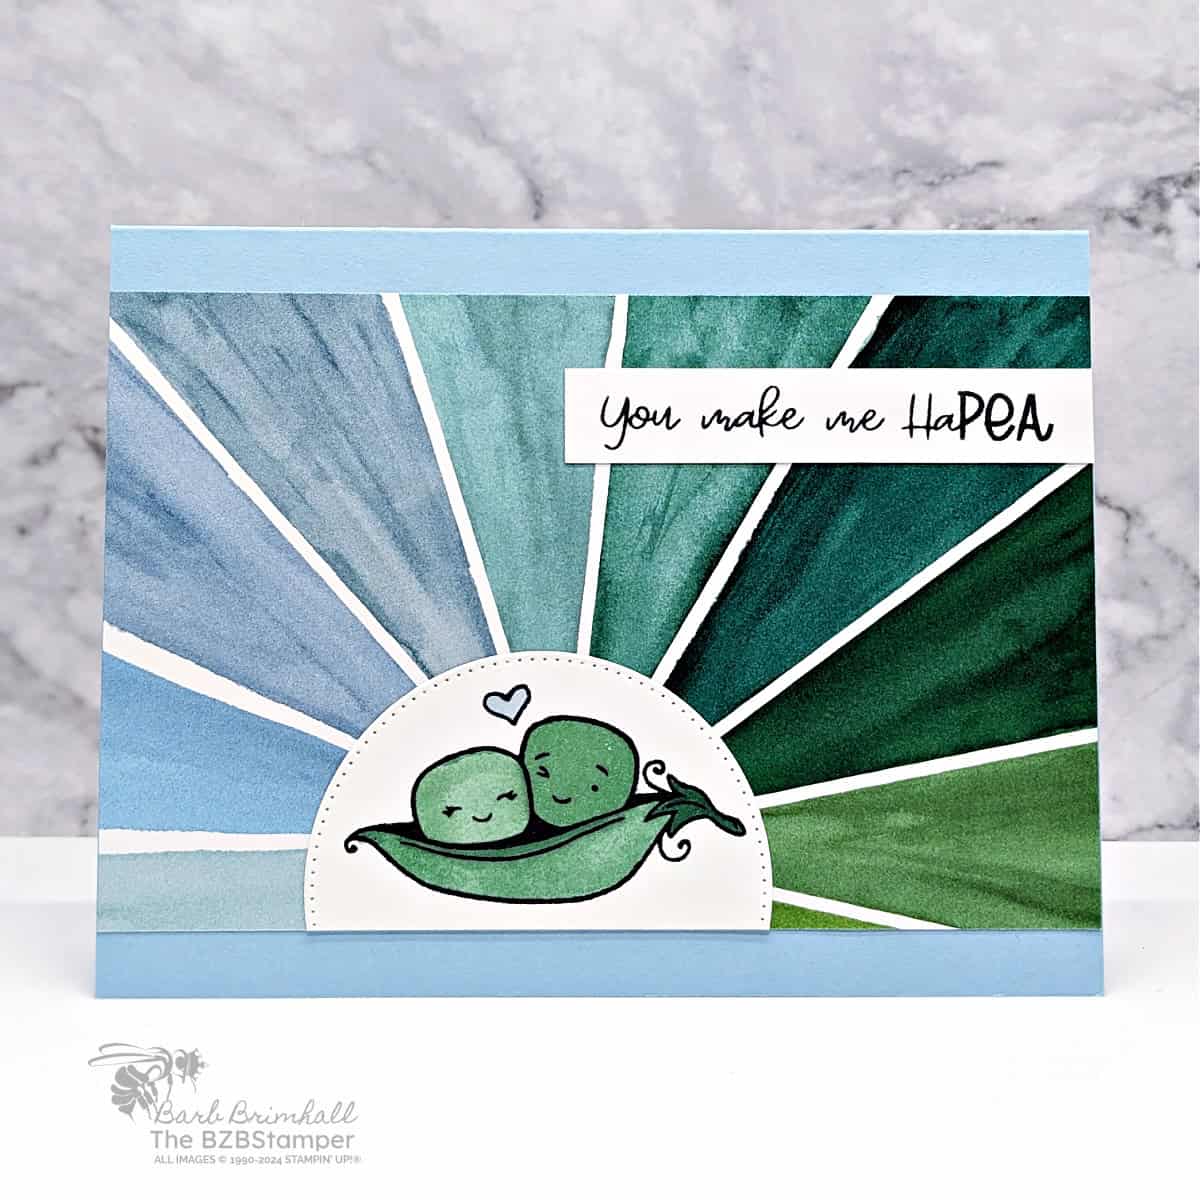
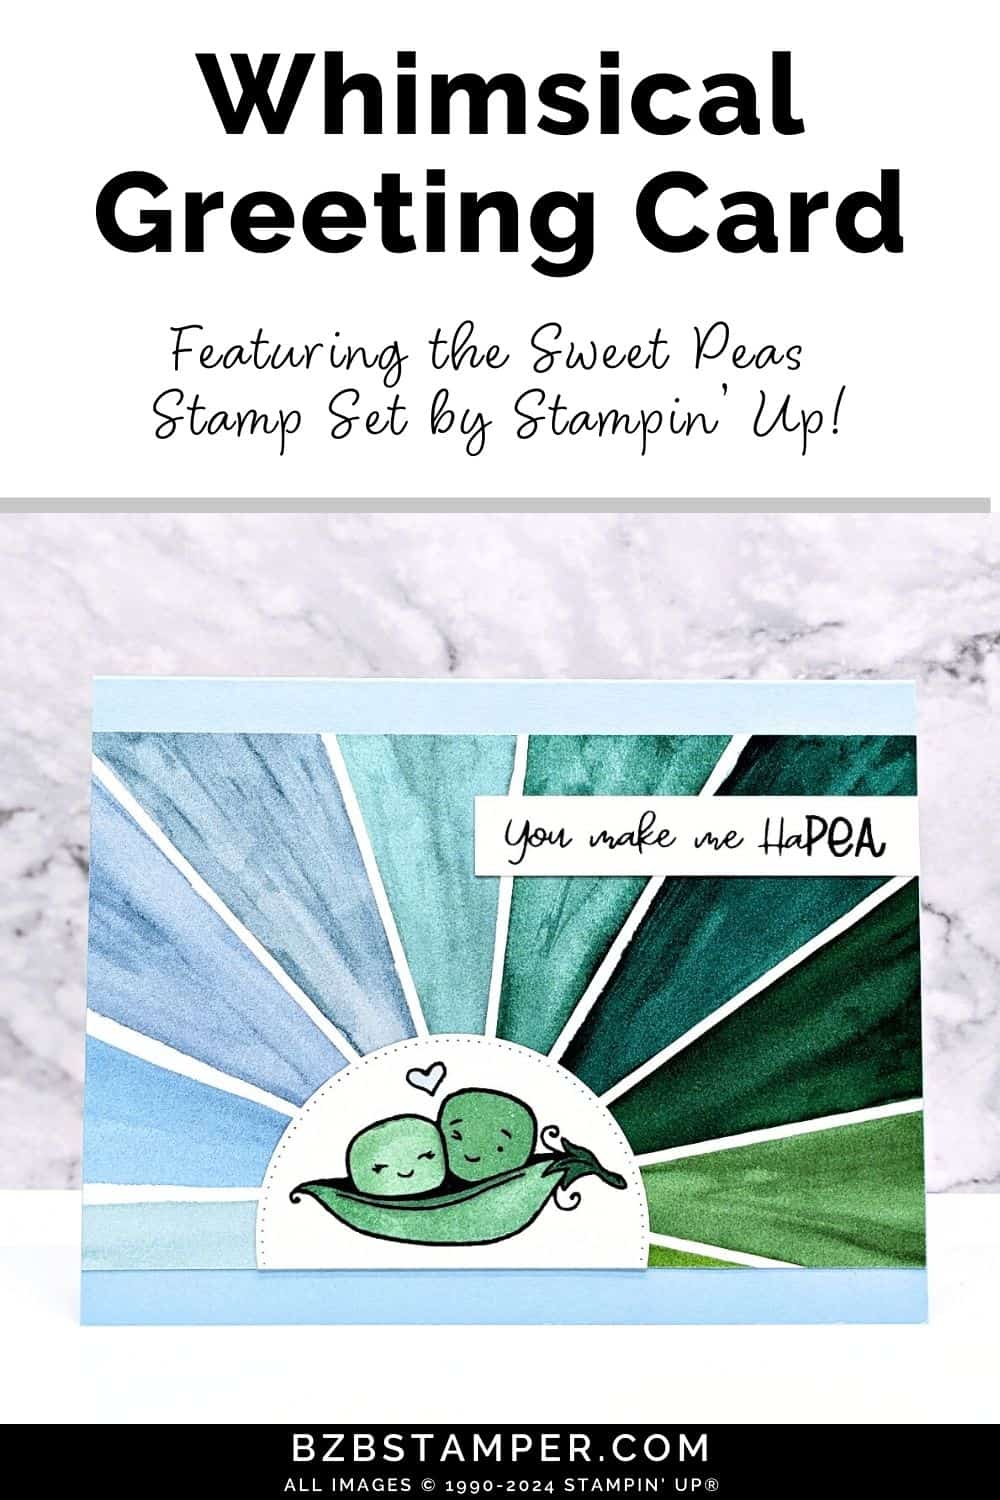
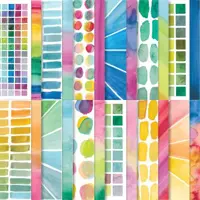
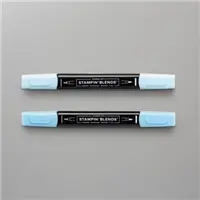
For this card, I started with the beautiful Full of Life Designer Paper which gave me my color palette of Balmy Blue and Shaded Spruce, paired with the nice crisp neutrals of Basic White and Black. I then stamped the focal image on a semi-circle, colored it in with Blends Alcohol markers, and added the sentiment. Super quick & easy!
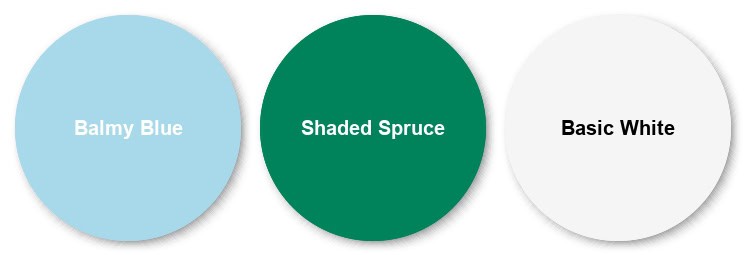
This card design would work with any color palette, so check out my Color Combination Library if you’d like more color combinations. Color is a great way to expand your creativity and help you make the most of this versatile stamp set. So are you ready to craft cards that are sure to bring joy? Let’s get started!
How To Make This Card
Project Skill Level: Worker Bee
Worker Bee projects are designed for the crafter who has a bit more time and enjoys creating a handmade card that features a technique or tool. In many cases, a Stampin’ Cut & Emboss Machine is required for die-cutting and/or embossing.
Cardstock Measurements:
- Balmy Blue Cardstock: 5-1/2″ x 8-1/2″, scored at 4-1/4″
- Basic White Cardstock: 4″ x 5-1/4″
- Full of Live Designer Paper: 3-1/2″ x 5-1/2″
- Basic White Cardstock: 1/2″ x 3″
- Basic White Cardstock: 3″ x 3″ (for die-cutting)


Grab your Free copy
Get 5 Bee-utiful Exclusive
Card Sketches in Your Inbox
Join our newsletter and receive a honey of a package of five quick & simple cards guaranteed to make your creativity buzz! Sign up now and let the goodness flow straight to your inbox!
Step-by-Step Instructions:
- Fold the Balmy Blue cardstock in half at the score line to create your card base.
- Adhere the 4″ x 5-1/4″ piece of Basic White cardstock inside the card.
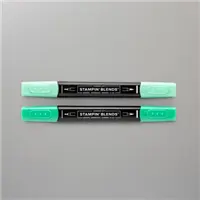
- Stamp the peas image onto the 3″ square of Basic White cardstock using Black Memento ink. Color in using the Shaded Spruce Blends and the Dark Balmy Blue Blend (heart).
- Run the stamped cardstock through the Stampin’ Cut & Emboss Machine using the 2-1/2″ circle die from the Stylish Shapes Dies. Trim off the bottom of the circle using your Paper Trimmer and adhere to the bottom of the Full of Life Designer Paper.
- Adhere the Full of Life paper to the front of the card.
- Stamp the sentiment onto the 1/2″ strip of Basic White cardstock using the Black Memento ink pad. Adhere to the card as shown in the sample to finish.
A Tip from Barb
This card is super easy thanks to the use of the pretty paper and the Stitched Circle die-cut. If you have a large circle punch or can fussy-cut out your own circle, this card could easily be a Busy Bee card! Give it a try – it’s super fun and is sure to bring a smile to someone’s face!
Thanks for stopping by for today’s card tutorial! My goal is to help you make quick & easy greeting cards for all occasions. If you’d like more detailed directions on how to make this card, feel free to email me. I hope you’ll join me again for more card-making ideas!

Don’t forget to pin this for later!
