There’s something so comforting about a handmade card that feels like home—and this one is no exception. In today’s Coffee and a Card with Rustic Centerpiece Stamps by Stampin’ Up!®, I’m sharing a soft and rustic greeting card. It’s the kind of project that looks like it took hours to make, but it’s actually beginner-friendly, super satisfying, and full of cozy, earthy charm. Whether you’re sending a card to say hello, checking in on a friend, or just making something beautiful for your stash, this design has you covered.
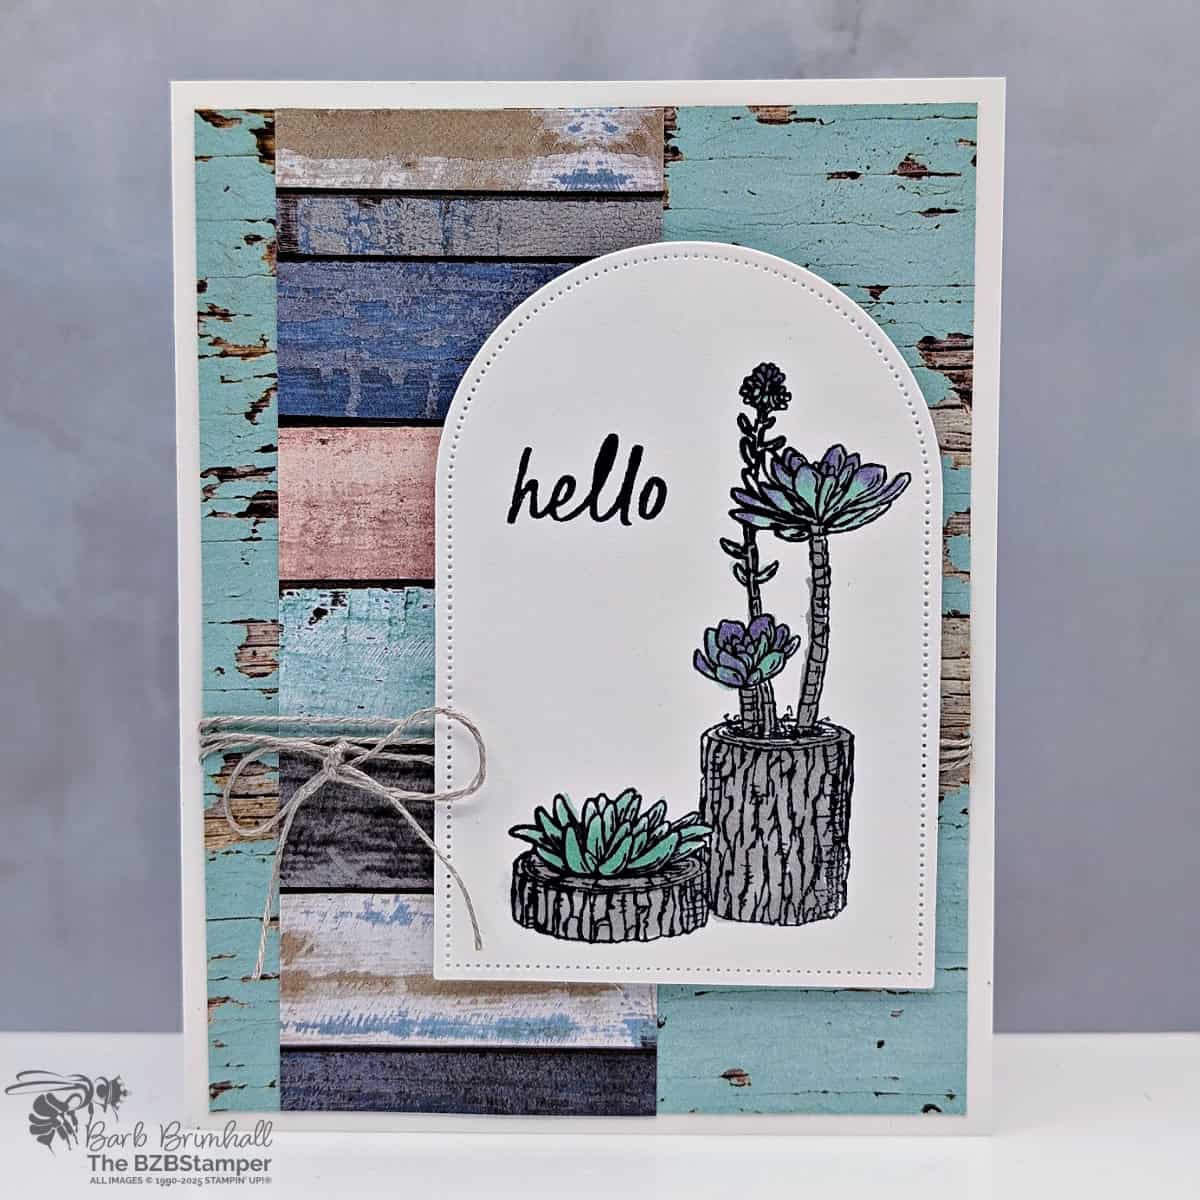
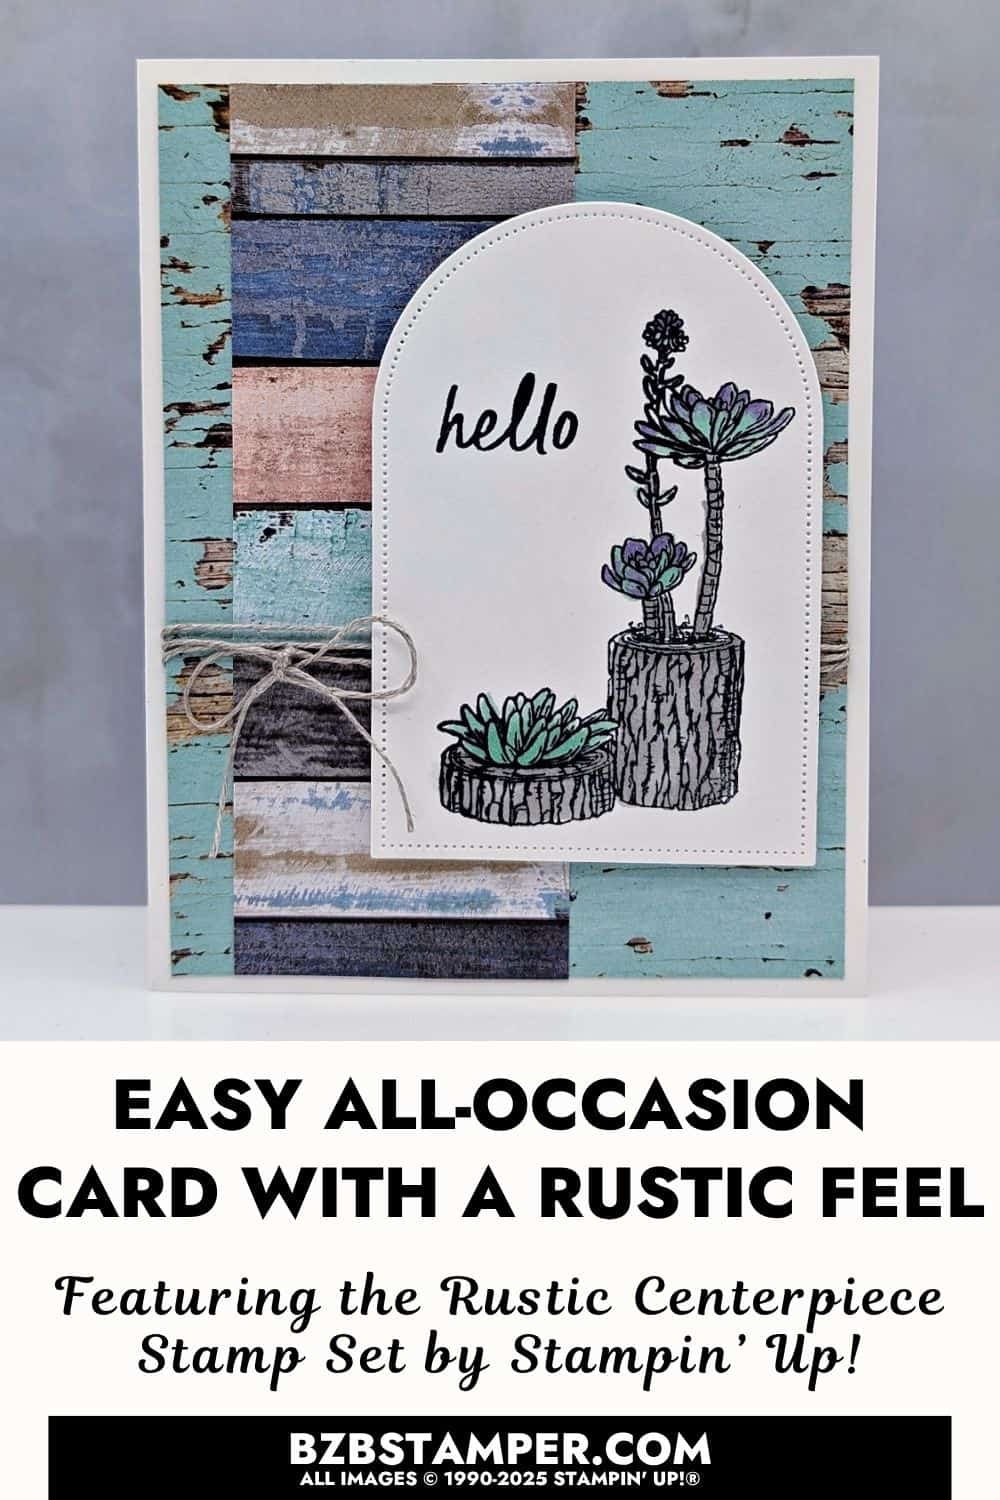
This is the exact card we made during this week’s Coffee & a Card—our casual midweek craft break on Facebook where we chat, sip on our favorite beverage, and make something wonderful. And this card? It checks all the boxes: textured backgrounds, easy coloring with Stampin’ Blends, and a layout that looks more complicated than it actually is. The combination of the log-style planters with the soft succulent coloring creates a grounded yet fresh look, perfect for everyday cardmaking.
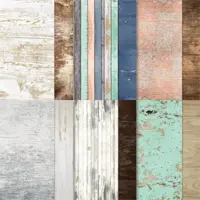
I started with the Country Woods Designer Paper for the background. This paper brings a reclaimed wood feel in muted tones, and it instantly sets the scene. Just layering that behind the clean die-cut shape already gave me that relaxed, rustic feel I was going for. Then I stamped the image from the Rustic Centerpiece Stamp Set, which features these charming little potted succulents that look like they belong in a vintage garden shed (in the best way!).
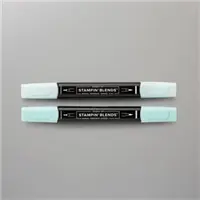
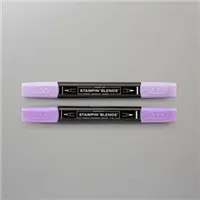
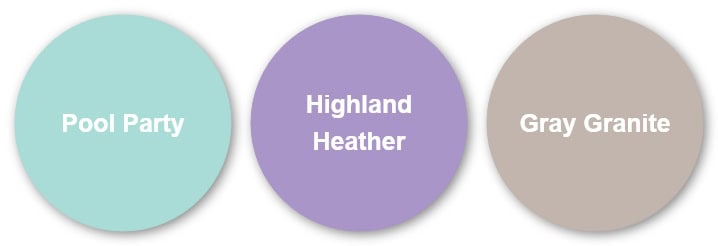
For coloring, I pulled out my Stampin’ Blends and used a soft palette of greens, purples, and natural wood tones. One of my favorite things about Blends is how easy it is to get a soft gradient without any fancy techniques. If you’re new to coloring, this is a forgiving project. Just layer light over dark and let the alcohol ink do its thing!
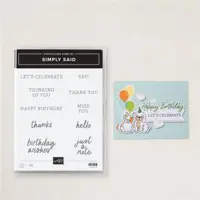
And let’s not overlook the sentiment. That simple “hello” from the Simply Said Stamp Set adds just the right touch. It’s clean, modern, and doesn’t compete with the beautiful stamped image. I love sentiments like this because they can be used for anything—thinking of you, thank you, just because. You name it.
To finish things off, I tied a little linen thread around the card front. It’s a small detail, but it adds just enough texture to tie everything together—literally! You could skip this step if you’re mailing the card and want to keep it flat, but I think it’s worth the extra dimension.
If you like this card, make sure you watch a recap of the live video, as well as the written Tutorial, which has all of the measurements and step-by-step instructions.
August 6, 2025 Facebook Live (Edited)
You can find more video tutorials on our Youtube Channel

Want the tutorial for this card? Just click on the button below for card measurements and step-by-step instructions.


Grab your Free copy
Get 5 Bee-utiful Exclusive
Card Sketches in Your Inbox
Join our newsletter and receive a honey of a package of five quick & simple cards guaranteed to make your creativity buzz! Sign up now and let the goodness flow straight to your inbox!
Don’t forget to pin this for later!
I appreciate you dropping by! My mission is to inspire you with card tutorials that are as fun to make as they are to give. If you’re curious about the specifics of crafting today’s design, just send me an email. Want more papercrafting ideas? Join my Facebook Community today.
