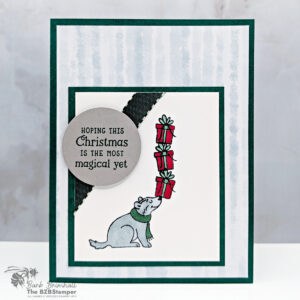
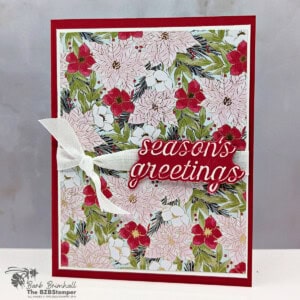
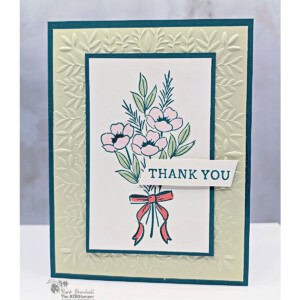
This Coffee and a Card with Easy Paper Cutting Guide is one of those projects that proves you don’t need fancy tools or hours of free time to make something beautiful. With just a few quick cuts and some pretty paper, you can create a stunning handmade card that’s perfect for any occasion. This design works beautifully as a thank-you card for all those Christmas gifts you’ll be opening soon — but with a quick sentiment swap, it’s just as lovely for a winter birthday or even a last-minute Christmas card.
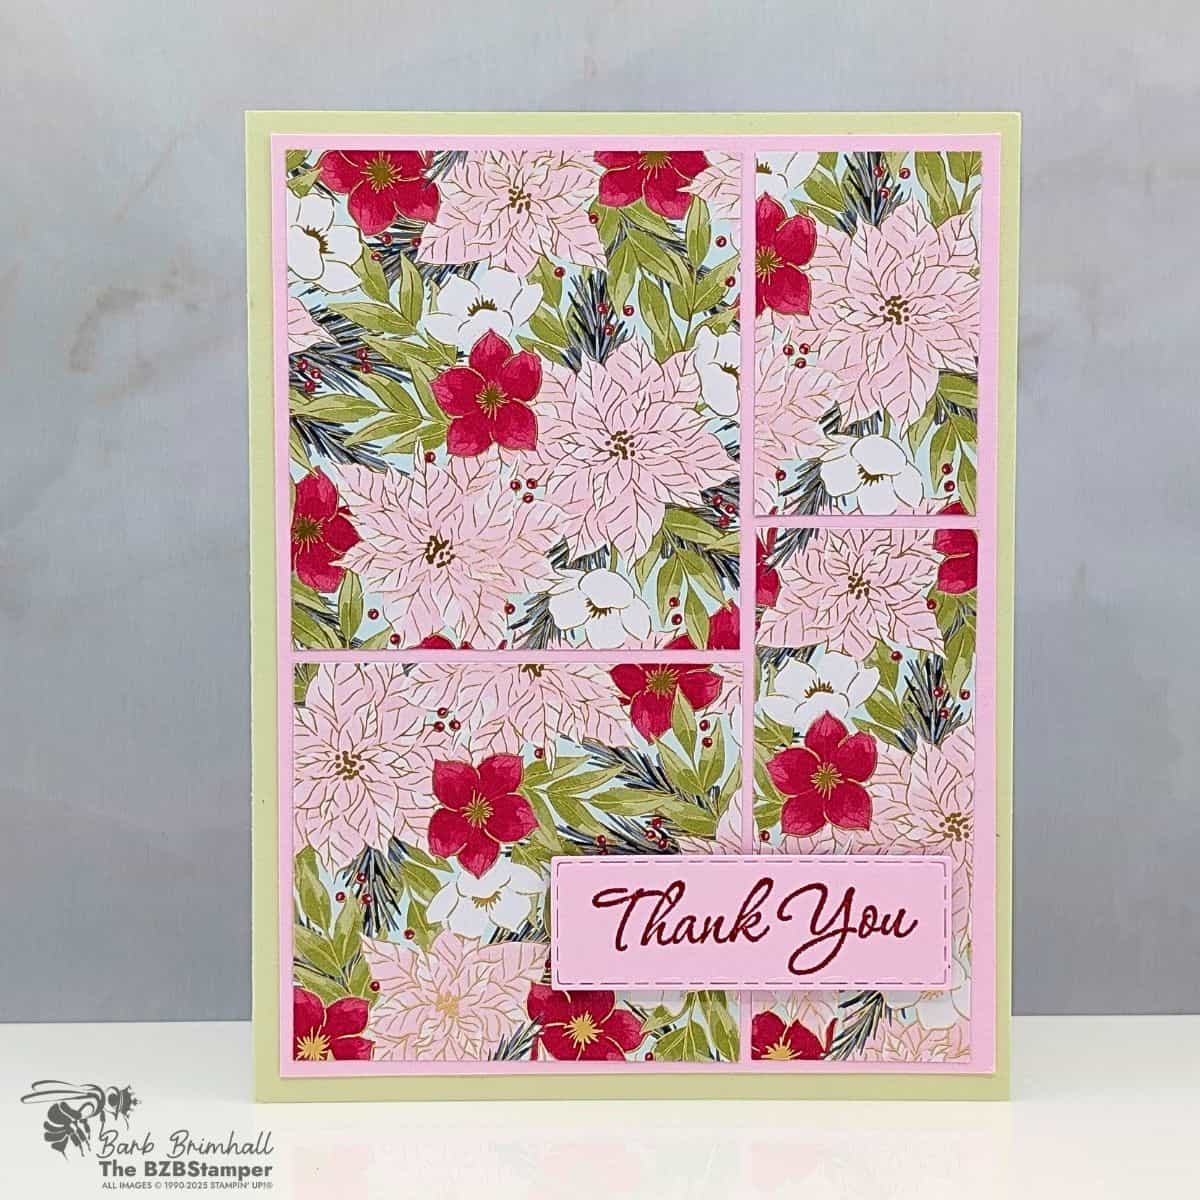
This is the exact card we made during this week’s Coffee & a Card—our casual midweek craft break on Facebook where we chat, sip on our favorite beverage, and make something wonderful. And this card? It checks all the boxes: quick, easy, and perfect for using up your favorite patterned paper without waste. There’s even a cutting guide included below for easy reference!
Let’s Talk About Color
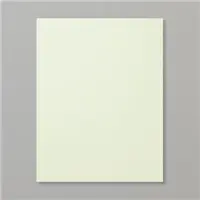
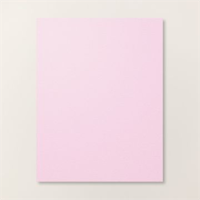
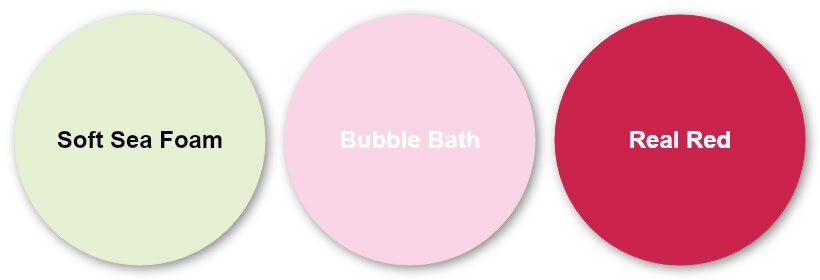
The soft, soothing tones of Soft Sea Foam and Bubble Bath create a gentle background that makes the Real Red accents really pop. This combo is fresh and festive but still soft enough to use year-round. It’s proof that holiday paper—like the Traditions of Christmas Specialty Designer Paper—can do double duty beyond December when paired with the right color palette.
Cutting Guide
When working with patterned paper this pretty, let it do the heavy lifting! Keep your layout simple and focus on balancing your layers. Using coordinating cardstock colors like Bubble Bath behind your Designer Paper helps your design feel cohesive and polished without any extra effort.
If you’re just getting started with cardmaking, this design is your new best friend. The secret is in the layout—it’s made entirely from one piece of patterned paper and a few simple cuts with a Paper Trimmer. That means you can create several cards at once without worrying about complicated techniques or wasted paper. Make sure you download the tutorial as it has an easy cutting guide you can follow to recreate this card.

Want the tutorial for this card? Just click on the button below for card measurements and step-by-step instructions.
Better yet, this design works with any Designer Series Paper you already have on hand. Swap out the colors and sentiment to match your mood or the season. Use bright florals for birthdays, soft pastels for baby showers, or holiday patterns for quick Christmas thank-you cards. Once you master this layout, you’ll never look at your paper scraps the same way again!
This layout also helps you build confidence in color coordination, which is one of the most intimidating parts of stamping for beginners. Stampin’ Up!® takes all the guesswork out by offering perfectly matched cardstock, inks, and papers—so your finished card always looks polished and professional, even on your very first try.
If you’re looking for a way to make multiple cards quickly (and beautifully), this easy cutting guide is your new best friend. Make sure you download the Tutorial below – it has the cutting guide included to make quick work of assembling this card!
October 22, 2025 Facebook Live (Edited)
You can find more video tutorials on our Youtube Channel
Final Touches
A stitched label from the Textured Notes Dies and a crisp sentiment stamped in Real Red ink tie everything together perfectly. Whether you’re sending this as a heartfelt thank-you or a festive note of cheer, this design is sure to bring a smile.
TIP: Don’t have these dies or a Cut & Emboss Machine? No worries! Simply cut your sentiment label to 3/4″ x 2-1/4″ and no one will be the wiser!
If you like this card, make sure you watch a recap of the live video, as well as the written tutorial, which has all of the measurements and step-by-step instructions.


Grab your Free copy
Get 5 Bee-utiful Exclusive
Card Sketches in Your Inbox
Join our newsletter and receive a honey of a package of five quick & simple cards guaranteed to make your creativity buzz! Sign up now and let the goodness flow straight to your inbox!
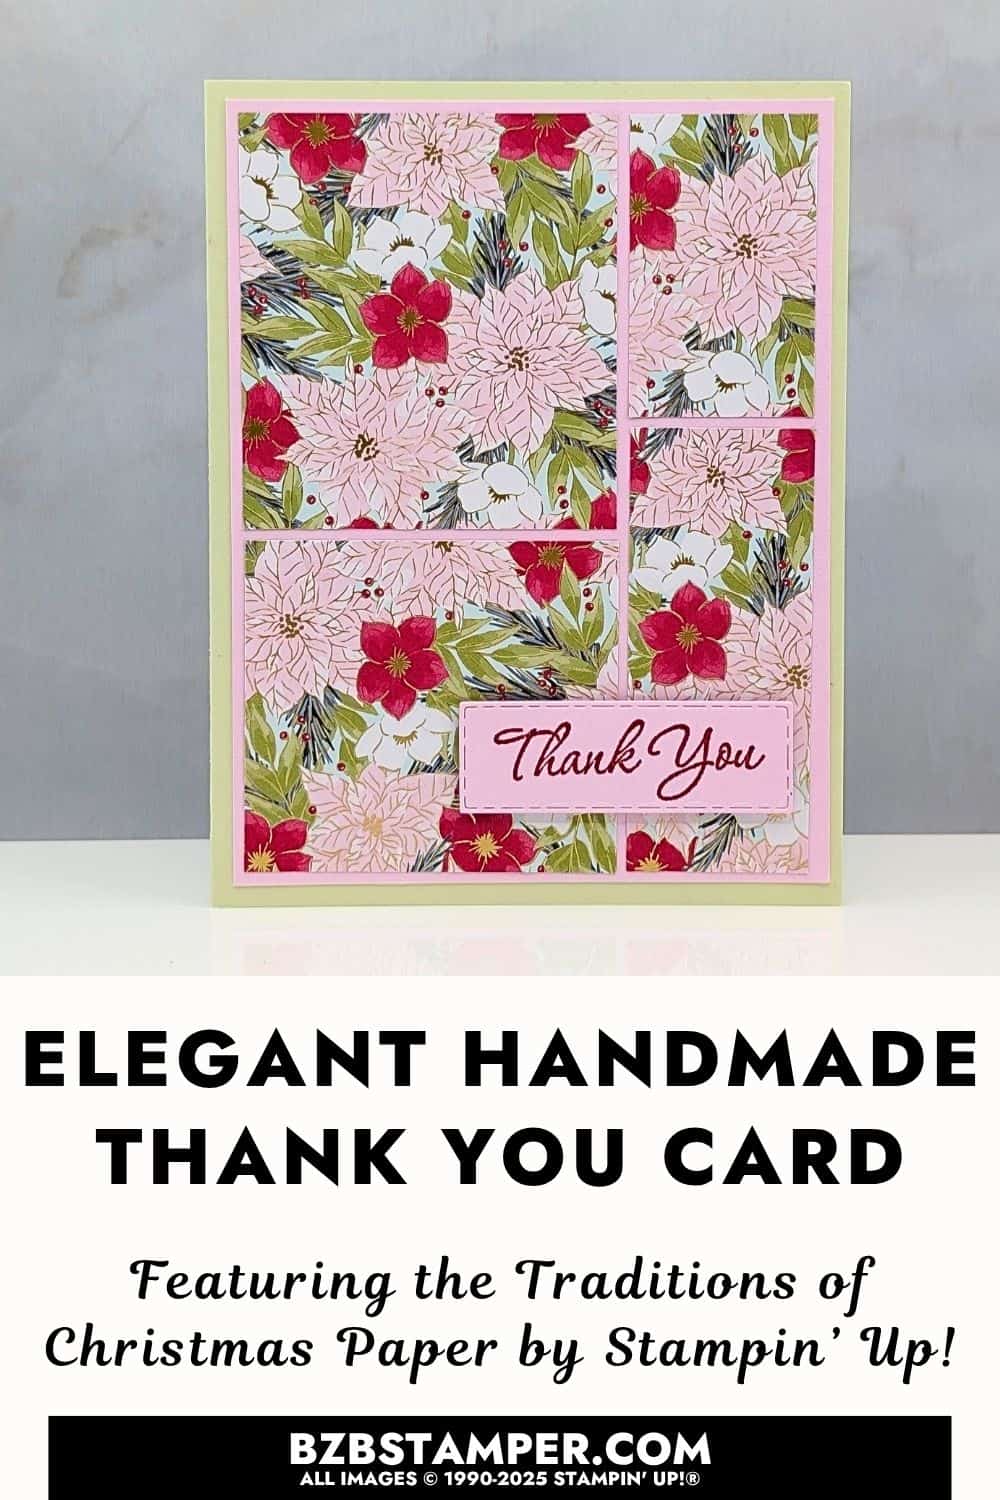
Don’t forget to pin this for later!
I appreciate you dropping by! My mission is to inspire you with card tutorials that are as fun to make as they are to give. If you’re curious about the specifics of crafting today’s design, just send me an email. Want more papercrafting ideas? Join my Facebook Community today.
Supplies Used On This Project:
Price: $16.50


