Celebrate in Style with the Cheers and Sips Bundle and add a splash of fun to your handmade cards! If you love celebrating life’s special moments with creativity, this playful bundle is sure to be a new favorite. Featuring charming drink glasses, adorable garnishes, and stylish sentiments, the Cheers and Sips Bundle lets you mix up the perfect recipe for a party-worthy card.
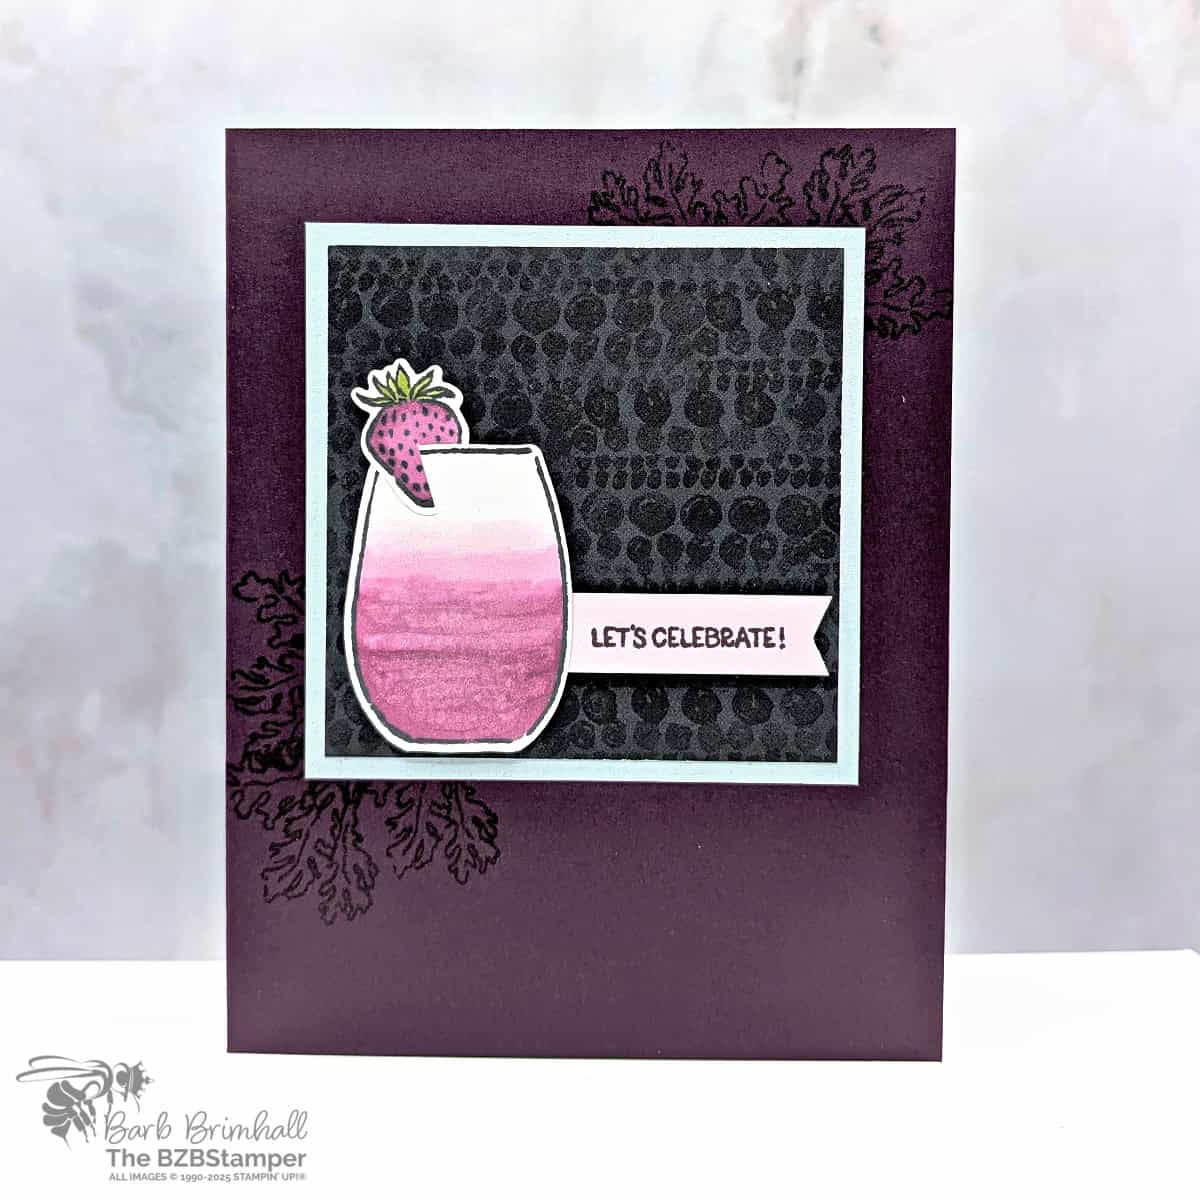
Today, I’m sharing a whimsical project that combines rich colors, trendy textures, and a sweet little strawberry garnish—perfect for congratulating a friend, toasting a birthday, or simply saying “let’s celebrate” in style!
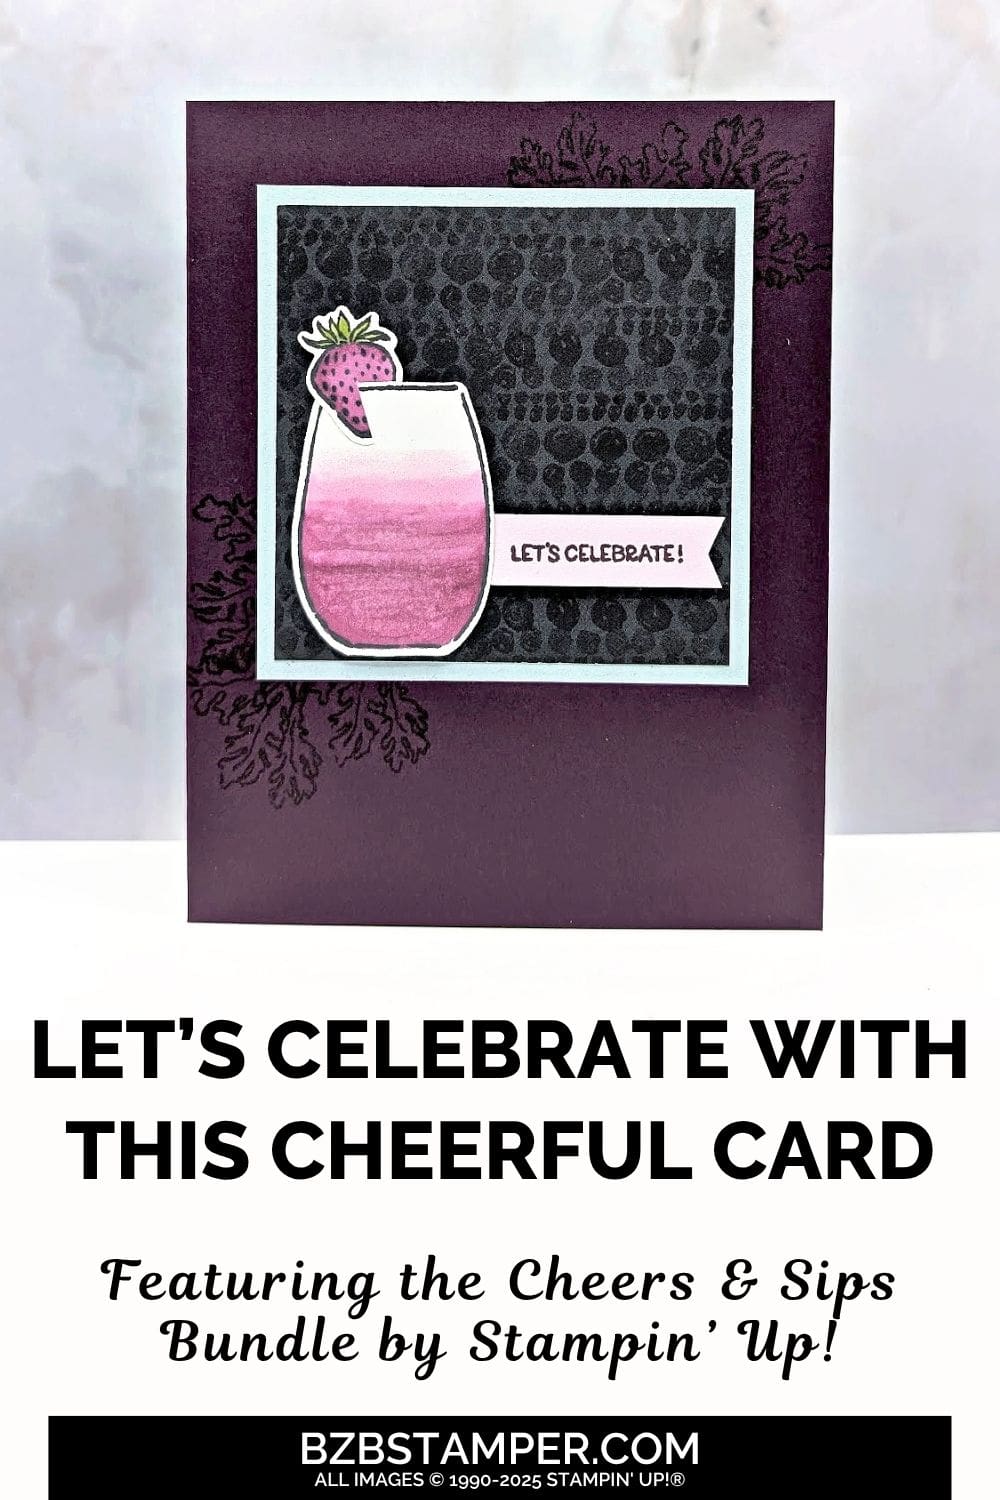
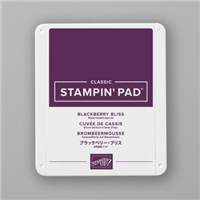
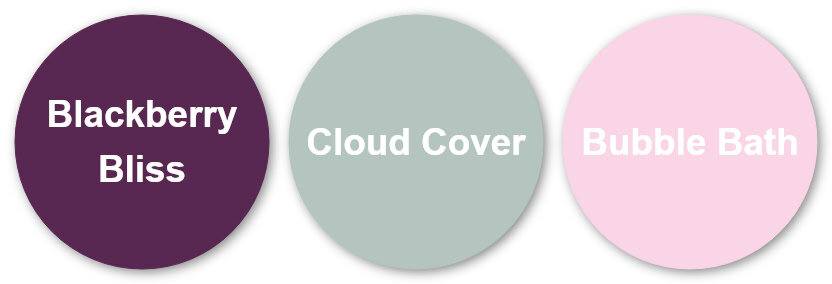
This card starts with a bold Blackberry Bliss card base, adding just the right amount of sophistication for a festive occasion. I lightly stamped tone-on-tone leafy images in the background corners to give the card a subtle elegance without overwhelming the focal point. The main panel showcases a piece of black Celebratory Sips Designer Paper, softened by a Cloud Cover mat for a touch of fresh contrast. If you’d like something brighter, make sure you check out my Color Combination Library for inspiration.
The real star of the show is the delicious-looking ombré drink, created using the Cheers and Sips stamps and coordinating dies. I colored the drink with the coordinating pink shades, blending from light to deep to create that luscious, summery look. And how adorable is that little strawberry perched on the rim? It’s the perfect finishing touch that brings a pop of color and whimsy to the design.
A simple “Let’s Celebrate!” sentiment banner completes the look, keeping the vibe cheerful and laid-back. Whether you’re celebrating a birthday, promotion, or simply the joy of everyday life, this handmade card is guaranteed to make someone smile.
The best part? The Cheers and Sips Bundle makes it super easy to swap out colors, drinks, and garnishes to match any occasion. Imagine a tropical punch for summer parties or a sparkling cider for the holidays—your creativity can flow right alongside your favorite beverages!
If you’re ready to shake up your cardmaking style, the Cheers and Sips Bundle offers the perfect ingredients for success. So pour yourself a little crafty inspiration and start celebrating today!
How To Make This Card
Project Skill Level: Worker Bee
Worker Bee projects are designed for the crafter who has a bit more time and enjoys creating a handmade card that features a technique or tool. In many cases, a Stampin’ Cut & Emboss Machine is required for die-cutting and/or embossing.
Cardstock Measurements:
- Blackberry Bliss Cardstock: 5-1/2″ x 8-1/2″, scored at 4-1/4″
- Basic White Cardstock: 4″ x 5-1/4″ (2 pieces)
- Cloud Cover Cardstock: 3-1/4″ x 3-1/4″
- Celebratory Sips Designer Series Paper: 3″ x 3″
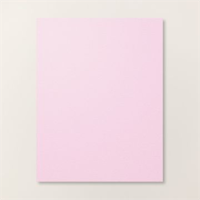
- Bubble Bath Cardstock: 1/2″ x 1-3/4″


Grab your Free copy
Get 5 Bee-utiful Exclusive
Card Sketches in Your Inbox
Join our newsletter and receive a honey of a package of five quick & simple cards guaranteed to make your creativity buzz! Sign up now and let the goodness flow straight to your inbox!
Step-by-Step Instructions:
- Fold the Blackberry Bliss Cardstock in half at the score line to create your card base.
- Adhere one of the 4″ x 5-1/4″ pieces of Basic White cardstock inside the card.
- Using the other piece of Basic White cardstock, stamp the glass and the strawberry onto the cardstock (leaving room between the 2 images) using Black Memento ink.
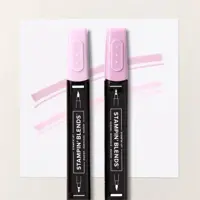
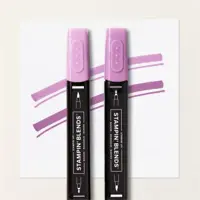
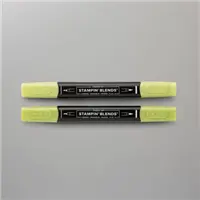
- Color in the Strawberry using the Petunia Pop Blends and the Dark Granny Apple Blend for the stem/leaves. Color in the Glass starting with the Dark Petunia Pop Blend at the bottom, blending next with the Light Petunia Pop Blend, then the Dark Bubble Bath Blend, then the Light Bubble Bath Blend – do not color all the way to the top, leaving some white space.
- Color in the entire glass using the Wink of Stella Glitter Brush.
- Run the cardstock thru the Stampin’ Cut & Emboss Machine using the Cheers & Sips Dies from the Bundle. Set aside.
- Adhere the Celebratory Sips paper to the Cloud Cover cardstock, adhere to the card base as shown in the sample.
- Using the 1/2″ strip of Bubble Bath cardstock, “banner notch” the right side only using scissors. Stamp the sentiment on the right side of the cardstock using Blackberry Bliss ink.
- Place glue on the left end of the Bubble Bath sentiment strip and adhere to the back side of the cup (see sample for placement.)
- Cut a small slit into the bottom of the strawberry at an angle and adhere it to the cup as shown in the sample.
- Adhere the cup and sentiment banner to the back of the cardstocks and adhere to the front of the card as shown in the sample to finish.
A Tip from Barb
If you don’t have a Stampin’ Cut & Emboss Machine, no worries! You can cut these images out with your scissors instead — it’ll just take you a few minutes more!
Thanks for stopping by for today’s card tutorial! My goal is to help you make quick & easy greeting cards for all occasions. If you’d like more detailed directions on how to make this card, feel free to email me. I hope you’ll join me again for more card-making ideas!

Don’t forget to pin this for later!
