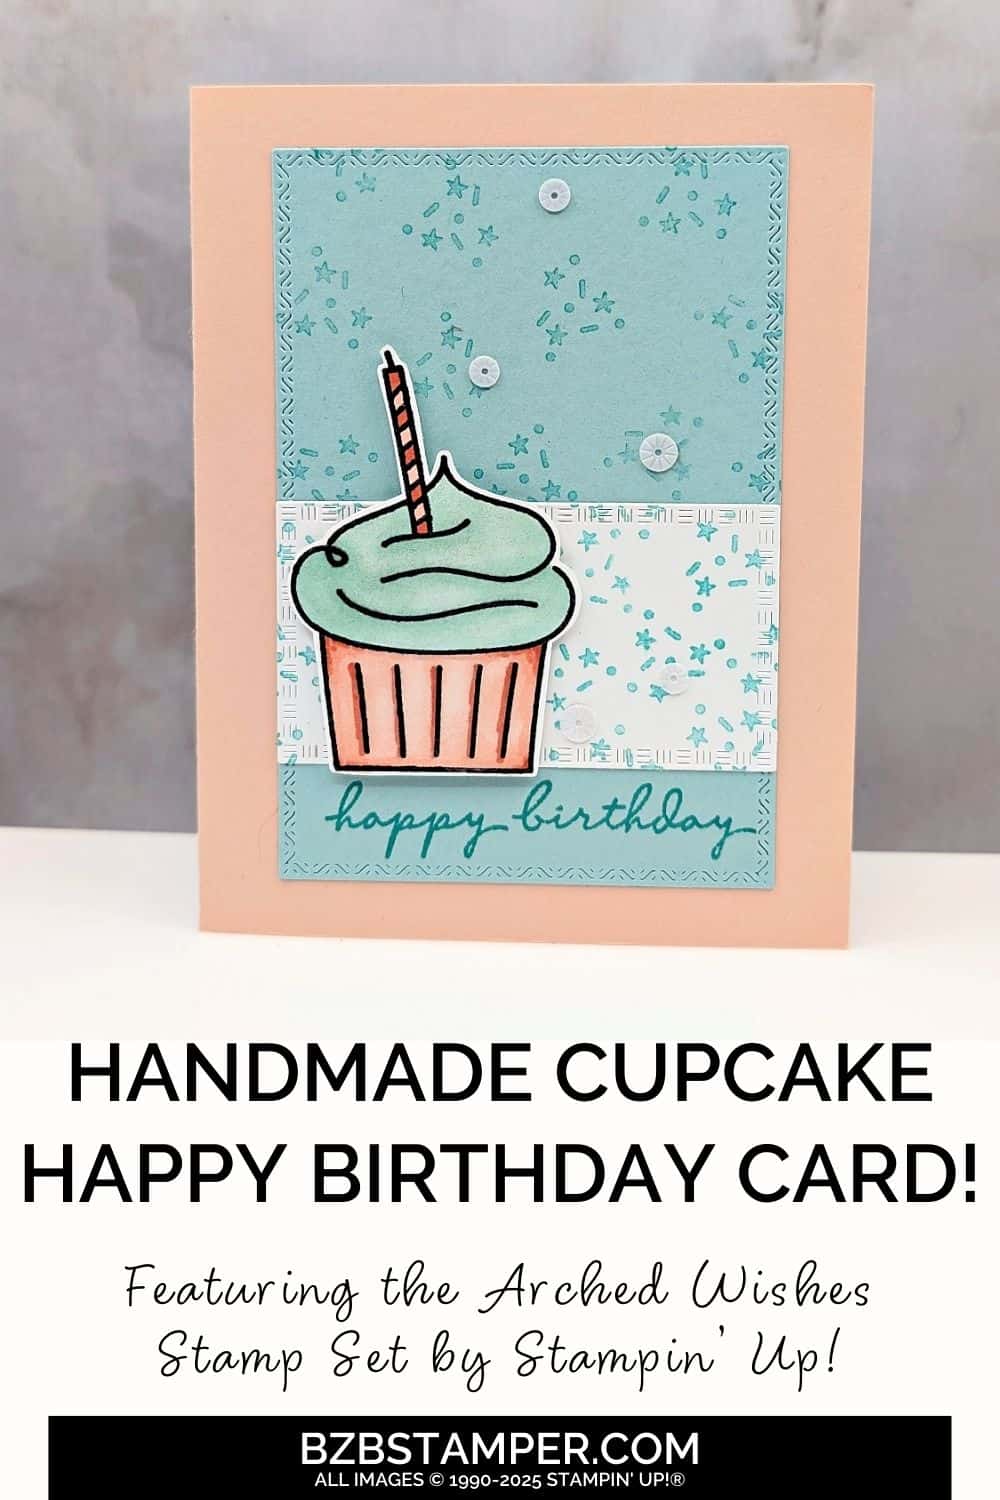
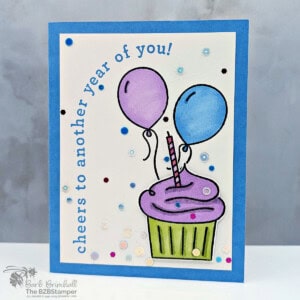
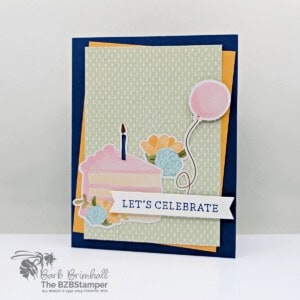
Ready to Celebrate Birthdays with the Arched Wishes Stamp Set and spread some handmade cheer? There’s something extra special about giving someone a card you crafted yourself—especially when it’s bursting with joyful details like stamped confetti and a sweet cupcake design.
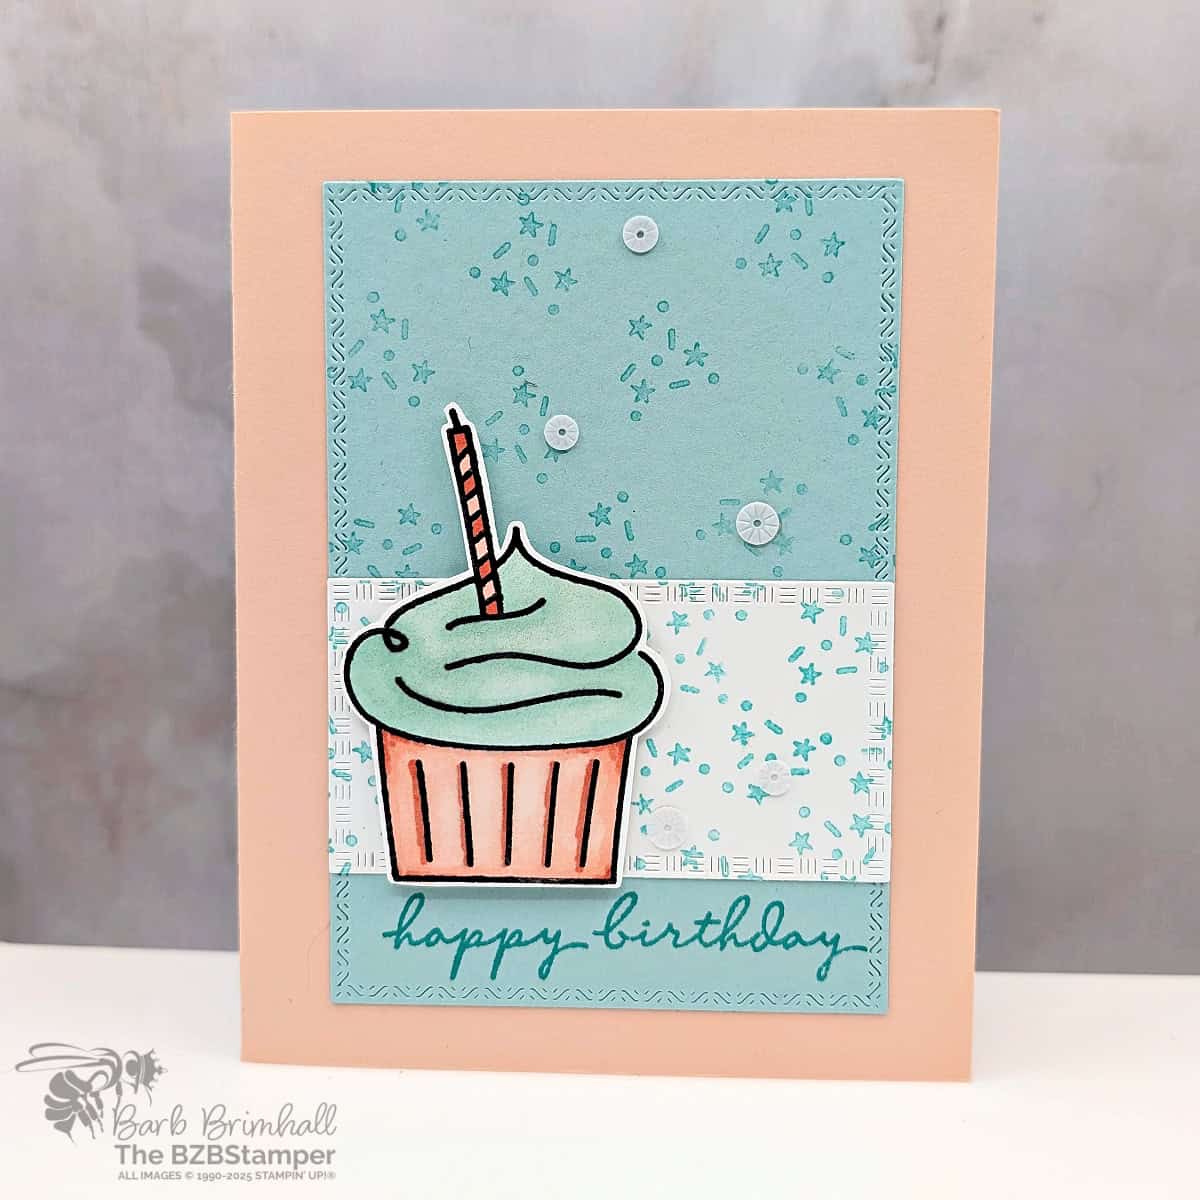
Whether you’re brand new to crafting or you’ve been stamping for years, this fun and festive stamp set from Stampin’ Up! makes birthday card creation a breeze. Picture bright blues and charming pinks coming together in a playful celebration theme, capturing the heart of what birthdays are all about: joy, celebration, and heartfelt wishes.
The Arched Wishes Stamp Set includes delightful party-inspired images such as balloons, streamers, and cupcakes, perfect for capturing the excitement of birthdays. Plus, the sentiments are cheerful and sweet, ensuring your recipients feel special and loved on their big day. What makes this set stand out is its versatility—every stamped image and sentiment can be mixed and matched effortlessly, giving you endless possibilities for crafting unique cards.
Imagine the look of joy on your friend’s face when they open their mailbox to find a handmade card featuring whimsical confetti stamped in pretty hues of blues and pinks. This charming card doesn’t just convey your birthday wishes; it shows the extra care and thoughtfulness you put into creating something personal and meaningful. And the best part? This project is straightforward and quick to create, even if your schedule is jam-packed.
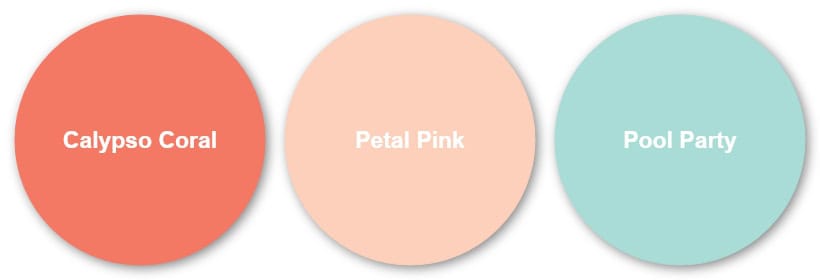
Prefer a brighter color combination? No worries! Jump on over to my Color Combination Library, where you’re sure to find a combination you’ll love!
So, let’s dive into making your birthday greeting card unforgettable. Grab your stamps, inks, and paper, and let’s celebrate together!
How To Make This Card
Project Skill Level: Worker Bee
Worker Bee projects are designed for the crafter who has a bit more time and enjoys creating a handmade card that features a technique or tool. In many cases, a Stampin’ Cut & Emboss Machine is required for die-cutting and/or embossing.
Cardstock Measurements:
- Petal Pink Cardstock: 5-1/2″ x 8-1/2″, scored at 4-1/4″
- Basic White Cardstock: 4″ x 5-1/4″
- Pool Party Cardstock: 3-1/2″ x 5″ (for die-cutting)
- Basic White Cardstock: 3-1/2″ x 2″ (for die-cutting)
- Basic White: 2″ x 3″


Grab your Free copy
Get 5 Bee-utiful Exclusive
Card Sketches in Your Inbox
Join our newsletter and receive a honey of a package of five quick & simple cards guaranteed to make your creativity buzz! Sign up now and let the goodness flow straight to your inbox!
Step-by-Step Instructions:
- Fold the Petal Pink cardstock in half at the score line to create your card base.
- Adhere the 4″ x 5-1/4″ piece of Basic White cardstock inside the card.
- Run the Pool Party cardstock through the Cut & Emboss Machine and die-cut using the 3-1/4″ x 4-3/4″ Textured Notes Die. Run the 3-1/2″ x 2″ piece of Basic White cardstock through the Cut & Emboss Machine and die-cut using the 1-3/4″ x 3-1/4″ Textured Notes Die.
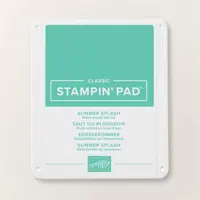
- Using the Summer Splash ink pad, stamp the sentiment at the bottom of the Pool Party Cardstock. Ink up the confetti stamp using Summer Splash ink, stamp off once on your scratch paper, and stamp onto the top of the Pool Party cardstock. Repeat this process until the top half of the Pool Party cardstock is stamped. Adhere to the center of the card.
- Using Summer Splash ink, stamp the confetti randomly onto the Basic White cardstock. Repeat as needed and adhere the Basic White cardstock to the front of the card as shown in the sample.
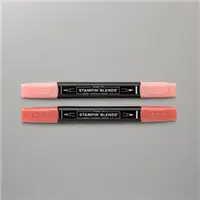
- Using the 2″ x 3″ scrap of Basic White cardstock, stamp the cupcake image using Black Memento ink. Color in using the Calypso Coral and Pool Party Stampin’ Blends. Fussy cut out the image using your scissors. Add Wink of Stella as desired to the cut out image and adhere to the left side of the Basic White die-cut using Stampin’ Dimensionals.
- To finish, add 5 of the White Starburst Sequins or as desired.
A Tip from Barb
Don’t have a Cut & Emboss Machine or the Textured Notes Dies? No worries! Simply cut your Pool Party cardstock at 3-1/4″ x 4-3/4″ and your Basic White Cardstock at
1-3/4″ x 3-1/4″ and you’ll be good to go!
Thanks for joining me in today’s crafting session! I’m passionate about helping you create versatile cards for any celebration, designed to be quick yet impressive. For additional guidance on today’s tutorial, feel free to email me. Stay connected! Follow my Facebook Community for more crafting tips and updates.

Don’t forget to pin this for later!
