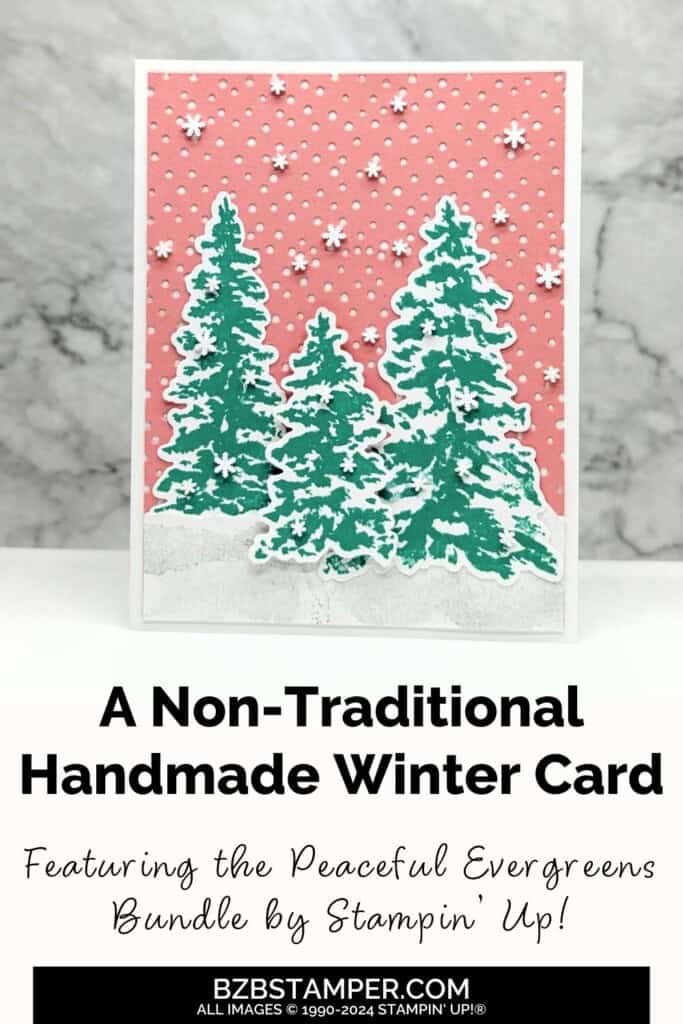
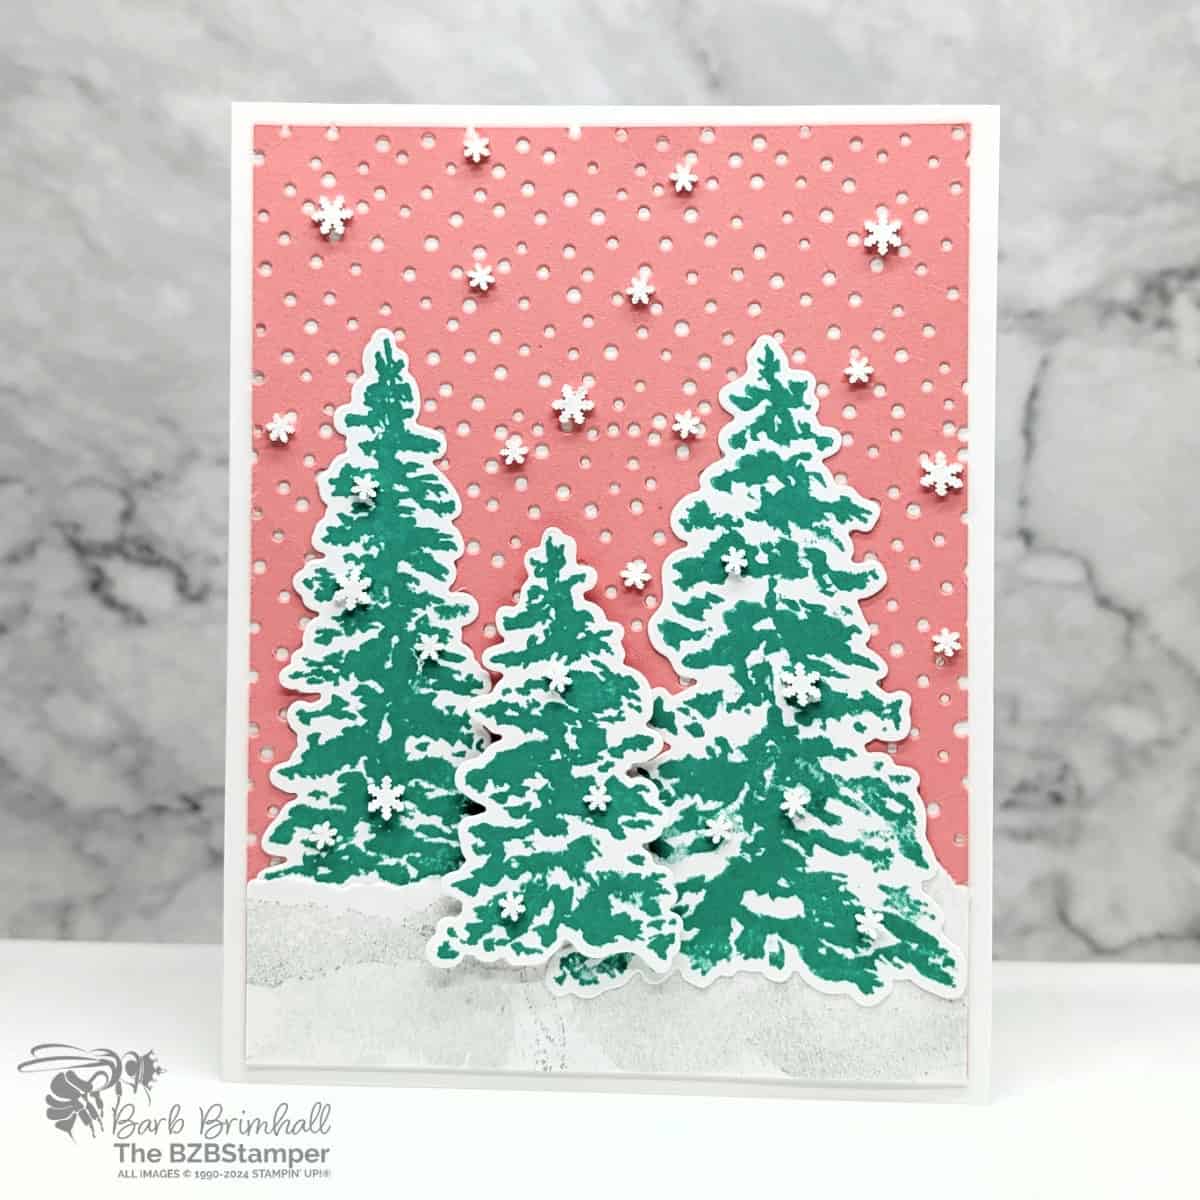
Are you ready to add a bright, modern twist to your holiday cardmaking this season using this bright twist on Winter Peaceful Evergreens Card? I’m thrilled to share a project that’s full of snowy magic but with an unexpected pop of color! Using Stampin’ Up!’s Peaceful Evergreens Bundle, I’ve crafted a card that combines the beauty of a winter scene with a bright and cheerful coral hue—perfect for those who love to mix it up!
Why This Color Combo Works
Now, you might be thinking: “Coral for Christmas?” But trust me, it works! The Flirty Flamingo Cardstock gives the card a playful twist while still feeling wintery, especially when paired with green and white accents. It’s perfect for anyone who loves to send holiday cheer without going the traditional route.
If you’re looking to make a statement with your Christmas cards this year, this color palette is an easy way to catch someone’s eye. It’s a bright twist on a classic winter scene, and I couldn’t be happier with how it turned out!
If you’re like me, you probably enjoy creating Christmas cards that stand out and bring a smile to the recipient’s face. Traditional reds and greens are always a hit, but sometimes, it’s fun to break the mold. That’s exactly what I did with this Peaceful Evergreens card. I swapped out the classic colors for a vibrant coral paired with a bright Christmas green, and the result is a card that feels fresh, festive, and full of personality!
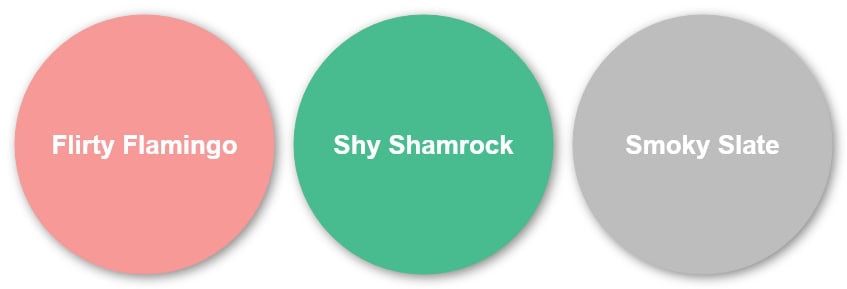
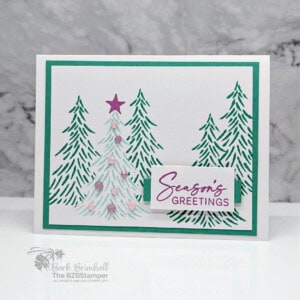
If this color combination is too “out there” for you, no worries, you’ll be sure to find a color combination you’ll like in my Color Combination Library. It’s sure to provide you with lots of color inspiration!
Why the Peaceful Evergreens Bundle?
The Peaceful Evergreens Bundle is a joy to work with because it allows you to create intricate outdoor scenes with ease. The stamp set’s brushstroke art style brings a soft, artistic vibe, while the coordinating dies add depth and dimension with their detailed tree cuts. Whether you’re going for a traditional look or something a little more whimsical, like this project, this bundle gives you plenty of creative flexibility.
Whether you’re new to crafting or a seasoned pro, the Peaceful Evergreens Bundle offers endless possibilities. You can go classic with deep greens and blues, or shake things up with brighter hues like I did here. This card is not only fun to make but will undoubtedly bring joy to anyone who receives it.
So, grab your Peaceful Evergreens Bundle, some bright cardstock, and let’s create something magical together! Feel free to swap out the colors and add your own personal touch—the sky’s the limit when you’re crafting with this bundle!
How To Make This Card
Project Skill Level: Worker Bee
Worker Bee projects are designed for the crafter who has a bit more time and enjoys creating a handmade card that features a technique or tool. In many cases, a Stampin’ Cut & Emboss Machine is required for die-cutting and/or embossing.
Cardstock Measurements:
- Basic White Cardstock: 5-1/2″ x 8-1/2″
- Flirty Flamingo Cardstock: 4″ x 5-1/4″
- Basic White Cardstock: 4-1/4″ x 5-1/2″ (for die-cutting)


Grab your Free copy
Get 5 Bee-utiful Exclusive
Card Sketches in Your Inbox
Join our newsletter and receive a honey of a package of five quick & simple cards guaranteed to make your creativity buzz! Sign up now and let the goodness flow straight to your inbox!
Step-by-Step Instructions:
- Fold the Basic White cardstock in half at the score line to create your card base.
- Run the Flirty Flamingo cardstock through the Cut & Emboss Machine and die-cut the top of the cardstock using the “dotted” die from the Peaceful Evergreens Bundle Die. Run through again and die-cut below the area you just die-cut. If you need to, run through again and die-cut the bottom of the cardstock.
- Adhere the Flirty Flamingo die-cut cardstock to the front of your card.
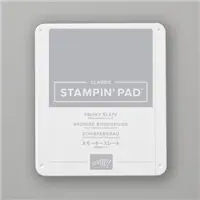
- Using the 4-1/4″ x 5-1/2″ piece of Basic White cardstock, use your trimmer to cut off the bottom 1-1/2″ of the Basic White Cardstock; trim each side so that your cardstock is 4″ wide x 1-1/2″ tall. Ink up the smallest “blob” stamp using Smoky Slate ink. Stamp off some of the ink on your scratch paper. Stamp at the bottom of the Basic White cardstock. Repeat until you have the entire cardstock covered (remember to stamp off each time!) You can use the larger “blob” as well if that’s easier for you.
- Using scissors, trim around the top part of the image (randomly, you just want it to look like a snowbank); the piece you’re left with should be approximately 1-1/4″ tall. Adhere to the bottom of the Flirty Flamingo cardstock.
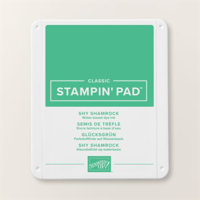
- Using the remaining piece of Basic White Cardstock, stamp each of the trees one time onto the cardstock using Shy Shamrock ink. Run through the Cut & Emboss Machine and die-cut with the appropriate Peaceful Evergreens dies.
- Adhere the largest tree die-cut on the right side of the card as shown in the sample. Adhere the medium tree on the left side, making sure you overlap the snow bank. Using Stampin’ Dimensionals, adhere the smallest tree so that it sits between the two other trees.
- To finish, add the Loose Snowflake Embellishments using Glue Dots. (See tip below.)
A Tip from Barb
To make the loose snowflakes easier to use, unroll your glue dots about 6″ so that you have a strip of glue dots that lay flat on your table. Adhere a loose snowflake to each glue dot. Cut off the strip with your scissors and repeat the process until you have as many snowflakes if you’d like. (I used 22 snowflakes in various sizes.) Then just “roll” the snowflake off the glue dot “backing” and adhere to your card!
Thanks for stopping by for today’s card tutorial! My goal is to help you make quick & easy greeting cards for all occasions. If you’d like more detailed directions on how to make this card, feel free to email me. I hope you’ll join me again for more card-making ideas!

Don’t forget to pin this for later!
